

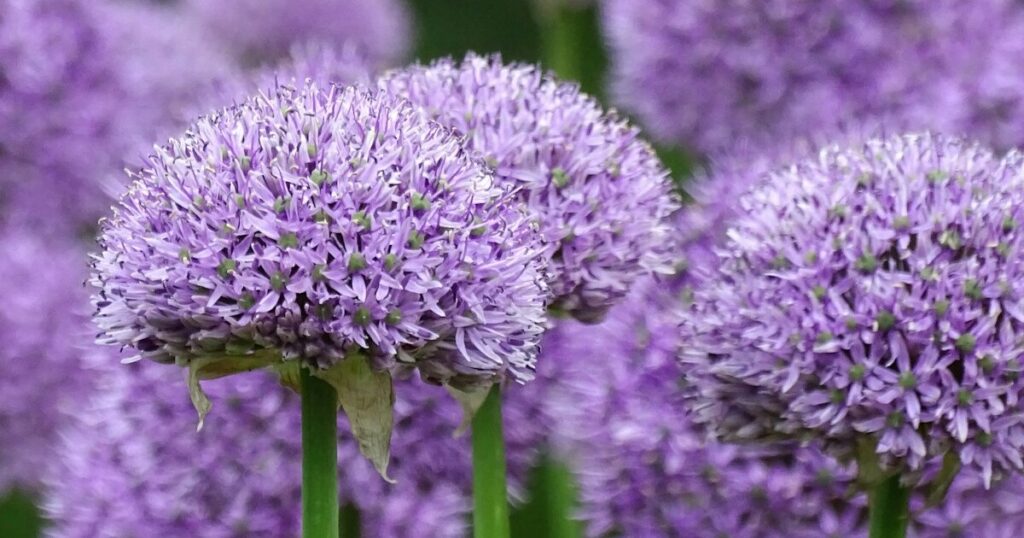
Alliums—those stately, globe-shaped blooms atop slender stalks—bring a dramatic architectural flair to any garden! Native to temperate regions of Europe, Asia, and North America, these ornamental onions aren’t invasive in well-tended beds, yet they naturalize gently over time. I know how exciting it is to spot the first tight buds peeking above the foliage, only to be disappointed later by floppy stems or sparse flower heads. With a few simple practices, you can ensure your tall alliums stand proud and prolific year after year.
Whether you’re aiming for towering A. giganteum or delicate A. christophii, understanding their needs—from soil structure and sun exposure to companion planting that invites beneficial pollinators—will transform your display. Let’s explore eleven essential tips that will have your alliums shooting skyward and bursting into perfect, spherical blooms!
Select Tall, Sturdy Varieties

Choosing the right cultivars is the first step toward success. While many alliums sport modest 12–18 inch stems, varieties like Allium ‘Globemaster’ or A. giganteum reach 3 to 4 feet tall. Selecting these giants ensures you’ll have the drama you crave!
Because tall types carry heavy flower heads, look for named cultivars bred for strong scapes. These selections rarely flop, and they provide robust nesting sites for tiny solitary bees among their strap-like foliage before the stalks elongate.
Plant in Full Sun

Alliums perform best when they bask in at least six hours of direct sunlight daily. Plant your bulbs in the sunniest spot you have—along borders, mixed among perennials, or in a dedicated bulb bed. I once rescued a shaded patch of floppy alliums simply by relocating them to a sunny south-facing border; within weeks, they stood upright and flowered more vigorously!
Full sun not only encourages sturdy stem growth but also warms the soil, promoting faster root development. When the ground radiates warmth, beneficial ground beetles and springtails find ideal nesting spots beneath the mulch, further enriching bulb health.
Ensure Well-Draining Soil

Alliums detest waterlogged conditions, which can rot bulbs before they send up a single scape. Amend heavy clay or compacted soils with generous amounts of coarse sand, grit, or well-aged compost to create a light, friable mix. Turf-loosening earthworms will quickly sense these improved channels and nest within the root zone, enhancing aeration and nutrient cycling!
Raised beds or gentle mounds also aid drainage—especially important in regions with wet winters. Elevated planting areas dry more quickly, reducing rot risk and allowing bulbs to establish snugly in the early growing season.
Plant at the Correct Depth and Spacing

For tall alliums, depth is crucial: bulbs should sit about 3–4 times their own diameter below the surface. This anchors the long stems firmly. If you’re planting an 8 cm bulb of A. giganteum, that means placing it roughly 12–16 inches deep!
Equally important is spacing: leave at least 6–8 inches between bulbs to avoid crowded conditions that impede airflow. Well-spaced bulbs form a loose network of roots, allowing beneficial microbes to nest and circulate nutrients freely, resulting in stronger, more uniform scapes.
Fertilize at Key Growth Stages

A light feeding of bulb fertilizer or balanced organic feed (such as 5-10-5 NPK) at planting, again at shoot emergence, and once more when flower buds form will keep your alliums vigorous. I mix kelp meal into the soil as shoots appear—its micronutrients attract soil microbes that boost root growth!
Avoid heavy late-season fertilizing, which can encourage excessive foliage at the expense of blooms. A gentle feed schedule supports steady energy transfer from the bulb to the developing flower head.
Stake or Support Tall Stems
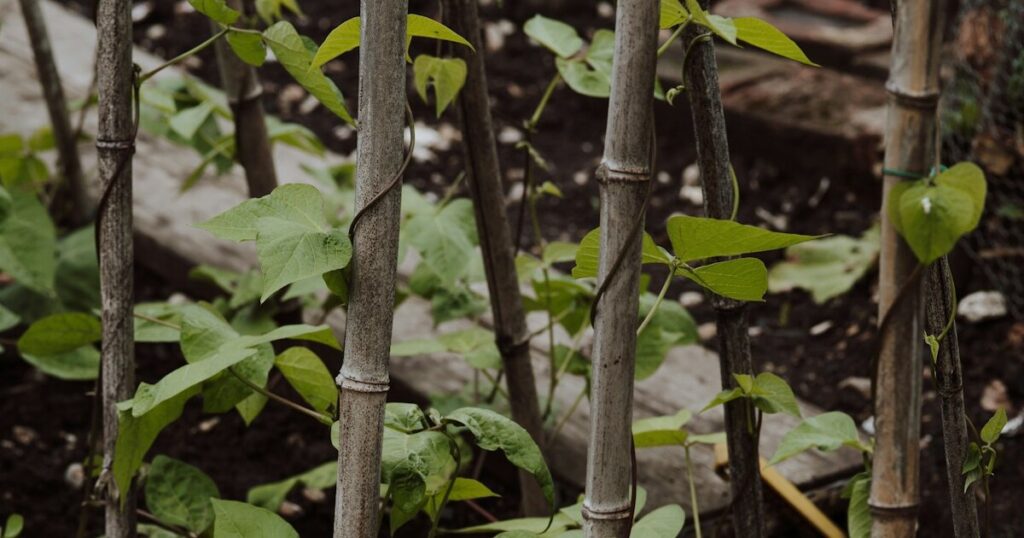
Even the sturdiest cultivars can bend under windy conditions or heavy rain. Slip a support ring or stake into the bed early, before shoots elongate, so stems weave through the supports naturally. I often use bamboo stakes paired with soft twine rings—my alliums grow tall and swaying, but rarely touch the ground!
These supports also create sheltered niches where hoverflies and lacewings nest among lower foliage, helping manage any aphid invasions without chemicals.
Mulch to Retain Moisture and Suppress Weeds

A layer of organic mulch—such as shredded bark or compost—helps conserve soil moisture during dry spells and keeps competing weeds at bay. Maintaining even moisture is vital for bulb energy reserves, especially after bloom when leaves must photosynthesize before die-back.
As mulch breaks down, it fosters earthworm activity and provides nesting cavities for beneficial nematodes, which can suppress soil-borne pests. Over time, this living blanket becomes a dynamic asset to your allium patch.
Deadhead and Remove Spent Flowers
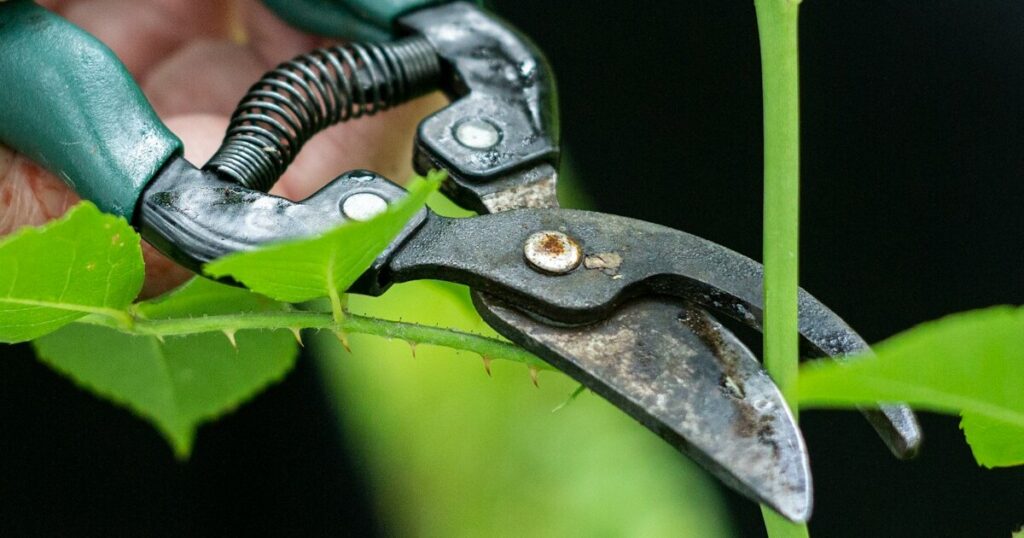
Once the globe-shaped blooms fade, cutting them off prevents seed production, allowing bulbs to replenish energy for the next season. Snip the stalk about an inch above the foliage when the last petals drop—this grooming feels like giving your plants a fresh start!
Removing spent heads also improves airflow and light penetration to the lower leaves, reducing the risk of fungal diseases. The trimmed flower stalks make lovely additions to dried arrangements, so you can enjoy your alliums indoors, too.
Rotate and Divide Clumps Periodically
While alliums aren’t overly prone to crowding, they benefit from division every three to four years. Lift and separate clusters of bulbs once foliage has died back, then replant the healthiest offsets. This practice prevents energy depletion and encourages larger blooms!
Rotation also disrupts the life cycle of bulb pests like nematodes or maggots. Planting your allium divisions in fresh ground reduces pest pressure, and allows the previous site to recover—perhaps by growing a cover crop that supports soil-dwelling pollinators and microbes.
Monitor for Pests and Diseases
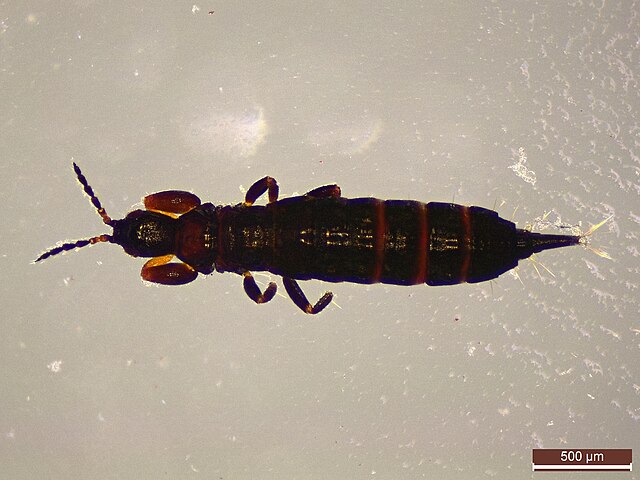
Although alliums are generally pest-resistant thanks to their sulfur compounds, keep an eye out for onion thrips or fungal spots in humid conditions. Regularly inspect the undersides of leaves and use a strong spray of water to dislodge tiny invaders at the first sign of damage.
Maintaining good spacing, clean mulch, and removing debris after die-back keeps disease risk low. When you spot a rogue lesion, pruning away affected foliage and improving airflow encourages beneficial predatory insects like soldier beetles to nest nearby and patrol for pests.
Overwinter Bulbs with Care

In cold climates, apply a light mulch of straw or shredded leaves over dormant beds to buffer bulbs from extreme freezes. Remove the mulch in early spring to allow warming soil to signal the bulbs to sprout. I once tested this method during a blistering winter; my alliums emerged unscathed and bloomed on schedule!
In regions with unreliable cold, dig and store bulbs in a cool, dry place at about 40–50°F, nestled in peat or vermiculite. This overwintering mimics their native chill-winter habitats and ensures you’ll see tall, vibrant scapes next season.