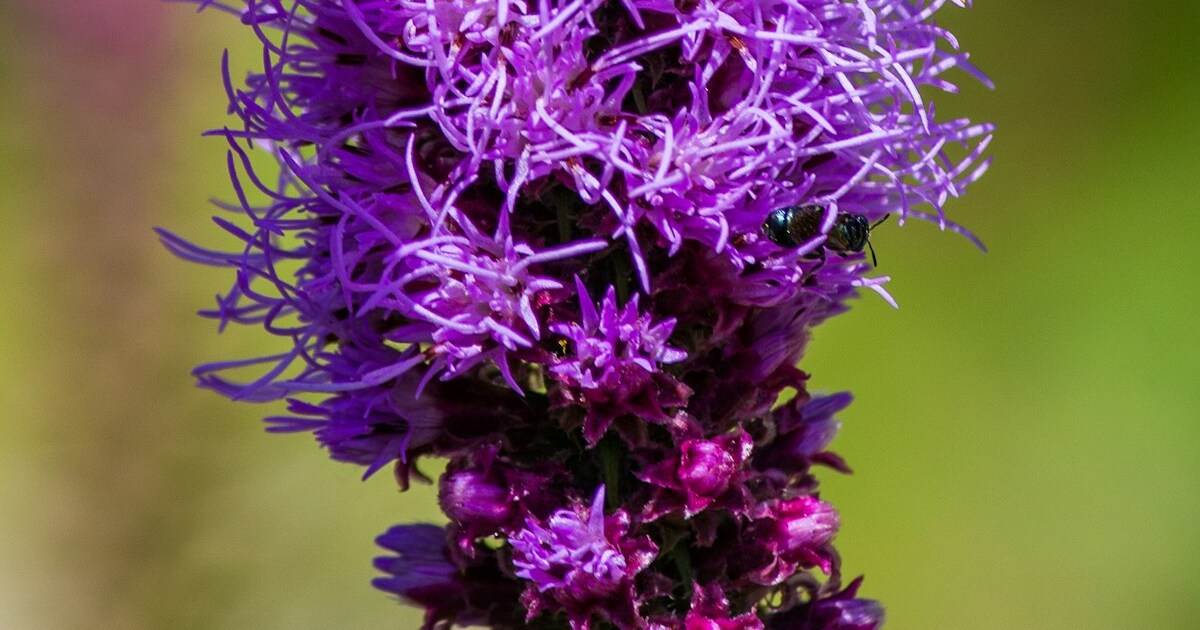

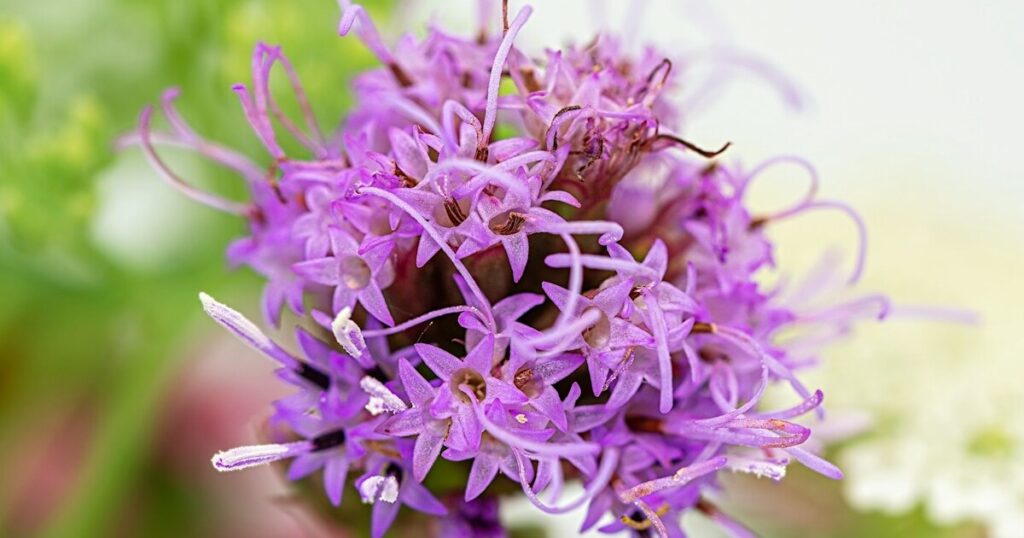
Blazing stars (Liatris spp.), also known as gayfeather, are one of my favorite prairie natives—those feathery spikes of purple, pink, or white blooms light up any garden with their vertical drama! Hailing from North America’s grasslands, these resilient perennials aren’t typically invasive in home gardens, though they’ll happily self-seed if you let those spent heads scatter their seeds. Besides being showstoppers, they play host to a whole suite of beneficial insects—bumblebees nest in nearby soil cavities, and butterflies perch on the tall stalks to sip nectar.
I know how frustrating it can be to plant blazing stars eagerly, only to end up with straggly spikes or sparse flowers. It’s such a bummer when your tall blooms flop over or don’t open fully! Drawing on seasons of trial and error, I’ve compiled eleven essential tips to help your blazing stars unfurl their fullest blooms, shoot sky-high, and attract a buzzing community of pollinators.
Scout for Pests and Diseases

Even tough prairie plants can fall prey to aphids, Japanese beetles, or fungal diseases like leaf spot. Early in my gardening journey, I ignored a few aphid colonies until they curled up my new shoots—such a setback! Regular inspections, especially under leaves and around the base, let you catch issues before they hinder bloom production.
Introduce beneficial insects such as ladybugs or lacewings to munch on those pests, and remove any diseased foliage promptly. This not only protects your blazing stars’ health but also safeguards nesting sites for ground-dwelling pollinators that adore the open soil beneath the plants!
Deadhead Spent Flowers
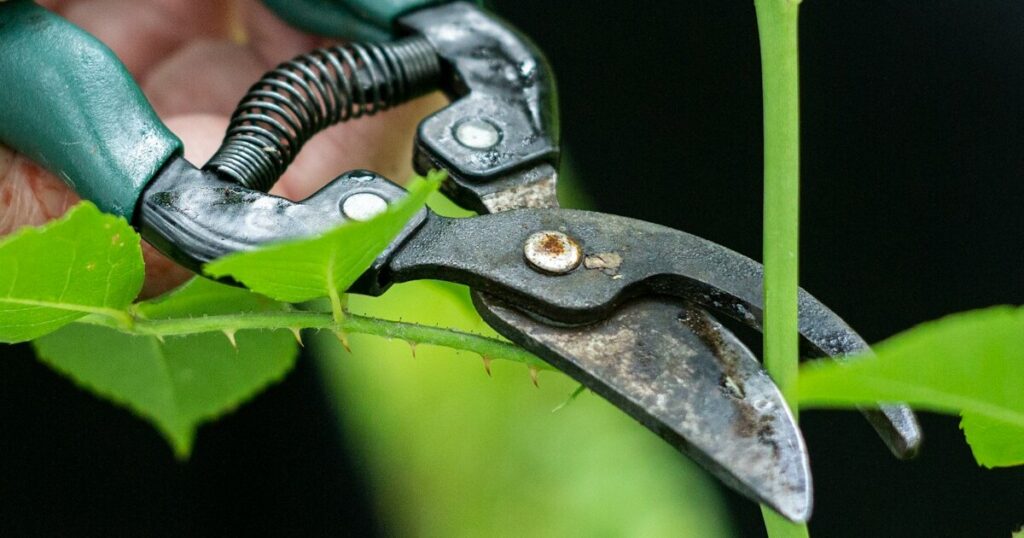
After each flower spike finishes blooming, leaving it intact only encourages seed production, which saps the plant’s energy. I once watched whole clumps divert resources into seed heads rather than forming fresh buds—so disappointing! Snip off each spent spike just below the lowest flower to channel vigor into new flower formation.
By deadheading promptly, you’ll enjoy an extended bloom period and may even coax a second flush of flowers. Plus, your garden will look tidier, making it easier for beneficial insects to find open blossoms for nesting and nectar-gathering flights!
Provide Sturdy Support
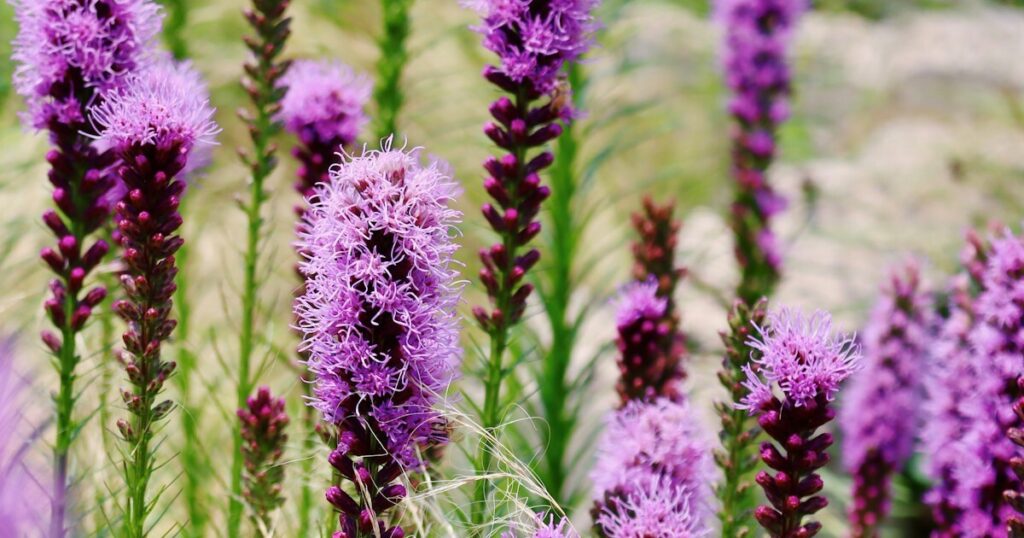
Those tall flower stalks can reach 3–5 feet and may flop in wind or heavy rain. My first blazing star patch turned into a tangled mess after a storm bent every stem! Installing simple bamboo stakes or a support ring around clusters keeps stems upright and ensures each flower spike is showcased.
Elevating the flowers also improves air circulation, reducing the chance of mildew and making it easier for pollinators to navigate the blooms. Your blazing stars—and the bees they attract—will thank you for the clear, sturdy perches!
Water Consistently but Wisely

Blazing stars prefer evenly moist soil during establishment but dislike waterlogged roots. I once overdid it with daily watering and ended up with pale foliage and weak spikes. Aim for about an inch of water per week, delivered deeply to encourage roots to explore and anchor the plant.
Once established, you can ease back, allowing the top inch of soil to dry before watering again. This regimen prevents root rot while providing enough moisture to fuel those full, dramatic blooms you’re aiming for!
Amend Soil with Organic Matter

Though they tolerate poor soils, blazing stars reward you with bigger blooms in nutrient-rich, well-draining earth. In my sandy soil, plants were spindly until I worked in compost and aged manure—then they exploded in height! Organic matter improves moisture retention without compromising drainage.
When you plant (or repot divisions), mix in two to three inches of compost across the bed. This feeds both your blazing stars and the beneficial soil organisms—like springtails and earthworms—that help maintain structure and support healthy root growth!
Space Plants Properly

Crowding leads to competition for light and nutrients, and can also trap humidity, encouraging fungal issues. Early on, I squeezed six plants into a tiny raised bed and ended up with half-hearted blooms. Give each blazing star at least 12–18 inches of clearance in rows spaced two feet apart.
Proper spacing not only allows each clump to develop strong, individual stalks but also leaves bare soil for ground-nesting bees to tunnel their nests beneath the blooms. Your pollinators will appreciate the open real estate as much as your eyes appreciate the tidy flower display!
Apply Mulch to Regulate Moisture

A layer of organic mulch—shredded bark or leaf mold—helps maintain consistent soil moisture and suppress weeds that compete for nutrients. I once let weeds overrun my blazing star patch, and the blooms were pitiful as a result! Mulch also buffers soil temperature fluctuations, keeping roots cozy.
Be sure to leave a small gap around each crown to prevent moisture buildup and rot. With mulch in place, you’ll see more robust flower spikes and fewer invasive weeds stealing the spotlight (and moisture) from your prized plants!
Divide Clumps Every Few Years
Over time, blazing star clumps can become congested, leading to smaller, fewer blooms in the center. I learned this when my oldest plants produced only marginal spikes until I divided them. Every three to four years in spring or fall, lift the clump, tease it apart into sections, and replant.
Division rejuvenates the center and gives you extra plants to fill other garden spots. Each divided section, with fresh soil and space, quickly sends up new, vigorous spikes—resulting in wider, more dramatic displays!
Fertilize During Active Growth

Blazing stars appreciate a light feeding of balanced fertilizer in spring as shoots emerge. I skipped this step once, expecting them to manage on soil reserves, only to be underwhelmed by bloom size. A slow-release granular formula or weekly foliar feed of a balanced 10-10-10 solution supports robust foliage and flower development.
Avoid high-nitrogen mixes that favor leafy growth over blooms. With the right nutrients, each stalk will bear more densely packed flowers, creating the bold visual impact you’ve been dreaming of!
Choose the Right Planting Site

Blazing stars thrive in full sun—at least six hours daily. I tucked mine into a partially shaded border, thinking evening shade would be pleasant, but the result was lanky stems and sparse flowering. Bright sun promotes sturdy, upright growth and more prolific blooms.
Ensure the site also has good air circulation and well-draining soil. A sunny, breezy spot not only magnifies bloom production but helps beneficial predatory insects, like hoverflies, patrol effectively—keeping your blazing stars pest-free!
Encourage Pollinators with Companion Flowers

Blazing stars are magnets for bees, butterflies, and hummingbirds, but they appreciate a little floral variety. Plant nearby clusters of coneflowers, black-eyed Susans, or bee balm to extend the flowering season and provide continuous nectar sources. I’ve noticed bumblebees nesting closer when multiple bloom types are available!
These companions also offer diverse nesting opportunities—some solitary bees prefer hollow stems or decaying wood, while others nest in bare soil patches. By creating a pollinator-friendly neighborhood, you’ll see more visits to your blazing stars, which boosts pollination and encourages fuller, more abundant blooms!