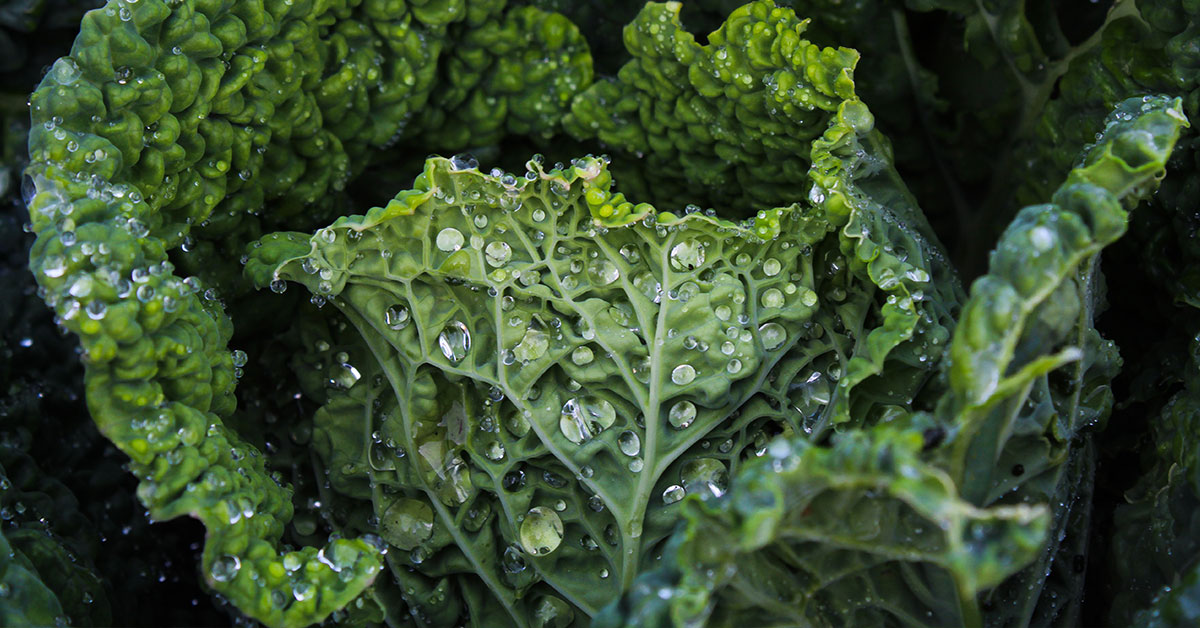

Kale, a member of the Brassica oleracea family, has its origins in the cool, damp regions of the eastern Mediterranean. In its native habitat—rocky hillsides and coastal cliffs—it thrived in well-drained, moderately fertile soils, sending out sturdy leaves that survived sea breezes and occasional droughts. I love watching those crinkly Blue Curled or Lacinato leaves catch the morning dew, but I also know how finicky these cool-season greens can be when conditions stray from their comfort zone. From timing your planting to mastering the right water balance, avoiding common mistakes will help you grow kale that’s lush, tender, and bursting with flavor!
It’s such a bummer when those ravenous cabbage worms or aphids find their way into your cozy kale patch, or when your plants bolt in an unexpected heatwave. I know how frustrating it can feel to see stunted growth or bitter-tasting leaves just when you’re craving fresh salads. Whether you’re a first-time grower or a seasoned gardener, steering clear of these pitfalls will set you up for a season of vigorous, healthy kale—perfect for everything from smoothies to sautéed sides. Let’s dive into eleven mistakes you’ll want to dodge!
Planting at the wrong time

One of my biggest regrets was sowing kale seeds right as summer heat peaked—those tender seedlings wilted under relentless sun and struggled to establish. Kale is a cool-season crop, native to temperate Mediterranean winters, so it flourishes in cooler temperatures around 60–65°F. Planting too early in cold, wet soil or too late into warm weather invites slow germination, leggy seedlings, or premature bolting.
To avoid this, schedule your sowing about 6–8 weeks before the last spring frost or in late summer for a fall harvest. In warmer climates, provide partial shade during hot afternoons, mimicking the dappled light of its native understory. Proper timing ensures vigorous seedlings that hold up against pests and produce those crisp, emerald leaves you love!
Overcrowding seedlings
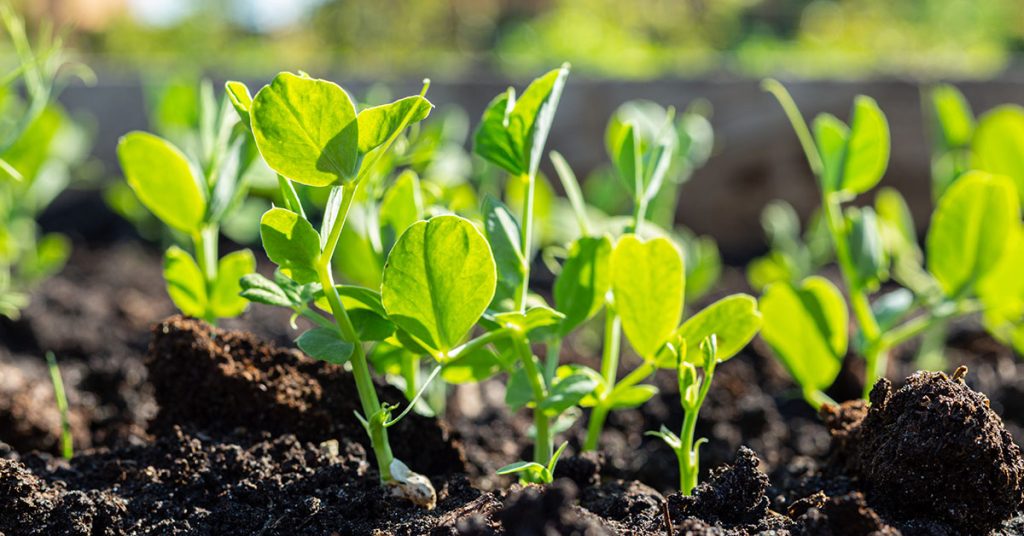
I used to cram a dozen kale seedlings into a single square foot, thinking I’d fill in the bed faster—but instead, they competed fiercely for nutrients, light, and airflow. Overcrowded plants are more vulnerable to fungal diseases like downy mildew and offer cramped spaces for pests like flea beetles to hide. In the Mediterranean scrublands where kale’s ancestors grew, plants had ample room to spread, avoiding these issues naturally.
Give your kale at least 12–18 inches between centers, depending on the variety. This spacing allows each plant’s thick roots to explore the soil and ensures good air circulation—key to preventing disease. When seedlings emerge, thin the weakest to leave only the healthiest at each spot. You’ll be amazed at how much more vigorously your kale develops when it has breathing room!
Neglecting soil preparation

Early on, I planted kale in unamended garden soil and watched it produce a handful of spindly leaves before stalling. Kale appreciates a fertile, well-drained medium—its wild relatives thrived in loamy soils enriched by decomposing plant litter. Ignoring soil structure and nutrient content can lead to poor root development and underwhelming leaf growth.
Before planting, enrich the bed with plenty of compost or well-rotted manure, working it in to at least six inches deep. A balanced organic fertilizer applied at planting and again mid-season supports those heavy, nutrient-hungry leaves. By restoring your soil’s structure and fertility, you’ll give kale the strong start it needs to reward you with robust harvests!
Ignoring soil pH
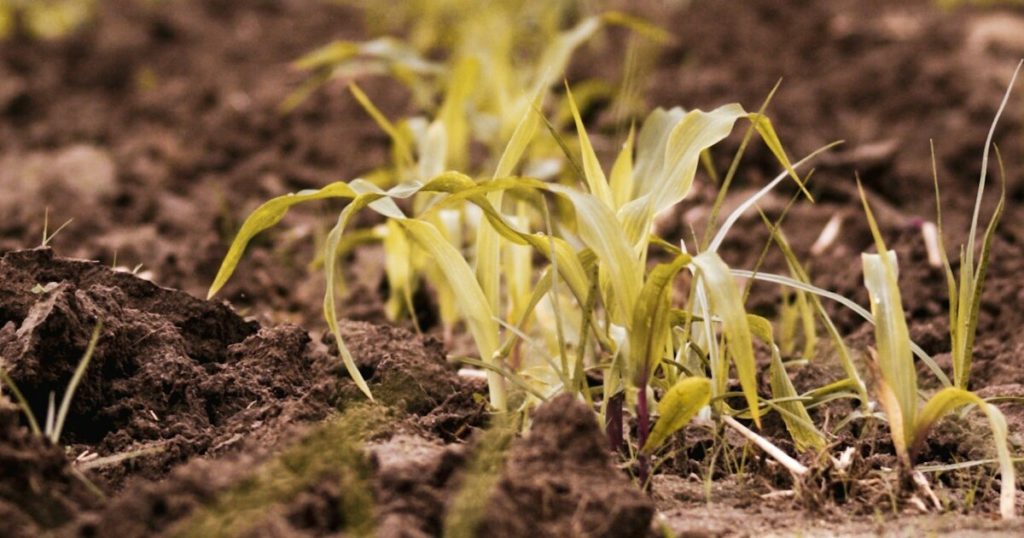
I once overlooked a lingering soil test that showed my pH dipping below 6.0—and my kale’s leaves turned yellowish, despite regular feeding. Kale prefers a slightly acidic to neutral pH (6.5–7.0), where it can access nutrients like nitrogen, phosphorus, and iron. Outside this range, essential minerals become locked up, leading to nutrient deficiencies that mimic other issues.
If your soil test indicates acidity, add agricultural lime before planting; if it’s too alkaline, sulfur or peat moss amendments can help. Retest every few years to maintain the sweet spot. With balanced pH, your kale’s foliage will stay deep green and vigorous, just like the wild stands that blanket Mediterranean slopes!
Inadequate fertilization
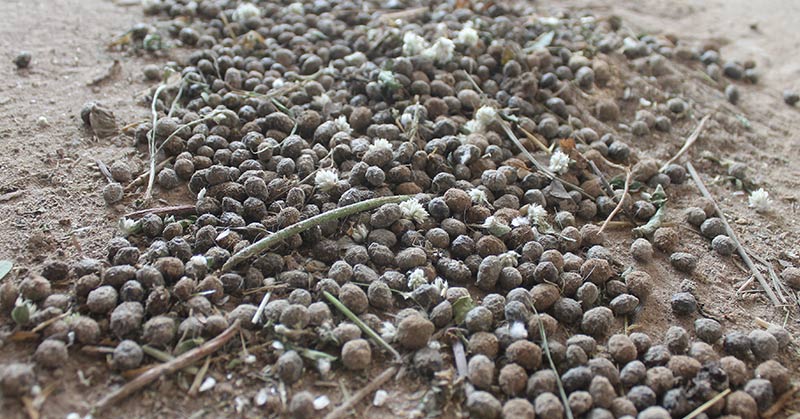
After a few weeks of growth, my kale patch looked leggy and pale, even though I’d added compost at planting. Kale is a heavy feeder compared to many leafy greens—those thick leaves demand a steady supply of nitrogen and other macronutrients. Skipping supplemental feeding mid-season can leave plants scrambling, producing sparse foliage rather than the hearty harvest you crave.
Side-dress with compost tea or an organic nitrogen-rich fertilizer about four weeks after transplanting, then again six to eight weeks later. This mimics the natural pulses of nutrients from decaying forest litter in kale’s native range. Regular feeding keeps leaves lush, flavorful, and packed with the health-boosting compounds kale is famous for!
Overwatering or underwatering
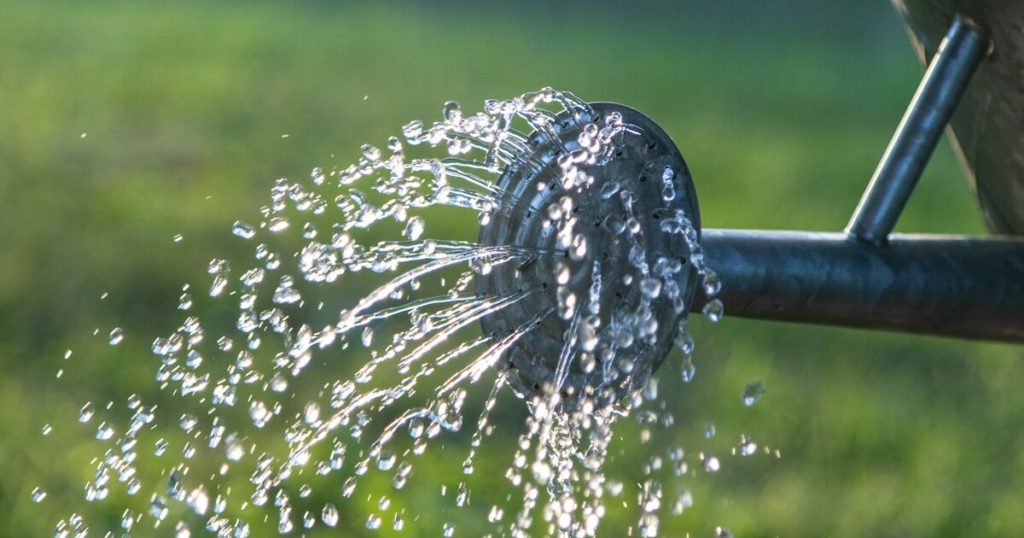
Finding the Goldilocks zone of moisture for kale took me a few soggy mornings. Waterlogged soil drowns roots and invites rot, while dry spells stress foliage, making it tough and bitter. In Eastern Mediterranean climates, kale’s wild ancestors relied on winter rains and summer lulls—indoors, we have to replicate that cycle carefully.
Aim for consistent moisture: water deeply when the top inch of soil dries, allowing the excess to drain away. Use mulch—straw or shredded leaves—to conserve moisture and moderate soil temperature. By keeping the balance just right, your kale will develop tender, succulent leaves instead of tough, woody ones!
Failing to harden off seedlings

I’ll never forget planting out greenhouse-raised kale without acclimating it—those delicate leaves burned in direct sun and shriveled from wind exposure. In its natural environment, kale seedlings emerge under light canopy cover, gradually adjusting to full sun and breezes. Directly exposing indoor or greenhouse starts to the garden is a recipe for transplant shock.
Over a week, introduce seedlings to outdoor conditions: start with a couple of hours of morning sun and sheltered breezes, then extend their exposure daily. By the time planting day arrives, they’ll be toughened up and ready to hit the ground running, producing sturdy stems and robust foliage!
Neglecting pest scouting
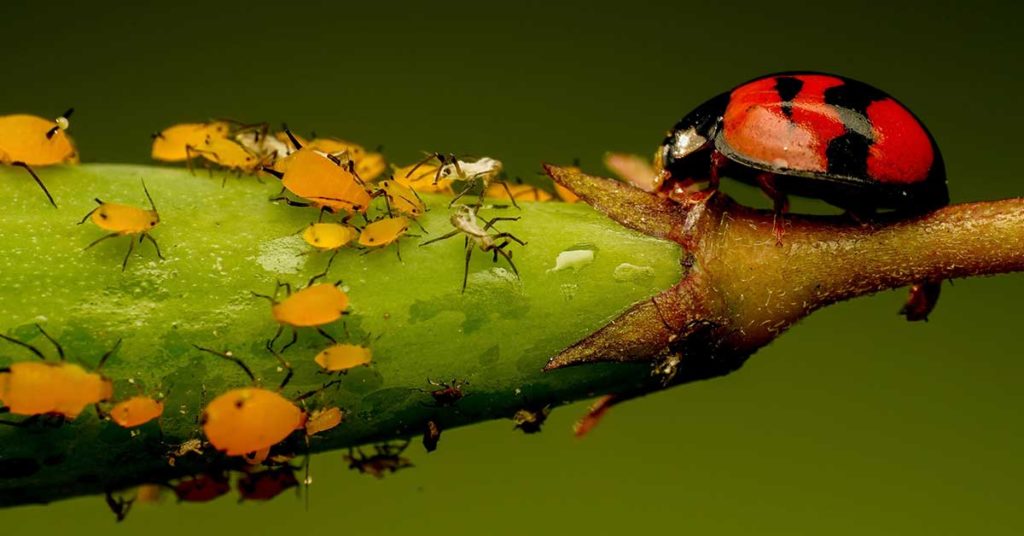
Kale’s lush leaves are irresistible to cabbage worms, flea beetles, and aphids—and early infestations can decimate plants before you even notice. In the wild, kale relatives support diverse insects, some beneficial and some not; in your garden, it pays to be vigilant. Relying solely on reacting to heavy damage often means fighting a losing battle.
Inspect leaves—especially the undersides—at least once a week. Handpick caterpillars, spray with insecticidal soap against aphids, or use row covers to block adult pests. Encouraging beneficial predators like ladybugs by interplanting with dill or fennel gives you a natural edge. Preventive scouting keeps your kale thriving rather than sitting on the menu!
Letting plants bolt too soon
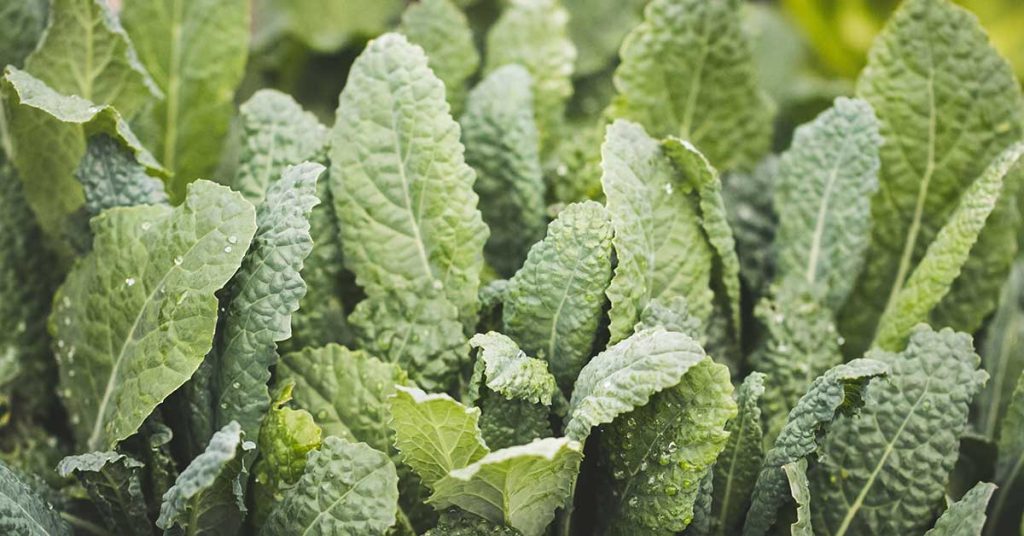
When temperatures climb above 75°F, kale senses approaching heat and can bolt—sending up flowers and producing bitter leaves. I learned the hard way that ignoring heat waves turns my prized Lacinato kale into a tough, unpleasant snack. Bolting is natural in kale’s native Mediterranean spring, but in your garden, it cuts your harvest window short.
Plan a fall sowing 8–10 weeks before first frost to enjoy sweet, tender leaves, and consider shade cloth during heat spells. Choosing bolt-resistant varieties like ‘Red Russian’ or ‘Siberian’ also helps. With smart timing and variety selection, you’ll extend your kale season without unwanted blooms!
Skipping crop rotation

Growing kale in the same spot year after year invites soil-borne diseases like clubroot and increases pest pressure. In the Eastern Mediterranean, wild brassicas drifted across varied terrain, reducing disease buildup; your garden plot needs similar care. Planting brassicas back-to-back concentrates pathogens and pests in one spot.
Rotate your brassica family crops—including broccoli, cabbage, and cauliflower—to a new bed every two years. Follow up with non-brassicas like beans or onions to break disease cycles and restore soil balance. Crop rotation keeps kale healthy and your beds productive season after season!
Harvesting improperly
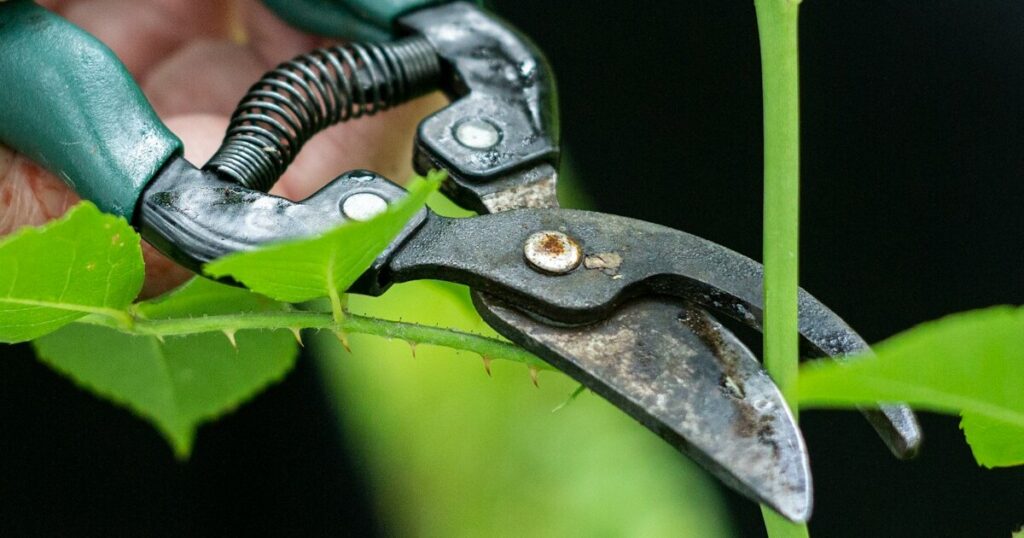
In my eagerness, I once stripped entire kale plants of all leaves, expecting them to regenerate overnight. Instead, the plants weakened and produced sparse regrowth. Kale thrives when you harvest mature outer leaves, leaving the central growing point intact—just like commercial growers do in the Mediterranean market gardens.
Use clean scissors to cut leaves at the base of the stem, one or two at a time, working from the bottom up. This encourages continual production of new foliage and prevents stress. Proper harvesting feels like a gentle conversation with your plants, and rewards you with longer, more bountiful pickings!