
Lavender’s silvery foliage and fragrant blooms are a dream for any gardener, but even this rugged Mediterranean native (Lavandula angustifolia) can suffer when common errors sneak into your routine. It’s such a bummer when those purple spikes languish instead of lighting up your garden! I know how frustrating it is to invest time and care, only to watch your lavender struggle or succumb to rot, pests, or poor flowering.
As someone who’s spent many sun-drenched afternoons tending my own lavender beds—one of my favorite plants for attracting bees and butterflies—I’m excited to share eleven missteps to avoid. Each misstep comes with a two-paragraph deep dive, covering why it matters, how lavender behaves (including its appeal to nesting solitary bees in hollow stems), and tips on keeping this non-invasive gem thriving in your garden.
Over-Fertilizing Lavender

It’s tempting to think that more nutrients equals more blooms, but lavender evolved on lean, rocky soils of the Mediterranean and gets stressed when you overload it. Excess fertilizer spurs soft, lush growth that’s prone to fungal diseases and flop, robbing you of that tidy, aromatic form you love. Too much nitrogen in the soil dilutes the essential oils responsible for lavender’s signature scent—and that’s a serious bummer when you’re counting on those fragrant flower stalks!
Instead, let the plant’s native hardiness do the work. I’ve learned that feeding lavender once in early spring with a light application of compost or a low-nitrogen, slow-release fertilizer keeps it happy without overdoing it. Your wallet will thank you, and you’ll spend less time fussing with soil tests or corrective applications!
Pruning at the Wrong Time or Incorrectly

Lavender needs an annual haircut to maintain its shape and encourage dense blooms, but cutting back too late (after new growth starts) or too severely can leave woody stumps that never produce again. I once trimmed mine in late winter—only to find no spring flowers! Pruning after the first flush of blooms in midsummer, cutting back about one-third of the new growth (but not into the old wood), keeps the plant vigorous and beautifully rounded.
When done right, pruning also helps maintain air circulation, deterring fungal issues in humid seasons. Remember, Lavandula angustifolia is non-invasive, so its compact habit responds well to carefully timed snips. With a quick summer trim, you’ll enjoy a second wave of blooms and more stem tips for drying, not a poky tangle of bare wood!
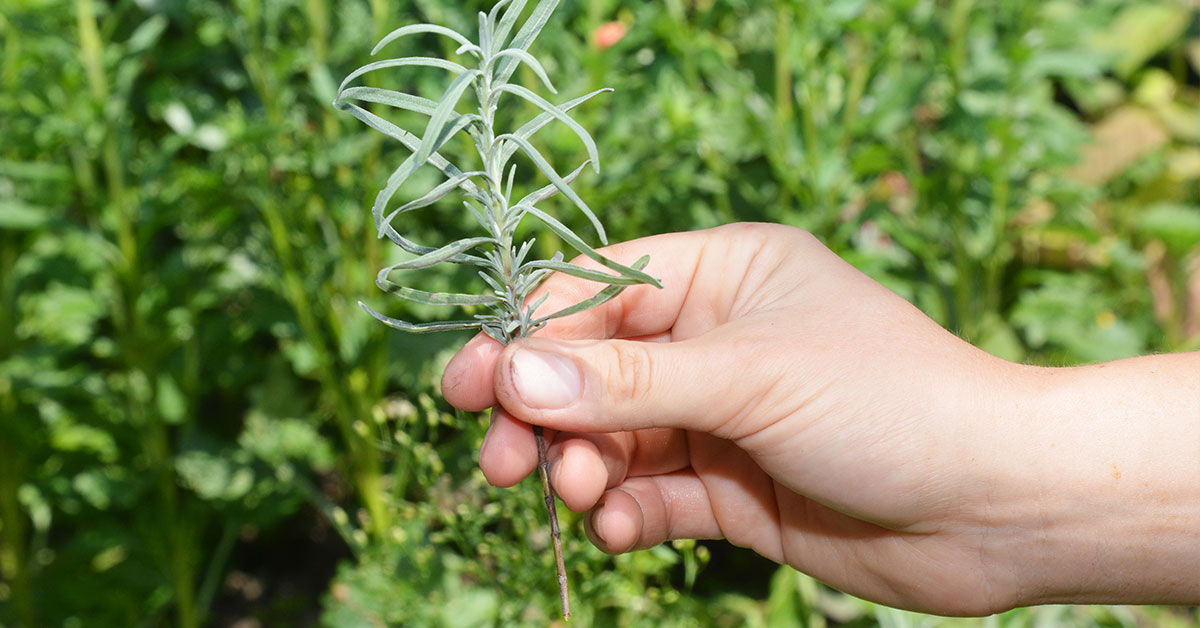
Harvesting Lavender at the Wrong Stage
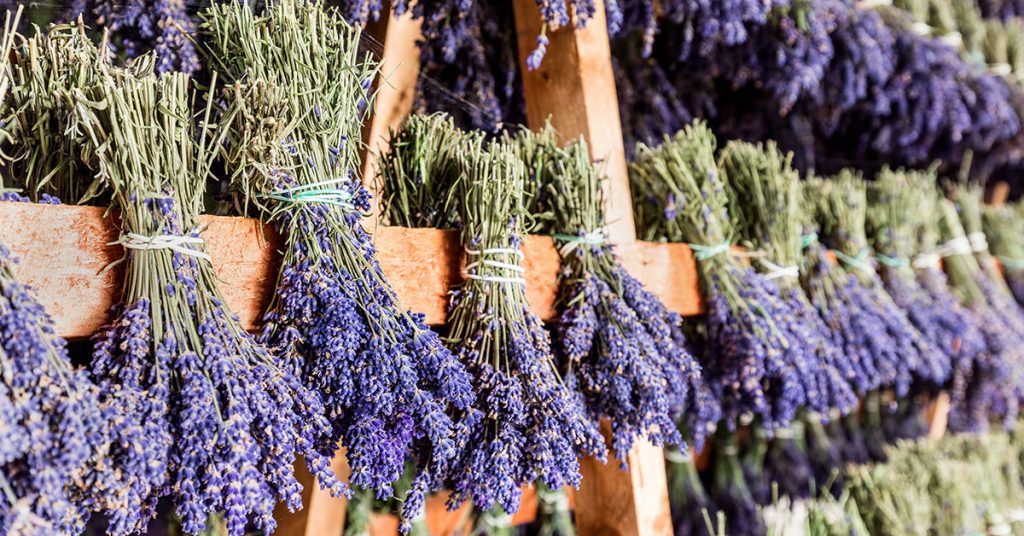
Timing your cut matters more than you’d think! Snipping lavender too early—when buds are still tightly closed—means you miss out on the fullest color and strongest fragrance. I’ve been there, rushing to cut before visiting bees thinned out the buds, only to hang bundles that smelled faint and looked pale. The ideal window is when the lower two-thirds of the flower spike show color while the top buds remain slightly closed.
Harvesting at full bloom—when petals are wide open—risks seed drop and weaker oil concentration. And if you cut too low into the woody base, you’ll sacrifice the next season’s growth. By watching your lavender’s bloom cycle and using sharp shears to snip just above a pair of leaves, you’ll collect the most potent fragrance and maintain healthy plant structure for future seasons!
Choosing the Wrong Lavender Variety for Your Climate
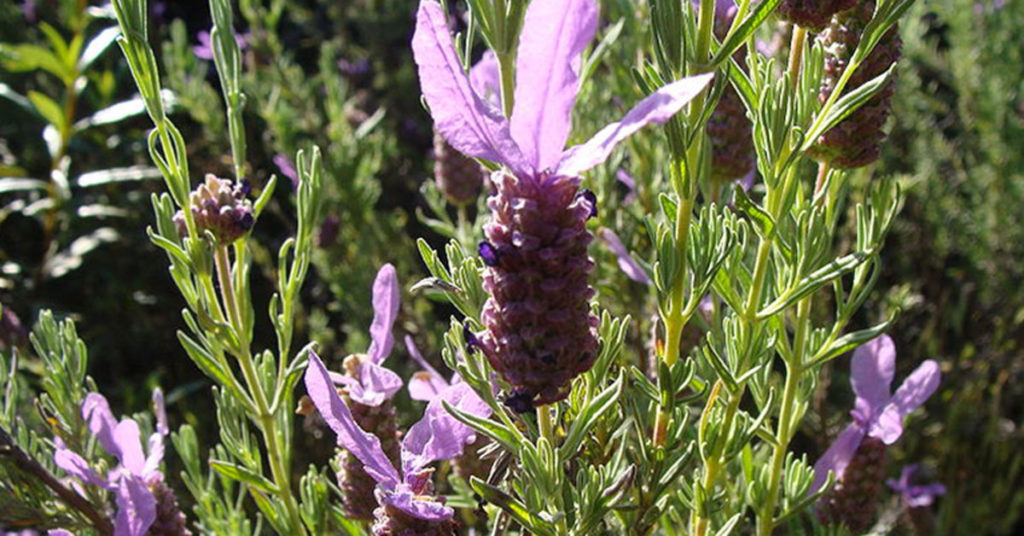
Not all lavenders are created equal! While Lavandula angustifolia thrives in cooler mountain climates, Spanish lavender (Lavandula stoechas) prefers milder winters and can struggle with hard freezes. I once planted a row of ‘Spanish Lace’ in my chilly high-altitude garden—only to find them brown and brittle by March. Each cultivar carries subtle distinctions in hardiness and moisture needs, and none are invasive when grown responsibly.
Before you pick up that pretty pot at the nursery, research your USDA zone and sun exposure. For colder regions, go with English lavender or one of its hardy hybrids; in warmer areas, explore Lavandula x intermedia varieties that tolerate heat and humidity. Matching your plant to your local climate saves you from repeat replacements and heartbreak!
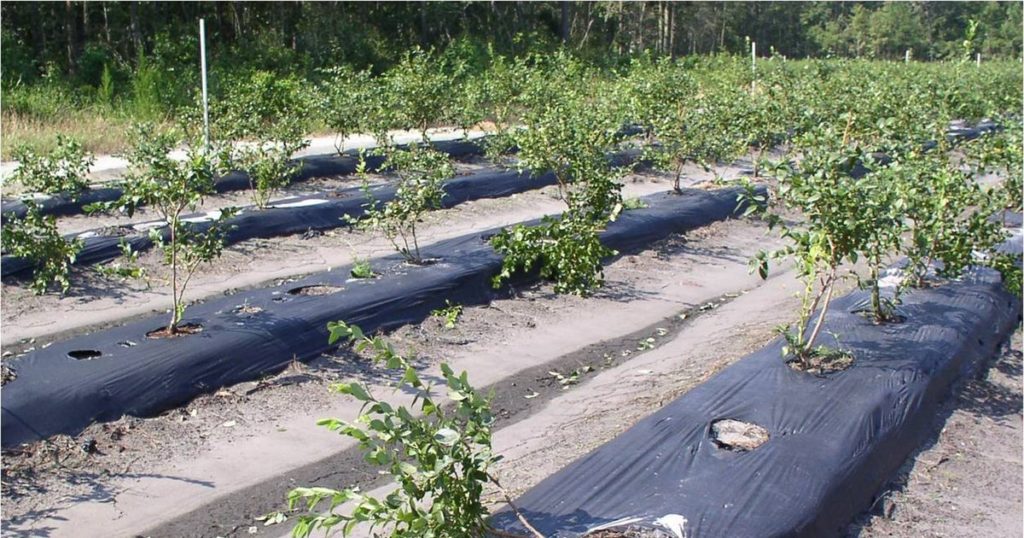
Using Heavy, Compact Soils

Lavender hates “wet feet.” Planting in clay or compacted soil can smother roots and invite crown rot, turning those fragrant tufts into mush. I learned this the hard way when I tried to tuck lavender into a clay bed without amending—it didn’t survive its first winter! Lavender’s native Mediterranean habitat is well-draining, rocky terrain, so any soil that holds water is a recipe for disaster.
The fix is simple: amend heavy soils with coarse sand, small gravel, or grit to improve drainage. You can even plant in raised beds or mounds to keep moisture away from the crown. Not only will your lavender perk up, but you’ll also trim back on irrigation time and costs—two big wins for your garden and budget!
Crowding Plants Too Closely
Lavender looks lovely in tight groupings, but squeeze them too close and you’ll create humidity pockets that hamper airflow—prime conditions for mildew and mold. I once stuffed six plants into a 3-foot bed, thinking they’d fill in faster. Instead, they competed for light, and I spent hours daintily removing yellowing leaves!
Aim for at least 18–24 inches between crowns, depending on the variety. Giving each plant room to grow its 2- to 3-foot shrub shape reduces maintenance time spent hacking out dead foliage and lets solitary bees burrow nearby soil for nesting without disturbance. Spacing them right means stronger plants and fewer disease problems down the road!
Ignoring Pests and Disease Symptoms

Lavender is generally pest-resistant, but aphids, spittlebugs, and root-rot pathogens can sneak in when conditions favor them. If you spot sticky residue, cottony masses, or yellowing leaves, don’t shrug them off! I once brushed aside a small aphid cluster, only to find half my blooms stunted a week later. Early intervention with a strong blast of water or an insecticidal soap can stop small outbreaks from turning into major headaches.
Fungal issues often stem from poor drainage or overcrowding, so keeping an eye out for wilting or brown patches on stems can save you hours of cleanup. Removing affected parts promptly and correcting environmental issues keeps your lavender healthy and spending less time in crisis mode!
Skipping Mulch and Ground Covers

It may seem counterintuitive, but the wrong mulch—like shredded bark—can hold too much moisture around your lavender’s base. I used to layer wood chips around my lavender, only to invite root rot and fungus storms! Instead, use a light, inorganic mulch such as gravel or coarse sand that reflects heat, deters weeds, and maintains dryness.
Lavender’s native soils often have a stony surface layer, so mimicking that look with small pebbles or limestone chippings helps regulate soil temperature and moisture. That simple change spared me from endless weeding and allowed those lovely solitary bees to nest in the bare soil edges—no more battling damp bark!
Neglecting Winter Protection
While some lavenders tolerate frosty nights, pounding winds and heavy snow loads can break brittle stems. If you live in colder zones, a light cover of burlap or a loose ring of evergreen boughs can shield crowns without trapping moisture. I learned this when my unprotected plants snapped under ice; a simple tipi of twigs and burlap the next year kept them upright and blooming come spring!
Avoid plastic covers or piling on thick mulch that holds moisture against the crown—those practices will invite rot. Instead, emulate the Mediterranean climate by providing just enough wind breakage without suffocating your lavender. A little prep in late fall saves hours of replacement and rebuilding come April!
Planting in Too Much Shade

Lavender thrives on at least six to eight hours of direct sun, and planting it under a tree canopy or next to tall shrubs can stunt growth and reduce flowering. I once tucked lavender into a “bright” corner that turned out to be shady by midday, and the results were leggy, pale spikes that never fully opened.
Sunlight fuels essential oil production and sturdy branching; without it, lavender becomes stressed and susceptible to fungal diseases. If your garden is on the shadier side, choose a sunnier spot or use reflective surfaces—like light-colored stones or walls—to bounce extra light onto your plants. You’ll see more vigorous growth and vibrant blooms without extra fuss!
Overwatering and Poor Drainage
Perhaps the most common mistake is simply giving lavender more water than it needs. Frequent shallow watering encourages weak, brittle roots that rot easily, while infrequent deep watering better mimics Mediterranean rainfall patterns. I used to stick to a rigid watering schedule—until I let the soil dry thoroughly between soakings and watched my lavender bounce back stronger than ever!
Pair deep, infrequent watering with well-draining soil amendments—like gritty sand or small river rock—and you’ll eliminate most moisture-related issues. This approach not only saves hours hauling hoses but also slashes your water bill, leaving more time for enjoying lavender’s heady scent and watching solitary bees nest in the nearby bare earth!