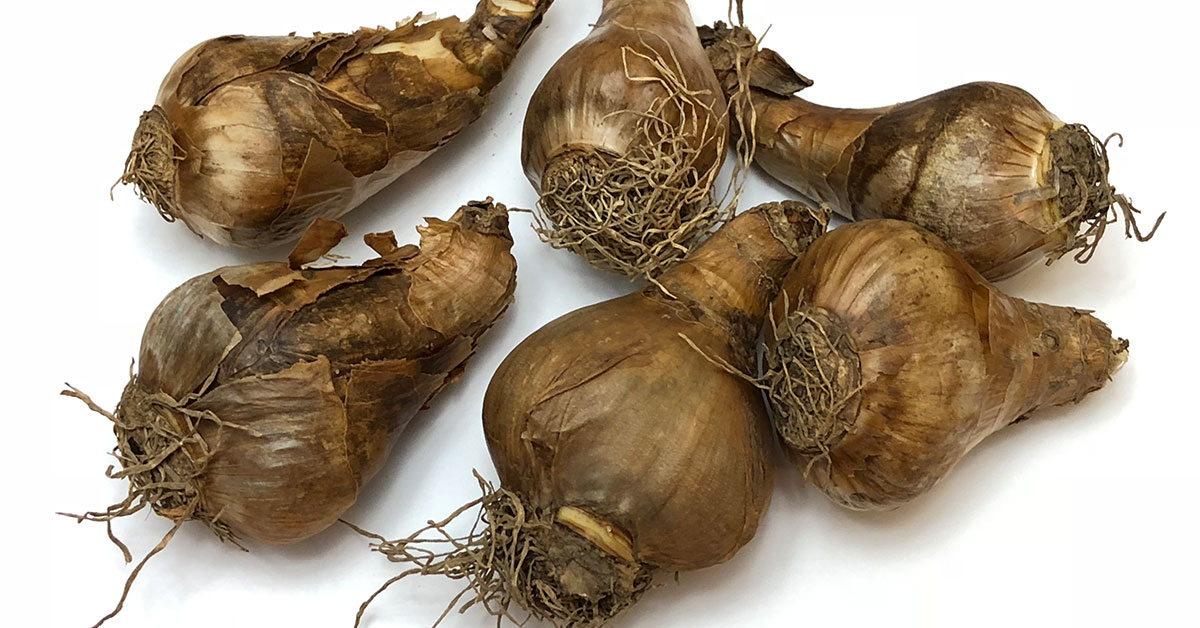

Starting your bulb garden should feel like unwrapping a treasure chest—those little packages hold the promise of spring’s first blooms! Yet it’s such a bummer when you plant only to find rotted, pest-riddled, or nonviable bulbs. Before you tuck those treasures into the soil, a quick health check ensures you’ll get sturdy, vibrant flowers rather than a disappointing patch of bare ground.
In this guide, we’ll explore ten essential checks—from firmness tests to sprout inspections—to help you sort safe bulbs from the duds. Along the way, we’ll touch on each bulb’s native roots and invasiveness potential, plus how healthy bulbs lead to flowers that attract pollinators and even provide nesting havens for beneficial insects. Let’s get your spring show on the road!
Examine for Mold or Fungus
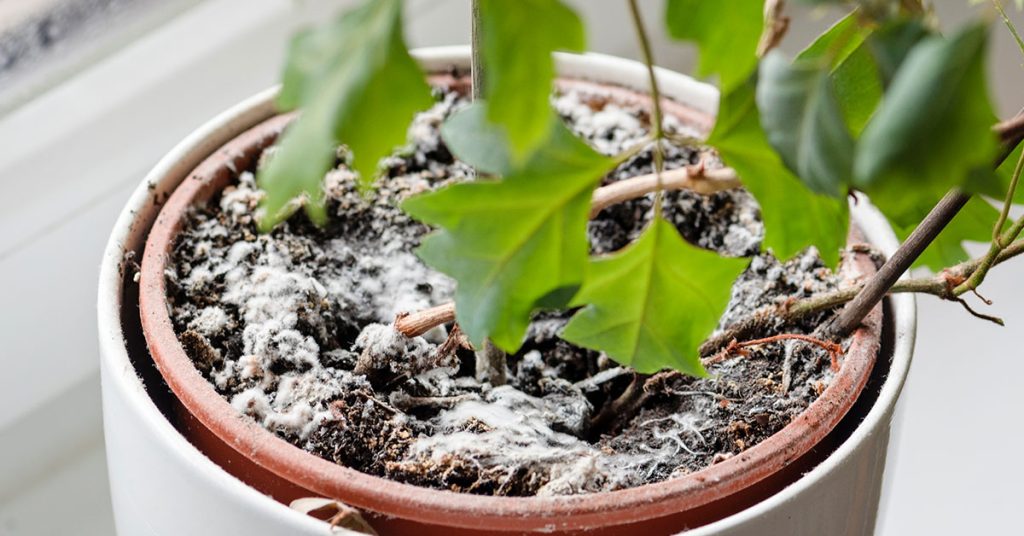
When you unwrap bulbs—whether tulips from Central Asia or daffodils native to the Mediterranean—look carefully between the scales for fuzzy patches of mold or damp rot. Bulbs infected by fungal pathogens like Fusarium or Penicillium often show discolored spots, slimy textures, or white webbing. I once planted a tray of hyacinth bulbs (native to the Eastern Mediterranean) without checking, and nearly half failed to sprout due to hidden fungal rot!
Healthy bulbs produce robust flowers that draw bees and butterflies to your garden. Fungus-free bulbs grow sturdier roots and stems, providing stable perches and cavities at ground level where solitary bees—like the mason bee—can nest. A clean bulb is the first step toward a habitat that supports these invaluable pollinators.
Inspect for Firmness and Rot
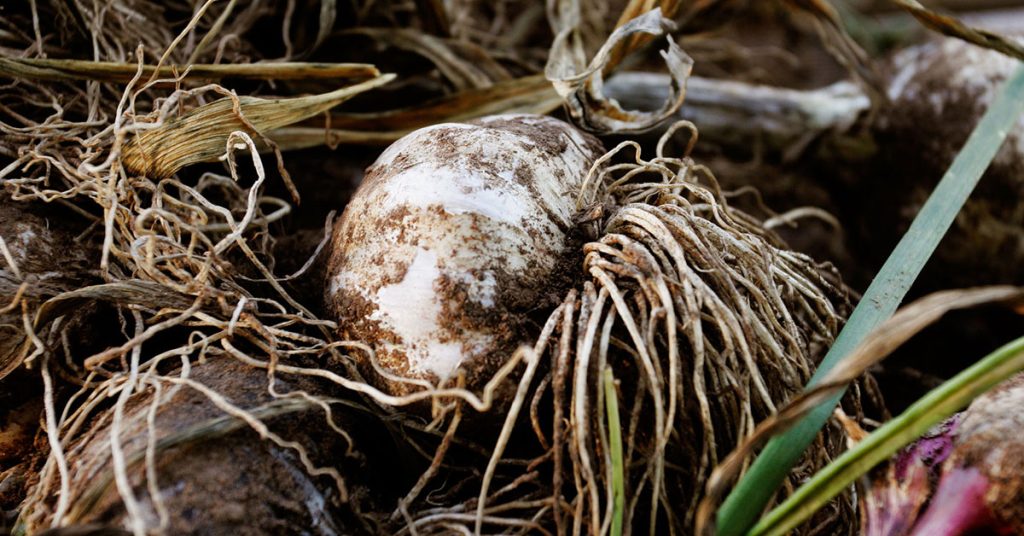
Gently squeeze each bulb—it should feel firm and plump, not soft or spongy. Bulbs with internal rot collapse under light pressure and often emit a damp, musty odor. I learned this the hard way when my narcissus bulbs (native to Western Europe) felt deceptively solid until I sliced one open to reveal mushy interiors!
When you plant firm bulbs, you encourage strong root development and stable flower stalks. Those healthy roots not only anchor the plant but also create micro-tunnels in the soil that ground-dwelling insects use for nesting, bolstering your garden’s soil ecosystem.
Check for Pests or Larvae

Slice bulbs open lengthwise (or gently peel back a few outer scales) to look for tiny grub larvae—often the offspring of bulb flies or mites. Even a single larva can hollow out a bulb’s interior as it feeds. One spring, I discovered lilac borer larvae in my lily bulbs (lilies are native across Asia and parts of North America), which explained why several stems never broke the surface!
Planting pest-free bulbs yields robust blooms that attract nectar-seeking hoverflies and butterflies. Furthermore, healthy bulb clusters leave space for predatory ground beetles to patrol, establishing a self-regulating pest-control network in your beds.
Smell Test for Off Odors
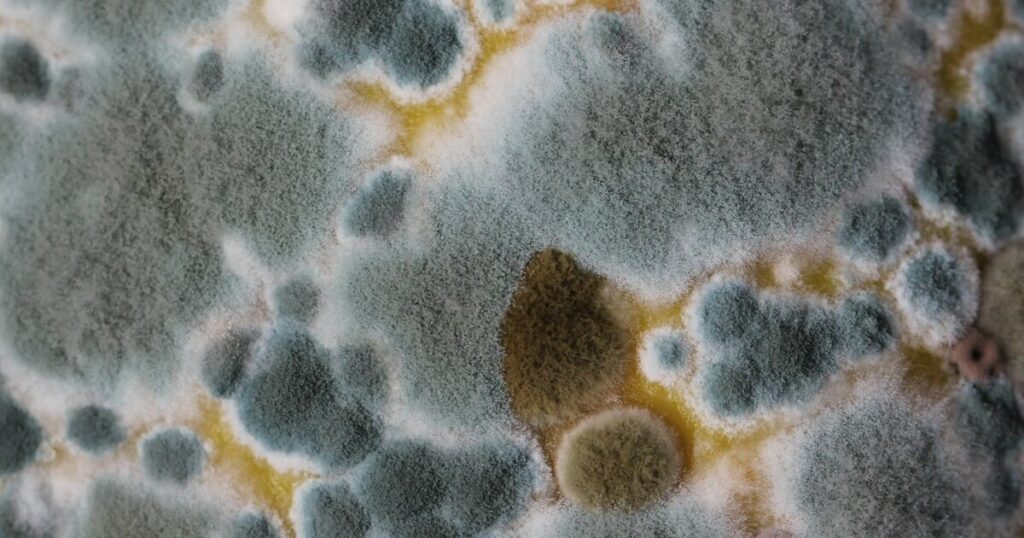
Give bulbs a quick sniff: a fresh bulb has a subtle earthy scent, whereas decaying tissue smells sour or moldy. Narcissus and fritillaria bulbs—native to Europe and Asia, respectively—shouldn’t reek; any sharp, foul odor signals advanced decay. I once unwrapped a package of anemone bulbs only to be greeted by a rank stench, saving me from a disastrous planting!
Clean-smelling bulbs yield fragrant blossoms that lure hummingbirds and long-tongued bees. The absence of decay also means less chance of soilborne pathogens that could disrupt underground nesting sites for solitary bees seeking shelter in dry bulb cavities.
Verify Visible Sprouts or ‘Eyes’
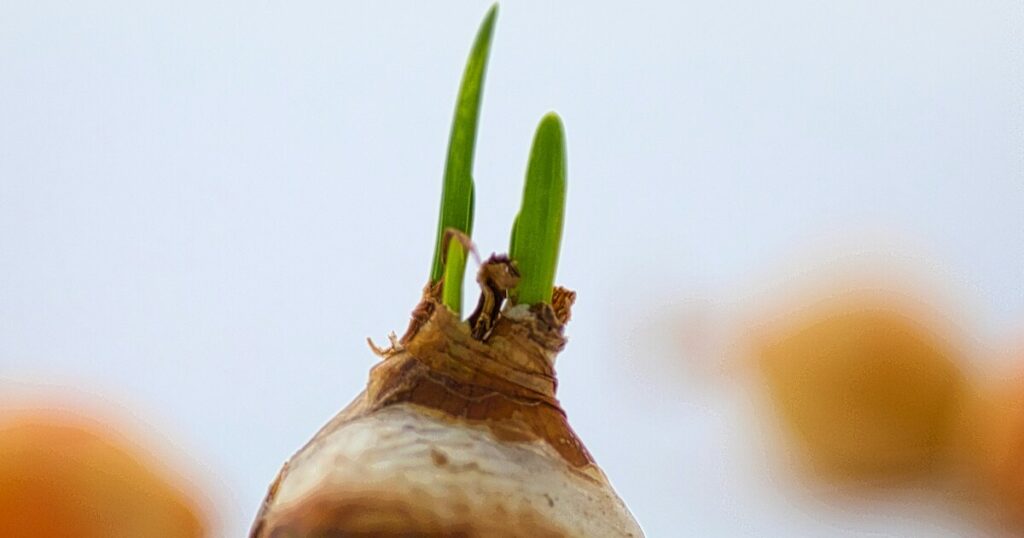
Many spring bulbs form tiny leaf or root sprouts—“eyes”—even before planting. For species like crocus (native to woodlands of Eurasia), these emergent shoots indicate bulb vitality. If you see small green points pushing between scales, you’ve got a live one! In contrast, bulbs lacking any eye formation after storage may struggle to establish.
Bulbs with visible sprouts flower more reliably, creating early-season blooms that provide nectar and pollen when few other plants are in bloom. That early forage is vital for hungry mason bees establishing nesting tunnels in nearby inert wood or soil, helping jump-start your garden’s pollinator community.
Assess Storage Conditions History

Ask your supplier or check packaging for how bulbs were stored—cool, dry environments (40–50°F and 60% humidity) keep them dormant and disease-free. Overwintered bulbs left too warm or damp can prematurely sprout or develop rot. After receiving my gladiolus corms (originally South African), I realized they spent weeks in a humid warehouse—several arrived rotted before I even unpacked!
Properly stored bulbs sprout on your schedule, leading to synchronized flowering that delights bees and butterflies. Predictable bloom times let you plan companion plantings—like planting bee balm nearby—to extend forage and nesting opportunities for beneficial insects throughout the season.
Examine Bulb Scales and Roots
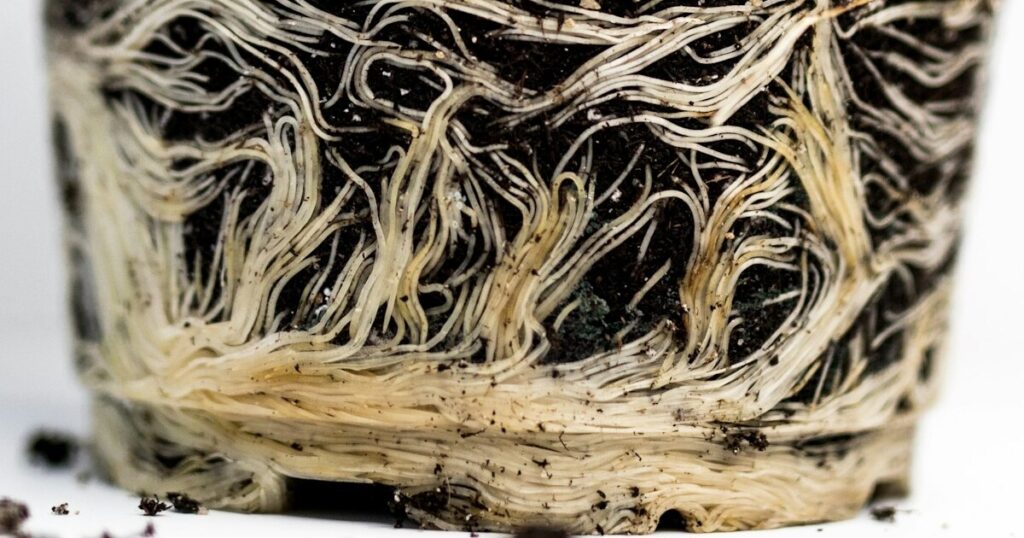
Peel back a scale or two: healthy scales are firm and creamy-white, while dried-out or brown-edged scales suggest dehydration or age. Fine root hairs at the bulb’s base signal readiness to anchor and feed. I once ignored shriveled Colorado blue columbine bulbs (native to the Rocky Mountains), only to find they produced weak seedlings that never thrived.
Well-scaled bulbs push out vigorous roots that break up compacted soil, creating passages for ground bees and other soil fauna. Those creatures aerate the earth further, enriching it for your bulbs and companion plants alike.
Look for Temperature Damage Signs

Bulbs exposed to freezing then thawing cycles—common in uninsulated sheds—can suffer tissue damage. Splits in the tunic (outer skin) or water-soaked patches indicate freeze injury. My tulip bulbs (Central Asian natives) showed such cracks after an early frost, predicting my decision to compost them rather than plant.
Intact bulbs yield straight, sturdy shoots that flower without stunting or floppy stems. The robust structure also offers stable microhabitats at ground level where beneficial mites and springtails congregate, contributing to soil health and bulb success.
Confirm Variety and Label Accuracy

Always buy bulbs labeled with botanical names and origins. Confusion between species—like mistaking an invasive Spanish bluebell (Hyacinthoides hispanica) for native English bluebell—can have ecological consequences. A neighbor once unknowingly planted invasive lilies-of-the-valley (native to Europe and Asia) that spread beyond their bed, outcompeting local wildflowers!
Planting correctly identified bulbs ensures you foster beneficial insect relationships native to those species. For instance, planting true English bluebells attracts native bumblebees that have co-evolved to pollinate them, strengthening local pollinator networks and preserving biodiversity.
Source from Reputable Suppliers
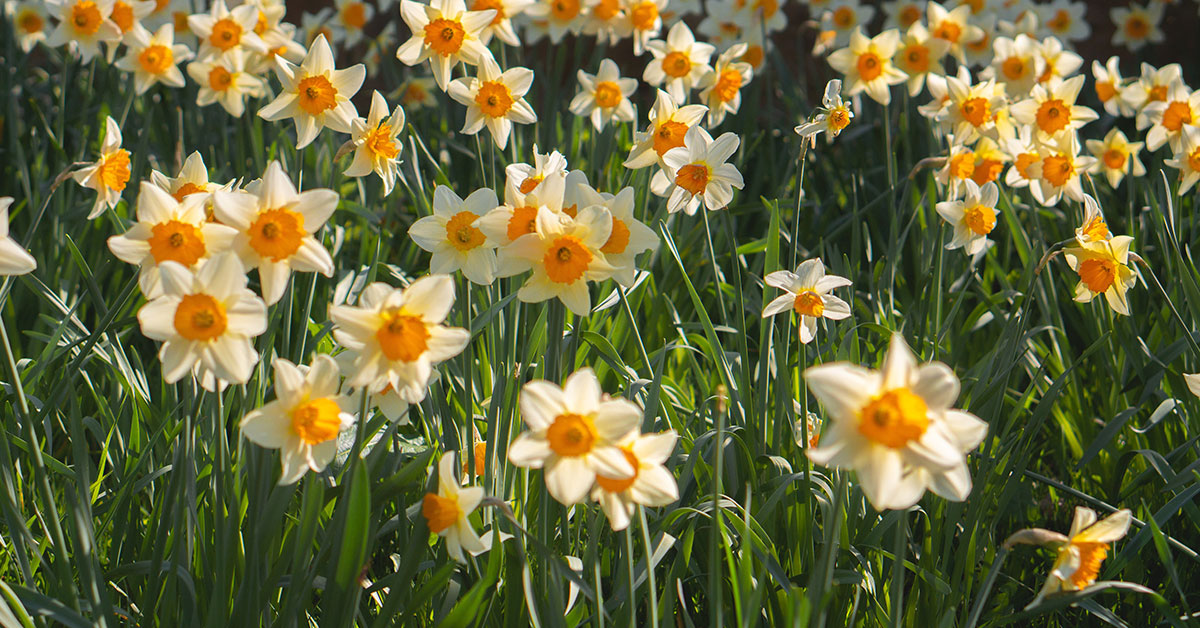
Bulbs from trusted nurseries or certified suppliers often come disease-indexed and quality-checked. Avoid bargain bins where bulbs may have sat through multiple seasons, accumulating pests or rot. My best crop of crocosmia (African natives) came from a specialist grower who guarantees disease-free stock—every corm sprouted vigorously!
High-quality bulbs produce reliable blooms that nourish pollinators—hoverflies, bees, and butterflies—with abundant pollen and nectar. A flourishing insect community then contributes to natural pest control, protecting your bulbs and other garden plants without chemical interventions.