

I’m thrilled you’re gearing up for a rose‑pruning session this August! There’s nothing quite like shaping those arching canes under the late summer sun—especially when you know each careful cut today is a promise of riotous blooms next spring. I know how disheartening it can be to see fewer flowers than you hoped for, or to lose canes to winter dieback. With these ten targeted tips, you’ll steer your roses toward vibrant health and a glorious floral display when they wake up next year.
Roses (genus Rosa) are native across Asia, Europe, and North America, and though they’re generally not invasive in most gardens, they do appreciate thoughtful maintenance. Their woody canes provide structure and potential nesting sites for beneficial insects, while faded blooms and hips offer food and shelter through the colder months. Let’s dive into these August pruning strategies so you can give your roses the royal treatment they deserve!
Sanitize Your Pruning Tools
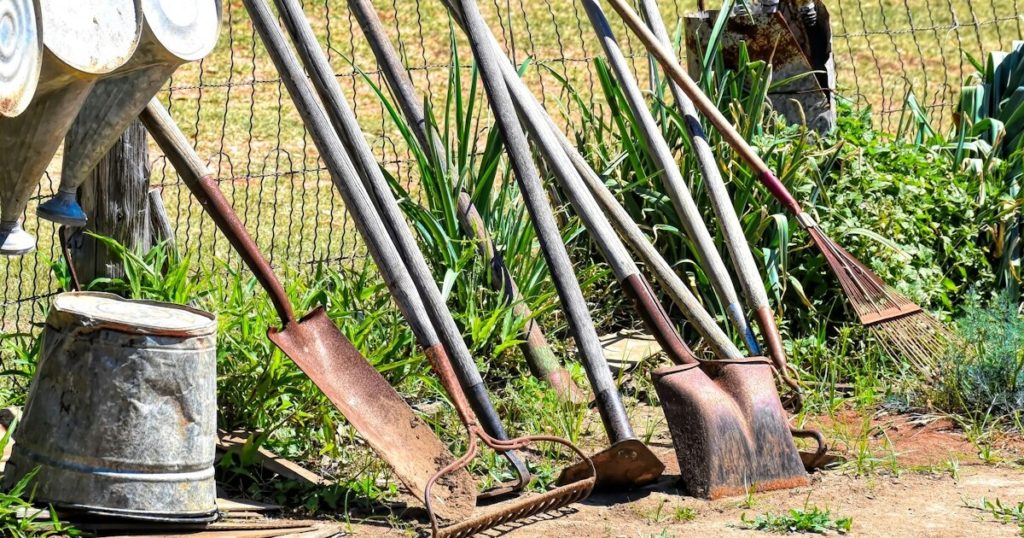
It’s such a bummer when a stray pathogen sneaks in through a pruning cut! Before you begin, wipe down blades with rubbing alcohol or a 10% bleach solution. This step stops black spot, rust, and other fungal spores in their tracks, so your roses stay healthy from the first snip to next spring’s bud burst.
Clean tools also demonstrate respect for the plant’s natural defenses. Roses have been evolving for millions of years—some wild species even support solitary bees nesting in cane hollows—so we want to avoid hijacking their resilience with careless cuts!
Thin the Center for Better Airflow

Crowded canes trap moisture, creating cozy corners for powdery mildew and pests like aphids to set up shop. By selectively removing inward‑growing branches, you open the heart of the plant to air and sunlight, reducing disease risk and letting beneficial predators—ladybugs or lacewings—easily patrol the foliage!
Roses’ native ranges in temperate Asia and Europe feature open woodlands where air circulates freely, so mimicking that environment in your garden keeps them happiest. Thinning fosters vigorous new growth, translating to more flower‑packed stems when spring arrives.
Cut at a 45° Angle Above Outward‑Facing Buds
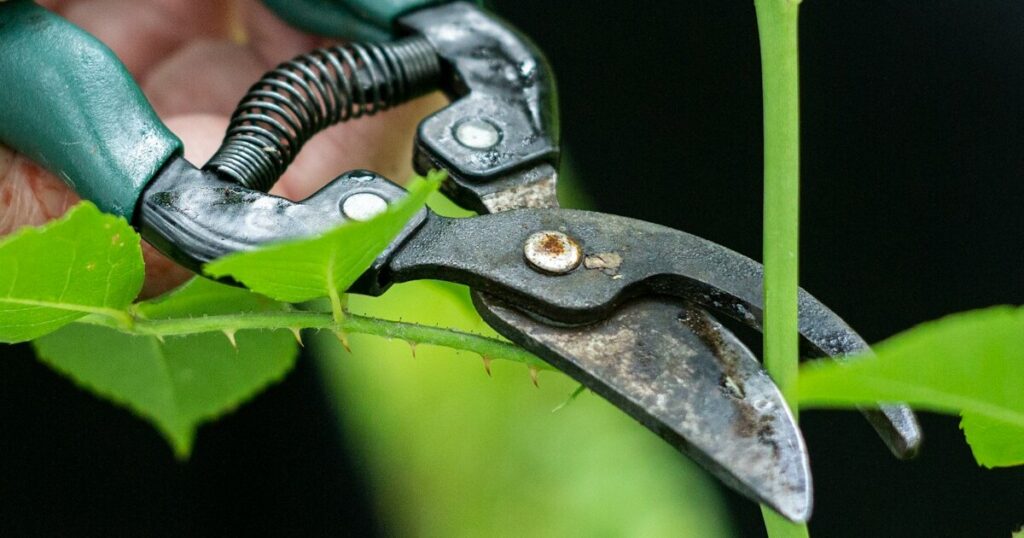
Proper cut orientation is key: sloping cuts shed rainwater, preventing rot at the bud. Aim about ¼ inch above a healthy, outward‑facing bud eye, sloping away from it. I love this technique—it feels like sculpting, guiding the rose’s shape for next season!
Positioning buds to face outward encourages an open vase shape, maximizing light exposure. That architecture not only produces more blooms but also gives foraging bees and hoverflies easy access when flowers unfurl again.
Remove Crossing and Weak Canes

When canes rub or tangle, they damage each other’s bark—creating open wounds that invite pests or fungi. Snip away spindly, twiggy shoots and any branches that rub across one another. This cleanup makes room for stronger canes to flourish and bloom profusely!
In the wild, many rose species self‑thin to allocate resources to robust shoots. By doing this pruning chore, you’re partnering with nature’s wisdom to bolster cane strength and flower potential.
Stimulate Basal Breaks by Cutting Canes Low

For a flurry of new shoots in spring, cut older canes back to just above their first healthy set of basal buds. These buds, often hidden near the soil, are the launchpads for next year’s flowering wood. I know it feels drastic—like saying goodbye—but trust me, it’s a ticket to a landscape peppered with blossoms!
Basal break pruning also helps roses channel energy into fresh growth, rather than maintaining tired, woody stems. When those new canes emerge, they’re loaded with nutrient‑rich sap that yields bigger, longer-lasting blooms.
Pinch Spent Blooms to Focus Energy
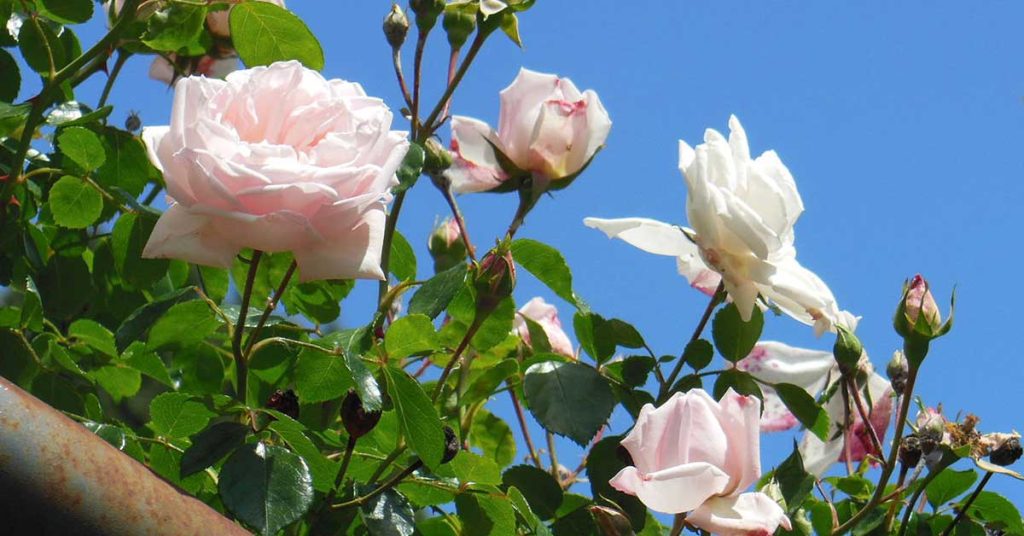
As August progresses, continue deadheading any lingering flowers. Snip back to the first set of five leaves, and you’ll redirect the plant’s energy from hip production into strengthening canes and developing winter hardiness. It’s such a joy to see canes thicken rather than waste effort on seed formation!
Plus, fewer hips means more resources reserved for next spring’s flower buds. The reduced fruit load also discourages birds from pecking at hips, so your garden stays tidy and your roses undamaged.
Apply Balanced Fertilizer After Pruning

Right after you’ve made your cuts, feed with an all‑purpose rose fertilizer or compost tea. I like a moderate N‑P‑K blend (like 5‑5‑5) to support both root and shoot regeneration before fall. This nutrient boost helps roses stockpile the reserves they’ll need for early bud development next year!
Fertilizer also feeds soil microbes that partner with rose roots—microorganisms that, in native habitats across Eurasia, form beneficial networks. When you nourish the soil life, you’re giving your roses an underground support team.
Leave Some Rose Hips to Support Wildlife

While deadheading is key, consider leaving hips on a few canes for birds and beneficial insects. These hips offer crunch‑time nutrition to robins, waxwings, and pollinators through late fall. It’s heartwarming to know that your rose bushes can double as wildlife refuges!
Native American rose species, like Rosa carolina, rely on hips to ensure seed dispersal and animal sustenance. By reserving pockets of hips, you’re honoring that wild legacy and weaving habitat value into your ornamental garden.
Seal Large Cuts to Prevent Winter Damage

For rose canes thicker than a pencil, consider applying a bit of grafting wax or pruning sealer. This extra layer shields vulnerable tissue from winter’s alternating freeze‑thaw cycles. I know it sounds finicky, but it’s a small step that can save you tears over split bark come spring!
Sealing also keeps wood‑boring insects at bay and helps beneficial fungi and bacteria maintain the rose’s natural healing process, rather than letting harmful pathogens move in first.
Mulch Around the Base to Protect Roots
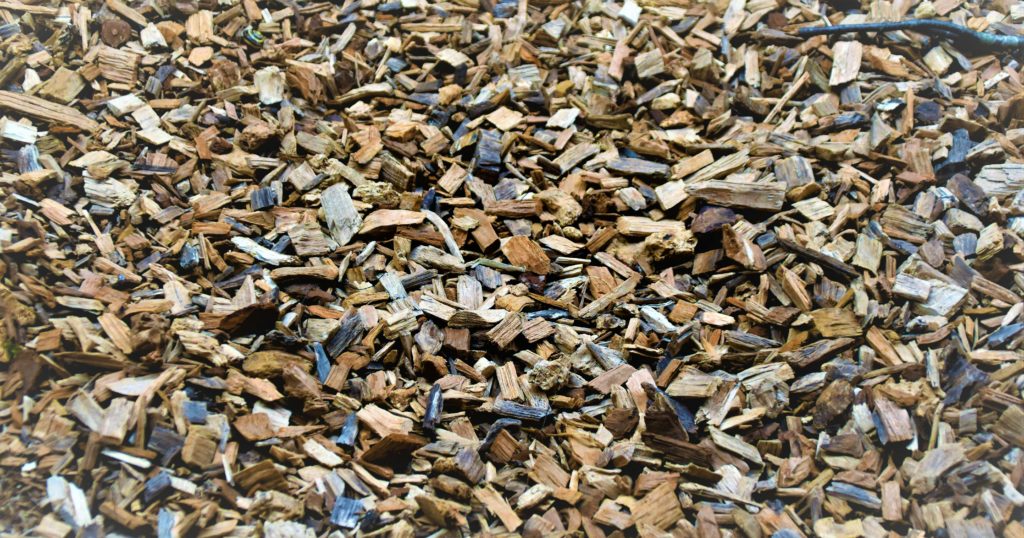
After pruning, spread a 2‑inch layer of organic mulch—like shredded bark or well‑aged compost—around the root zone, keeping it a few inches away from the crowns. Mulch moderates soil temperature, conserves moisture for root regrowth, and prevents weeds that compete for nutrients!
Roses thrive in well‑drained soils, but a protective mulch layer mimics the leaf litter of their native woodland floors. It also invites earthworms and ground‑dwelling beetles—nature’s own soil aerators—to make your rose bed a bustling ecosystem.