

October is a magical month for gardeners, as the vibrant colors of fall set the stage for the upcoming spring blooms. Planting spring bulbs in October is an excellent way to ensure a stunning floral display when the weather warms up. The cooler temperatures and increased rainfall create ideal conditions for bulb roots to establish before the winter chill, setting the foundation for vigorous growth and spectacular blooms in the spring. Embracing these planting tips now will transform your garden into a vibrant tapestry of colors, fragrances, and life that you can look forward to all year round!
I understand the excitement and anticipation that comes with planning your spring garden, especially when it involves the beautiful and diverse world of bulbs. Whether you’re a seasoned gardener or just beginning, these ten tips will guide you through the essential steps for successfully planting spring bulbs in October. From selecting the right bulb varieties to preparing the soil and protecting your plants from pests, each tip is designed to help you create a thriving and enchanting garden. Let’s dive into these strategies to ensure your spring blooms are nothing short of breathtaking!
Choose the Right Bulbs for Your Climate
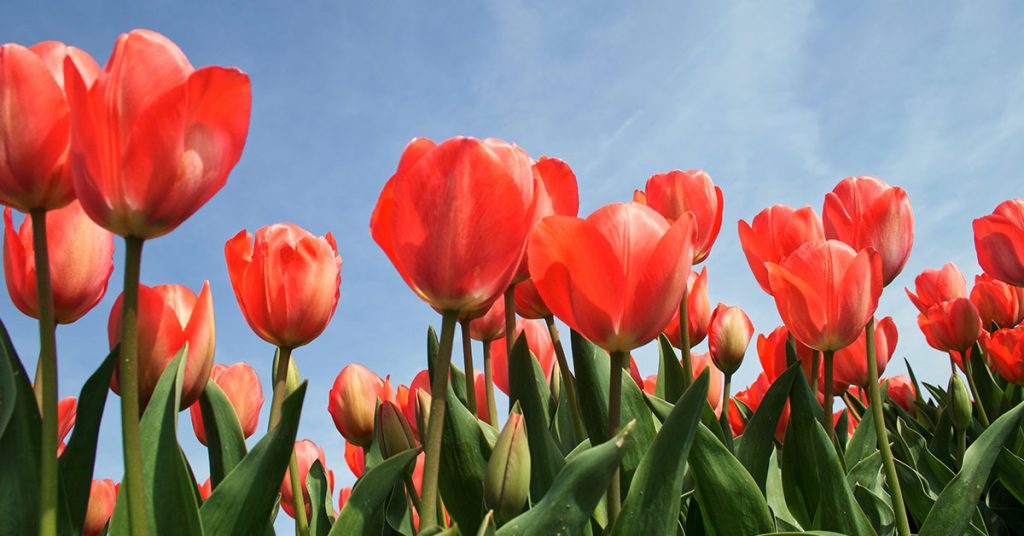
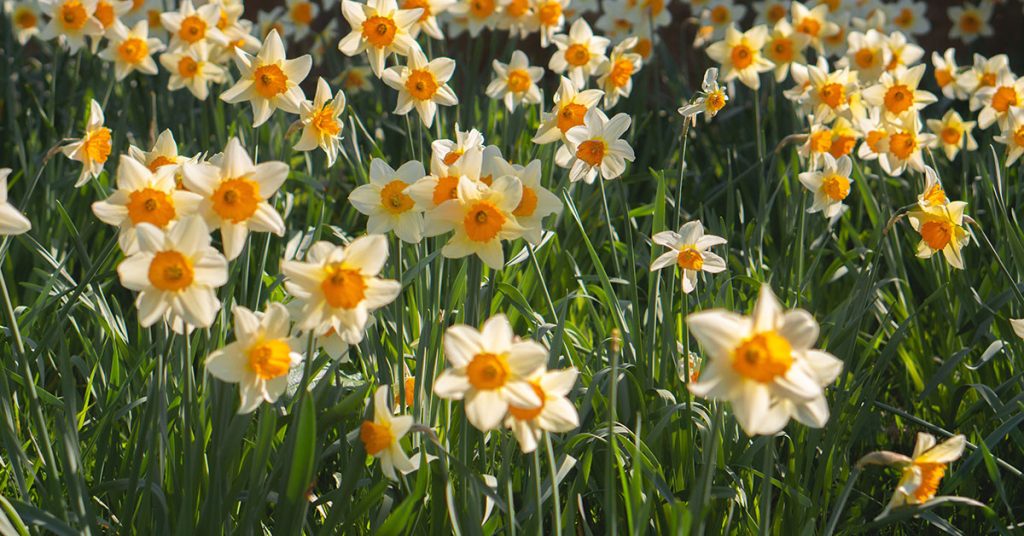
Selecting the appropriate bulb varieties for your specific climate is crucial for ensuring successful blooms in the spring. Different bulbs thrive in varying temperature ranges and soil conditions, so understanding your local climate will help you make informed choices. For instance, tulips (Tulipa spp.), native to Central Asia, prefer well-drained soil and a period of cold dormancy, making them ideal for regions with cold winters. On the other hand, daffodils (Narcissus spp.), native to Europe, are more adaptable and can thrive in a broader range of climates, including those with milder winters.
When choosing bulbs, consider whether they are perennial or annual, as well as their blooming times. Perennial bulbs like crocuses (Crocus spp.) and hyacinths (Hyacinthus orientalis) return year after year, providing consistent color to your garden. Additionally, ensure that the bulbs you select are not invasive in your region. For example, while some varieties of tulips are beloved garden staples, others can become invasive if not properly managed. By choosing climate-appropriate and non-invasive bulbs, you set the stage for a healthy and beautiful spring garden!
Prepare the Soil Properly

Proper soil preparation is essential for the successful planting and growth of spring bulbs. Start by selecting a well-drained location, as most bulbs do not tolerate waterlogged soil, which can lead to bulb rot and disease. If your garden soil is heavy or clay-based, consider amending it with organic matter such as compost or well-rotted manure to improve drainage and fertility. This not only enhances soil structure but also provides essential nutrients that support robust bulb growth.
Additionally, testing your soil’s pH can help you determine if any adjustments are needed to suit specific bulb varieties. For example, azaleas (Rhododendron spp.), native to Asia, prefer slightly acidic soil, while tulips thrive in neutral to slightly alkaline conditions. Incorporating the right amendments based on your soil test results ensures that your bulbs have the optimal environment to develop strong roots and produce vibrant blooms. Taking the time to prepare your soil thoroughly in October will pay off with a flourishing and resilient spring garden!
Plant at the Correct Depth

Planting bulbs at the proper depth is a critical factor in their successful growth and blooming. As a general rule, bulbs should be planted at a depth three times their height. For instance, a tulip bulb that is two inches tall should be planted approximately six inches deep. Planting too shallow can expose bulbs to temperature fluctuations and pests, while planting too deep can make it difficult for shoots to emerge above the soil surface.
Different bulb types may have specific depth requirements, so it’s important to follow the guidelines for each variety. Daffodils, for example, benefit from being planted slightly deeper than tulips, typically around eight inches, to protect them from harsh winter conditions. Additionally, ensure that bulbs are spaced adequately to allow for air circulation and prevent overcrowding, which can lead to competition for nutrients and increase the risk of disease. By planting your bulbs at the correct depth, you create the ideal conditions for strong, healthy growth and spectacular spring blooms!
Provide Adequate Sunlight
Ensuring that your bulbs receive the right amount of sunlight is essential for their development and blooming potential. Most spring bulbs, including tulips, daffodils, and crocuses, thrive in full sun to partial shade conditions. Full sun means at least six hours of direct sunlight per day, which promotes strong growth and vibrant flower colors. However, some bulbs, such as snowdrops (Galanthus nivalis), prefer more shaded environments and can bloom beautifully even with limited sunlight.
When selecting a planting location, observe how sunlight moves across your garden throughout the day and choose spots that match the sunlight requirements of your chosen bulbs. For example, planting hyacinths (Hyacinthus orientalis), native to the Mediterranean region, in areas with ample sunlight will encourage dense blooms and fragrant flowers. Conversely, placing shade-tolerant bulbs in partially shaded areas ensures they receive enough light without being exposed to harsh afternoon sun. By providing adequate sunlight tailored to each bulb type, you enhance their ability to produce stunning and healthy blooms each spring!
Water Thoroughly After Planting

Proper watering is crucial immediately after planting your spring bulbs to help them establish strong root systems. After placing the bulbs in the prepared soil, water them thoroughly to settle the soil around the bulbs and eliminate air pockets. This initial watering ensures that the bulbs have access to the moisture they need to begin root development before the winter months set in.
In the weeks following planting, monitor soil moisture levels and provide additional water as needed, especially in regions with dry or unpredictable weather. However, be cautious not to overwater, as excessive moisture can lead to bulb rot and other fungal diseases. Mulching with organic materials like shredded leaves or straw can help retain soil moisture and regulate temperature, reducing the need for frequent watering. By maintaining consistent moisture levels after planting, you support the healthy growth of your bulbs and set the stage for a vibrant spring display!
Mulch to Protect Bulbs

Mulching is an excellent practice for protecting your spring bulbs from extreme temperatures and moisture fluctuations during the fall and winter months. Applying a layer of mulch around your planted bulbs helps insulate the soil, keeping it cooler in the summer and warmer in the winter. This temperature regulation is crucial for preventing bulb damage and promoting healthy root growth.
In addition to temperature control, mulch also helps retain soil moisture, reducing the need for frequent watering and preventing soil erosion from heavy rains or snow. Organic mulches, such as shredded leaves, straw, or bark, break down over time, enriching the soil with essential nutrients that support bulb development. By mulching your garden beds in October, you create a stable and protective environment that enhances the overall health and resilience of your spring bulbs. It’s a simple yet effective way to ensure your bulbs thrive and bloom beautifully when spring arrives!
Control Pests and Diseases

Controlling pests and diseases is a vital step in ensuring the health and success of your spring bulbs. Common pests such as aphids, bulb mites, and rodents can cause significant damage to bulbs by feeding on them or disrupting their growth. Diseases like fungal infections can also hinder bulb development and lead to poor blooming. Taking proactive measures to protect your bulbs from these threats is essential for a thriving spring garden.
Implement integrated pest management (IPM) strategies to keep pests and diseases under control. This includes regularly inspecting your garden for signs of infestation, removing any affected plant parts, and using natural or chemical treatments as needed. For example, applying neem oil can help deter aphids, while using repellents can keep rodents away from your bulbs. Additionally, maintaining good garden hygiene by cleaning up fallen leaves and debris reduces the hiding spots for pests and minimizes the risk of disease spread. By staying vigilant and proactive in pest and disease control, you ensure that your spring bulbs remain healthy and vibrant, providing a stunning display year after year!
Rotate Planting Locations

Rotating the planting locations of your spring bulbs each year is an effective strategy for preventing soil-borne diseases and reducing pest infestations. Planting the same bulbs in the same spot year after year can lead to a buildup of pests and pathogens that specifically target those plants, weakening them and reducing their blooming potential. By changing the locations of your bulbs, you disrupt the life cycles of pests and prevent the accumulation of harmful organisms in the soil.
Additionally, rotating planting locations helps maintain soil fertility and structure, ensuring that no single area becomes overly depleted of nutrients. For example, if you planted tulips in one area last year, consider moving them to a different section of your garden this fall. This practice not only promotes healthier bulb growth but also enhances the overall biodiversity and resilience of your garden. By incorporating planting rotation into your fall bulb care routine, you create a more sustainable and thriving garden environment that supports robust spring blooms!
Choose Non-Invasive Varieties
Selecting non-invasive bulb varieties is essential for maintaining the balance and harmony of your garden ecosystem. Invasive bulbs can spread aggressively, outcompeting native plants and disrupting local wildlife habitats. Choosing non-invasive varieties ensures that your garden remains diverse and supports beneficial insects, birds, and other wildlife without the risk of uncontrolled growth.
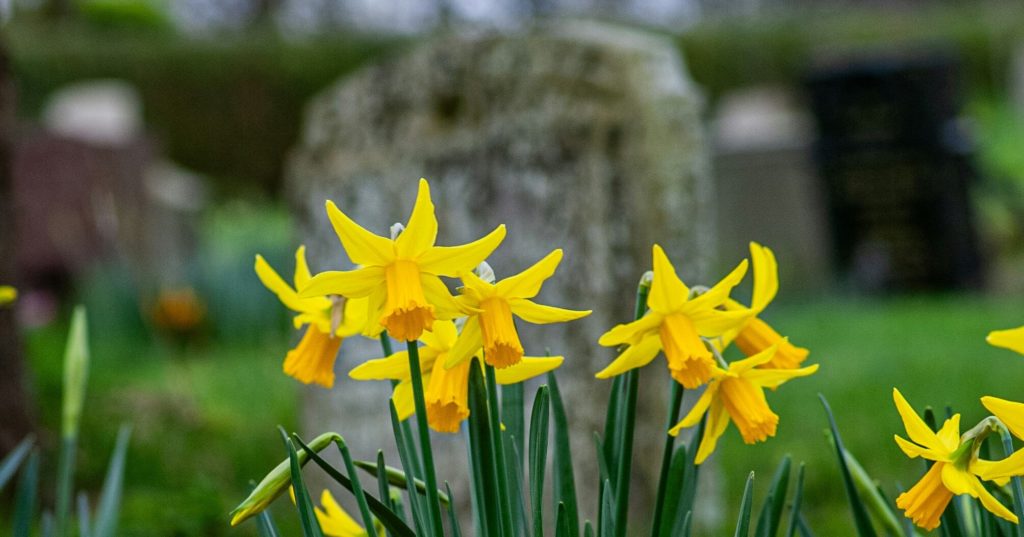
Research the origin and growth habits of the bulbs you plan to plant to ensure they are well-suited to your garden and do not pose an invasive threat. For example, daffodils (Narcissus spp.) are non-invasive and excellent for naturalizing in lawns and garden beds, providing bright, cheerful blooms each spring. In contrast, some tulip varieties can become invasive in certain regions if not properly managed. By opting for non-invasive bulb varieties, you create a sustainable and eco-friendly garden that enhances its beauty while respecting the natural balance of your local environment. This thoughtful selection not only protects your garden but also contributes to the broader health of your ecosystem!
Store Bulbs Properly if Not Planting Immediately

Proper storage of bulbs is crucial if you’re unable to plant them immediately after purchase. Bulbs need to be kept in cool, dry conditions to prevent them from rotting or sprouting prematurely. October is a great time to plant spring bulbs, but if unforeseen circumstances delay planting, storing bulbs correctly ensures they remain viable for future planting.
To store bulbs, place them in a breathable container such as a paper bag or mesh sack and keep them in a cool, dry location away from direct sunlight and moisture. Avoid storing bulbs in plastic bags, as this can trap moisture and lead to mold growth. Before planting the following fall, inspect the bulbs for any signs of damage or rot and discard any that appear unhealthy. By taking the time to store your bulbs properly, you preserve their integrity and ensure they remain ready to bloom beautifully when the planting season resumes. This simple step safeguards your investment and keeps your garden plans on track!