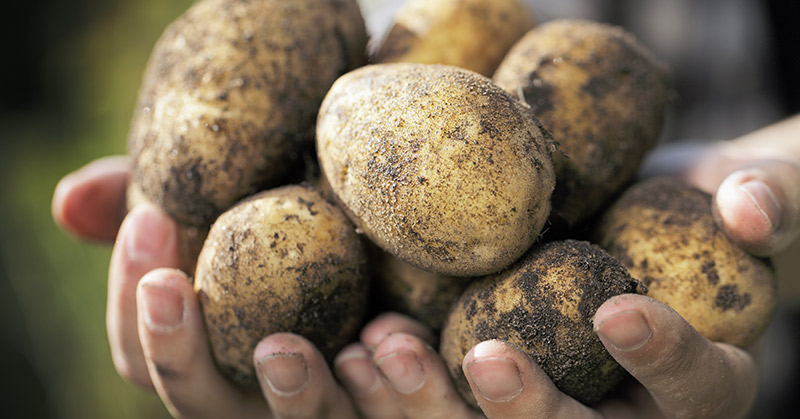

Dreaming of digging into a bounty of homegrown potatoes? With a little planning and know-how, you can transform even a small plot into a tuber-producing powerhouse. Potatoes (Solanum tuberosum), native to the Andes in South America and generally non-invasive when grown responsibly, thrive in loose, fertile soil and appreciate consistent care. Throughout this article, we’ll explore ten essential strategies—from choosing the right seed potatoes to timing your harvest—each designed to maximize yield and keep pests at bay. Along the way, you’ll learn how to encourage beneficial insects like ground-nesting solitary bees or predatory beetles that patrol your rows, naturally protecting tender foliage.
I know how frustrating it is to see pests nibble away at young sprouts or to lose yield to scabby tubers when you’ve invested so much work! These tips come from seasons of trial and error in my own garden, complete with triumphs and setbacks. Whether you’re fighting off flea beetles or simply seeking the perfect soil blend, you’ll find practical, friendly guidance here—and, of course, a dose of garden enthusiasm to help you enjoy every step of the process!
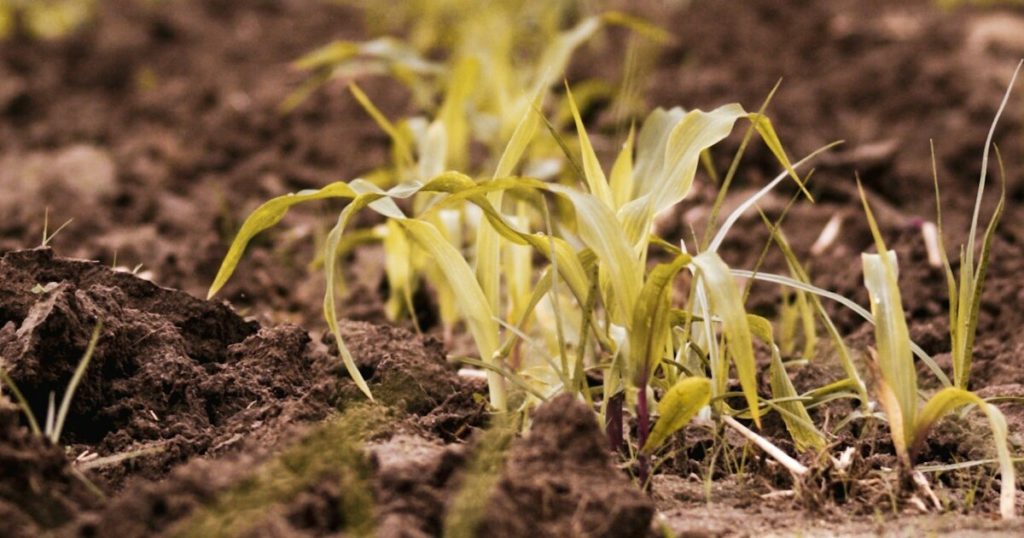
Hilling Consistently to Encourage Bigger Tubers
Hilling is one of my favorite practices: as potato plants grow, pile loose soil or compost around the stems up to the lower leaves. This encourages stolon formation—underground runners that develop into potatoes—resulting in higher yields. I’ve seen hills double my harvest compared to flat planting, simply by covering exposed tubers and giving them more room to form!
Those mounded beds also create ideal nesting spots for ground-beetles and rove-beetles beneath the soil surface. These predators patrol the hillocks for slug eggs and small caterpillars, helping keep your potato foliage clean without chemical sprays. Remember to hill every couple of weeks until blooms appear for maximum benefit!
Rotate Crops to Prevent Disease Build-Up

Planting potatoes in the same spot year after year invites soil-borne diseases like scab and blight to become entrenched. Rotate potatoes with non-solanaceous crops—such as legumes or brassicas—for at least three years to break disease cycles. I once learned this the hard way when repeated blight wiped out my bed; a simple rotation plan restored vigour in the following seasons!
Rotated beds also encourage healthy earthworm populations, whose burrows aerate the soil and improve drainage—key to preventing tuber rot. These worms, along with springtails in the mulch, create a dynamic below-ground ecosystem that boosts soil fertility naturally, setting the stage for your next potato planting.
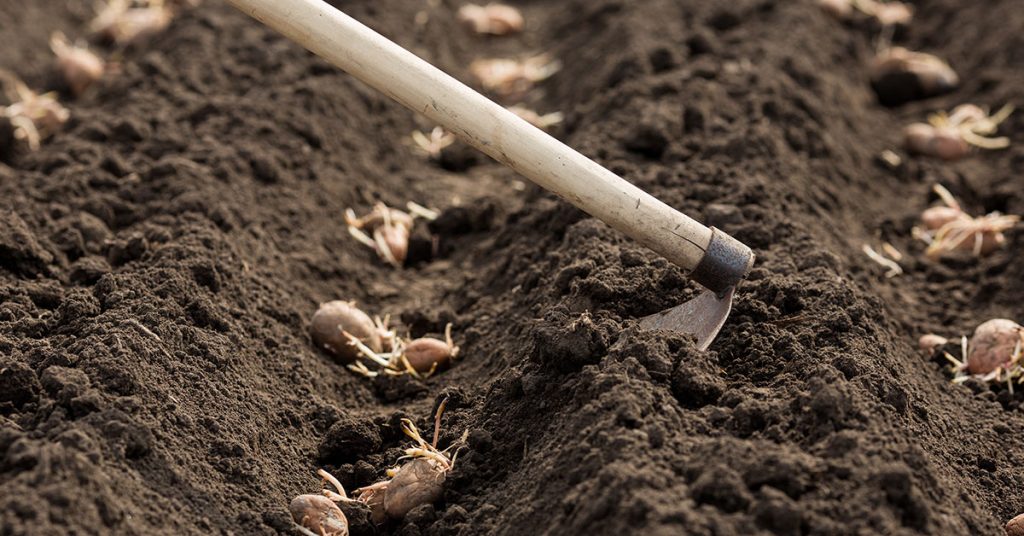
Choose Certified Seed Potatoes
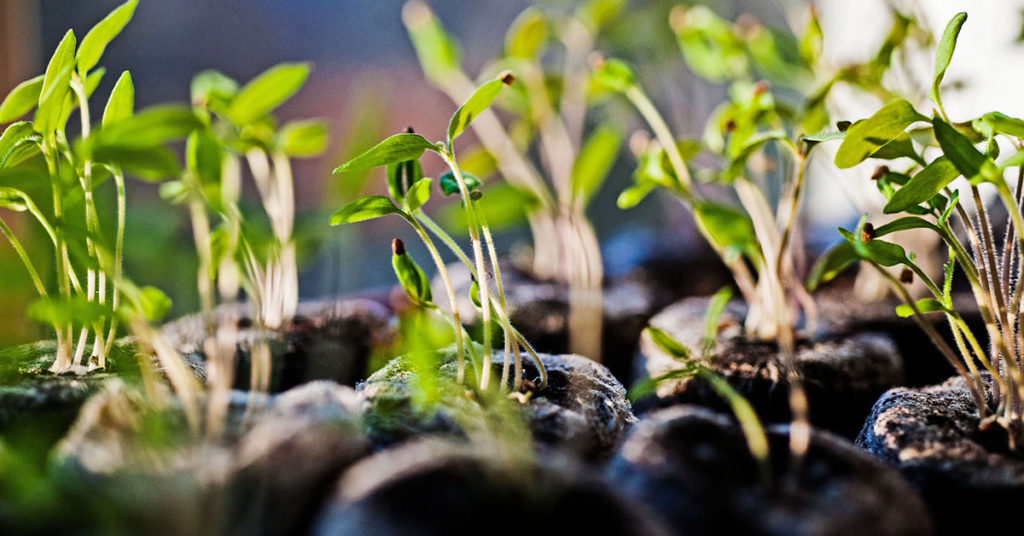
Starting with certified, disease-free seed potatoes is crucial. These tubers are tested for common pathogens like potato virus Y and late blight, giving you a healthier baseline. Planting reliable seed stock means your plants can focus energy on growth rather than fighting infections—a game-changer for big harvests!
Certified seed also reduces the risk of inadvertently introducing invasive pests. As an added bonus, you’ll often find specialty varieties—Yukon Gold, Purple Majesty, or fingerlings—each with unique flavors and textures to diversify your harvest and delight your dinner table!
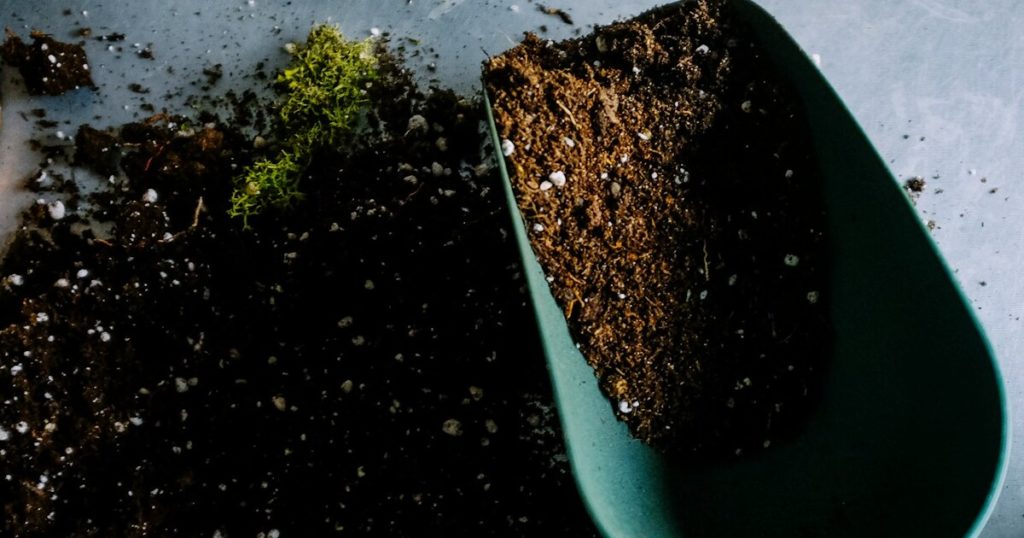
Prepare Loose, Well-Draining Soil
Potatoes thrive in sandy-loamy soils that drain freely yet hold enough moisture for steady tuber development. Amend heavy clay with coarse sand and rich compost to create an airy medium where stolons can spread. My yields doubled when I stopped planting in compacted dirt and switched to raised beds filled with this mix!
Loose soil also allows ground-nesting solitary bees to burrow in pathways between beds, aiding pollination of other crops nearby. Though potatoes form tubers underground, having a vibrant insect community signals a healthy garden system overall.
Ensure Even Moisture with Mulch and Drip Irrigation

Uneven watering can lead to cracked or scabby potatoes. Aim for consistent soil moisture—about 1–1.5 inches per week—by installing a simple drip system or soaker hoses under organic mulch. Mulch reduces evaporation, keeps soil temperatures stable, and suppresses weeds that compete for water.
Meanwhile, the slightly damp mulch layer becomes a haven for predatory mites and small spiders that patrol the soil surface at night, hunting slug eggs and other pests. These natural allies thrive in that protected, moist zone!
Fertilize Strategically with Balanced Nutrients

Before planting, enrich your potato bed with well-rotted manure or compost, supplying a steady release of nitrogen, phosphorus, and potassium. As plants emerge, side-dress with a low-nitrogen fertilizer (such as a 5-10-10 blend) to promote tuber formation rather than excessive leafy growth. I once over-fertilized with high nitrogen and ended up with lush green vines but paltry potatoes—lesson learned!
Balanced feeding attracts fewer sap-sucking pests and supports stronger stems that can bear heavy foliage. Healthy vines also draw predatory lacewings that lay eggs in the leaves, where their larvae feed on aphids and prevent infestations before they spread.
Space Seed Potatoes Properly
Give each seed potato about 12 inches of space within the row and 30 inches between rows. Crowded plants compete for light, water, and nutrients, resulting in smaller tubers and increased disease risk. When I widened my rows, I noticed more vigorous plants and substantially larger potatoes per hill!
Wider spacing also leaves room for ground-beetles and predatory wasps to patrol between plants, keeping slug and caterpillar populations in check. Plus, you’ll have clearer paths for weeding and harvesting without damaging adjacent hills.
Scout and Manage Pests Early
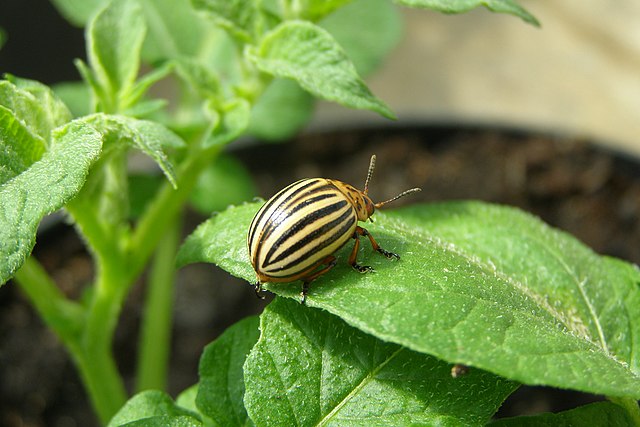
Early detection of pests like Colorado potato beetles or aphids makes control far easier. Inspect leaves weekly, hand-pick beetle larvae, and remove egg clusters on the undersides. I once saved an entire crop by catching a fledgling infestation early—turns out, timing is everything!
Encourage predators by planting nectar-rich flowers such as yarrow or dill nearby; hoverflies and parasitic wasps nesting in these companion planting patches help keep sap-suckers under control, reducing the need for insecticidal interventions.
Provide Support for Vines

Some potato varieties—especially fingerlings—produce sprawling vines that can shade the soil and hinder airflow. Gently train vines onto low wire supports or stakes to improve light penetration and reduce the risk of foliar diseases like blight. It’s thrilling to see those vines stand tall and healthy with just a little guidance!
Elevated foliage also creates hanging shelters where beneficial spiders spin webs, capturing small flying pests before they land on leaves. Your potato plants stay cleaner, and harvest becomes easier without tangled vines in the way.
Harvest at the Right Time

For new potatoes, harvest when plants flower, usually 10-12 weeks after planting. For mature tubers, wait until foliage yellows and dies back. Gently dig with a fork about a foot from the stem to avoid piercing tubers. I still get a jolt of excitement every spring when I unearth a particularly large gem!
Post-harvest, leave tubers on the soil surface for a few hours in shade to let skins set—this toughens their “jersey,” reducing storage rot. Those same mats of mulch that fostered springtails and earthworms can be swept back into place to ready beds for your next rotation, keeping healthy soil ready for year-round gardening success!