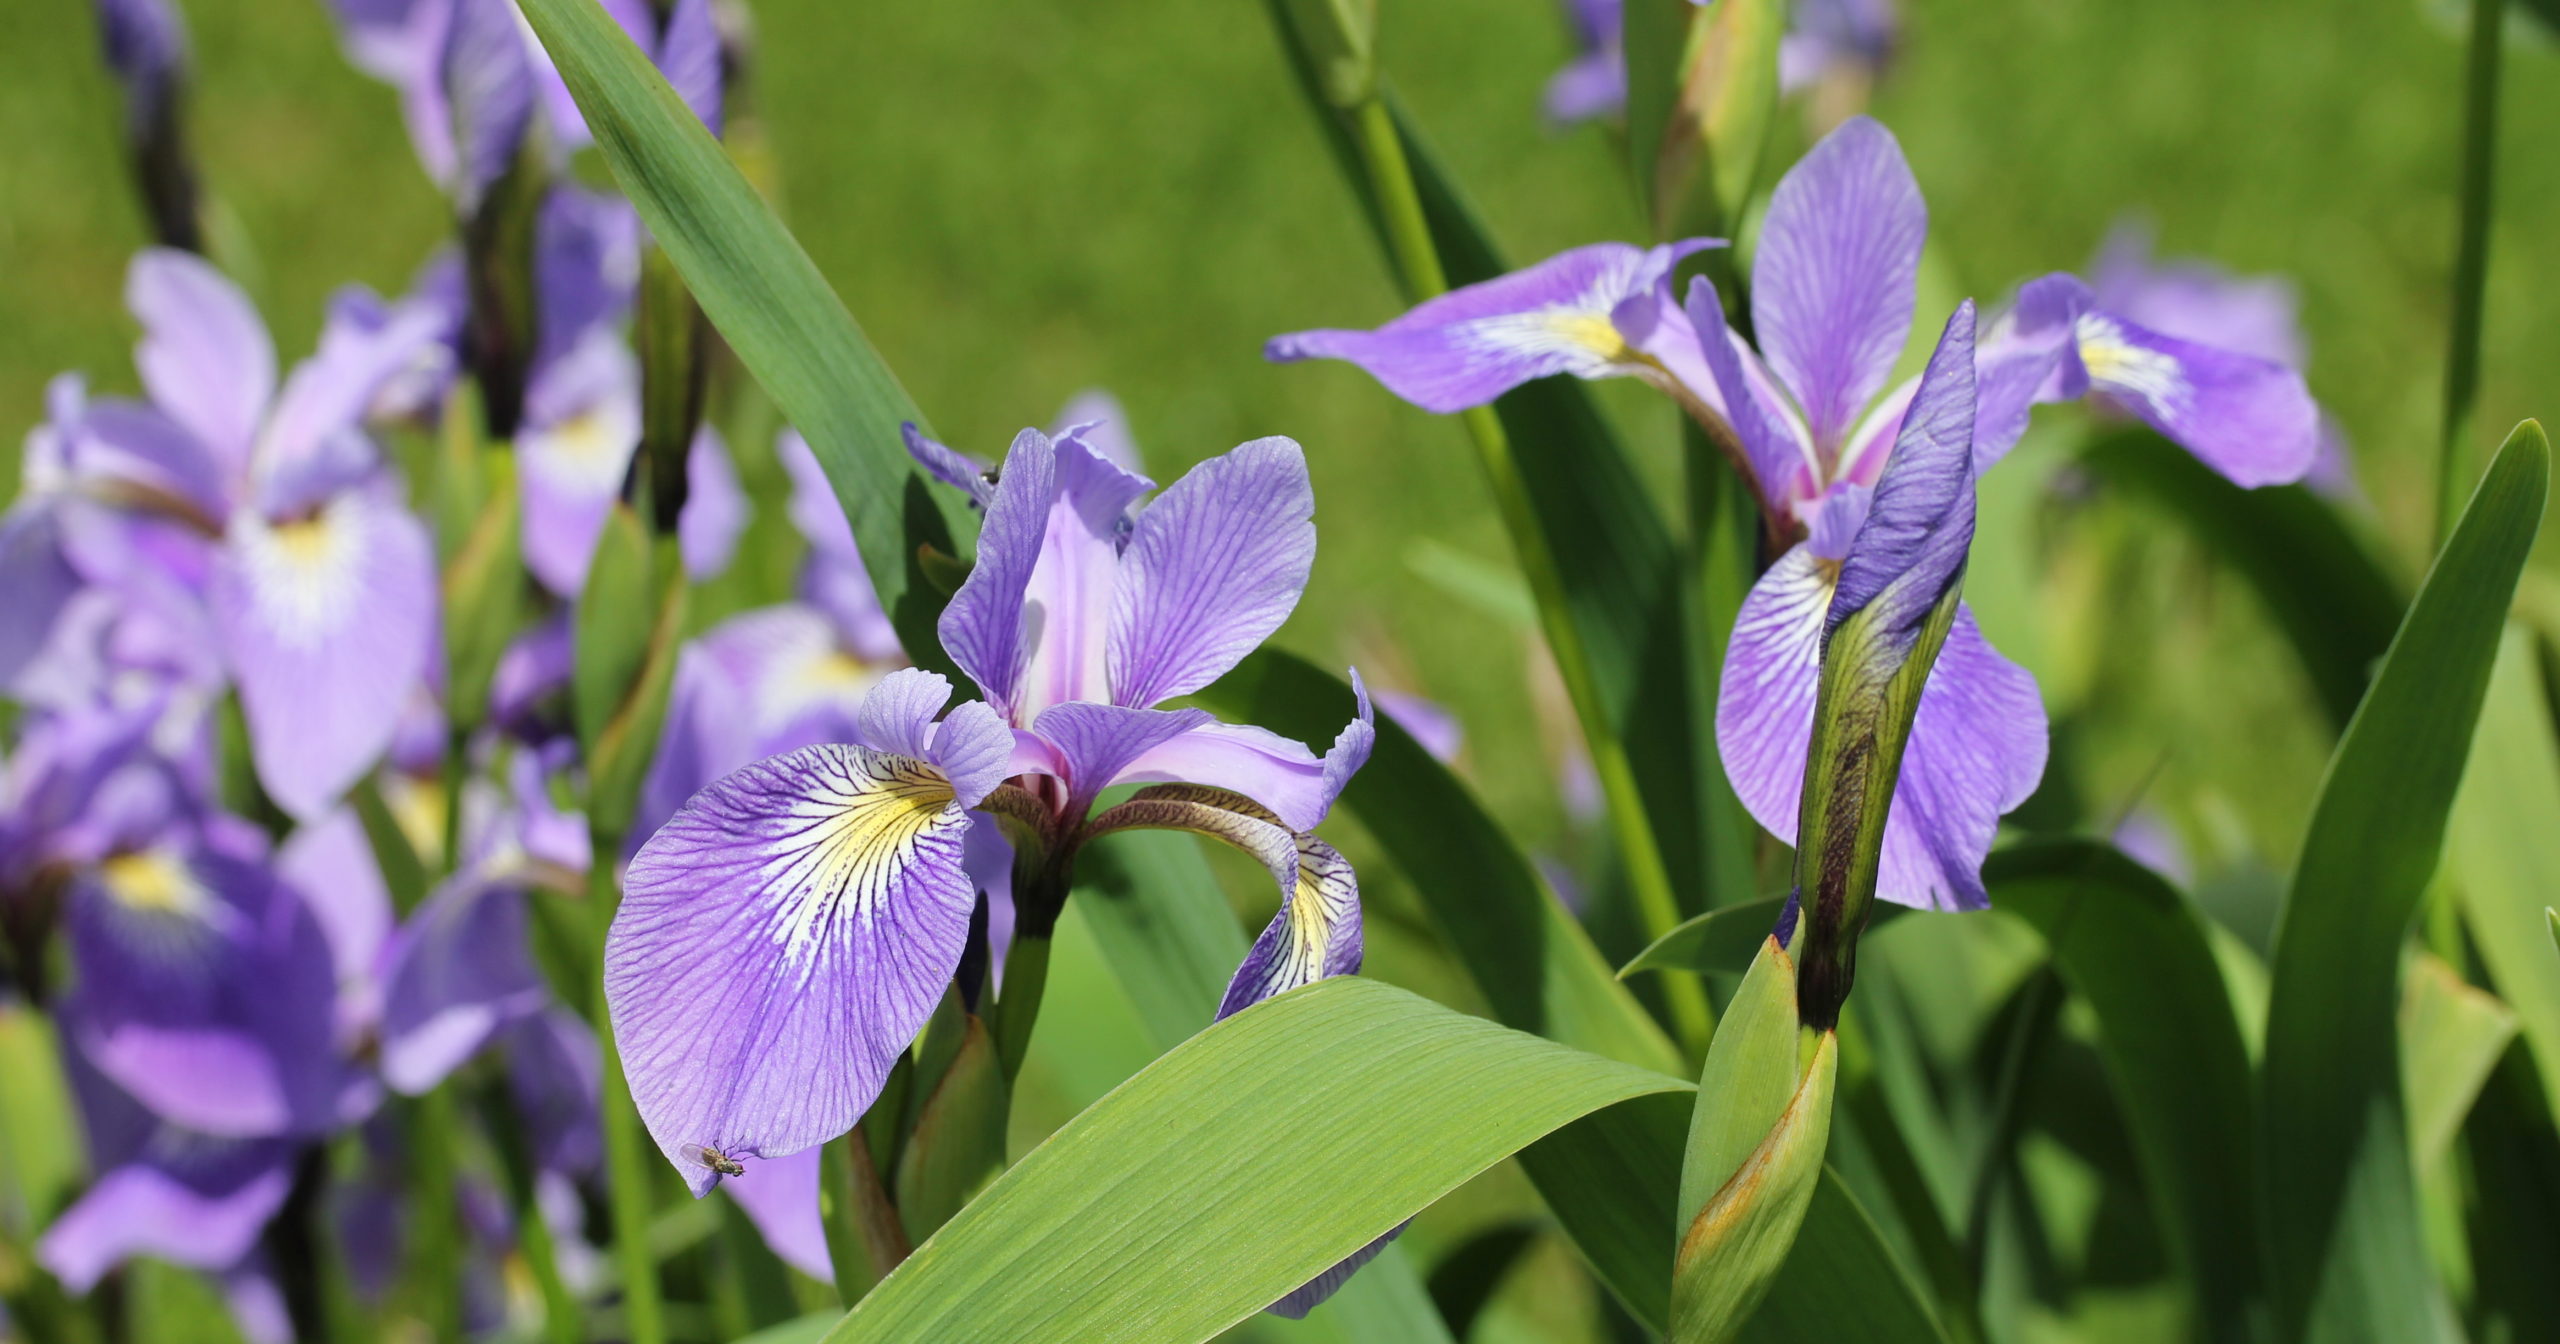

There’s nothing quite as breathtaking as a swath of irises unfurling their elegant, ornate blooms in late spring—but I know how frustrating it can be when those anticipated blossoms never materialize or arrive looking lackluster. It’s such a bummer to envision that cathedral of color, only to find weak shoots, floppy stems, or sparse flowers instead! In this article, I’ll share ten common missteps I’ve seen gardeners encounter and explain how to sidestep them so your iris beds can truly sing.
Irises belong to a vast genus native to temperate regions across the Northern Hemisphere—from the Mediterranean’s sun-baked slopes to North America’s moist meadows and Asia’s alpine foothills. While most garden irises aren’t invasive, a few species (like Iris pseudacorus) can naturalize vigorously in wet soils. With thoughtful site selection, proper soil prep, and careful maintenance, you’ll set the stage for robust rhizomes, sturdy stems, and those irreplaceable floral fanfares!
Planting Rhizomes at the Wrong Depth

One of my earliest iris disasters came from burying rhizomes too deeply—I never saw a single bloom that year! Irises need their rhizomes to sit with the top half exposed or just barely covered with soil. Burying them too deep prevents adequate sun exposure, leading to rot or weak shoot emergence!
Conversely, planting rhizomes too shallow can expose roots to drying out and temperature stress. Aim for firm contact with the soil beneath and just a thin dusting above. This balance helps young roots develop, supports sturdy foliage, and ensures your bearded beauties stand tall when pollinators arrive on the scene.
Skipping Regular Rhizome Division

Irises spread via rhizomes and eventually crowd themselves out. Ignoring division for more than three years often results in reduced flowering and stunted growth. I once inherited a neglected bed where clumps resembled overstuffed sofas—after dividing, the next spring’s blooms were unstoppable!
Division not only revives vigor but also provides an opportunity to inspect for disease. Healthy, firm rhizomes yield better blooms and reduce the chance of pests relocating into dense, shaded crevices. Schedule division in late summer, then replant the healthiest sections for a spectacular rebirth.
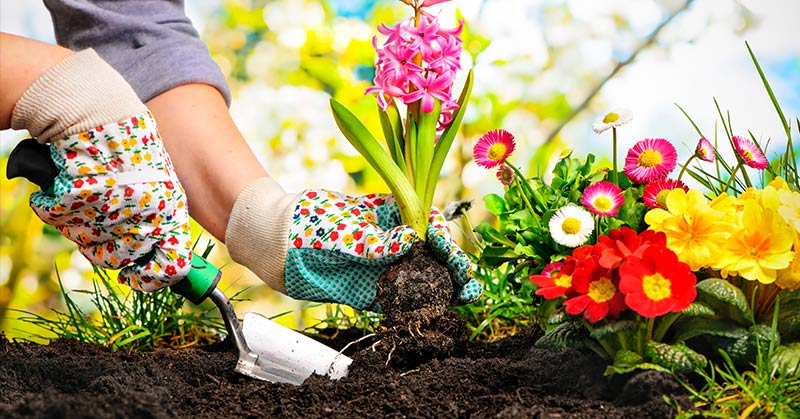
Neglecting Soil Preparation and Drainage

Irises despise “wet feet.” Heavy clay or compacted ground suffocates rhizomes and invites fungal diseases like rhizome rot. Before planting, loosen the soil to a depth of 12 inches, incorporate compost for fertility, and add coarse sand or grit to boost drainage—your irises will thank you with bolder blooms!
Well-drained soil also supports beneficial organisms—earthworms, springtails, and mycorrhizal fungi—that aerate and enrich the root zone. A vibrant soil ecosystem helps irises develop robust root systems, attract early-season pollinators like solitary bees, and resist opportunistic pests creeping in when conditions are damp.
Ignoring Sunlight Requirements

Most iris varieties—especially bearded irises—require at least six hours of direct sunlight for prolific flowering. Planting them in heavy shade leads to floppy foliage and few to no blooms. I once tucked irises under a young maple, hoping for dappled light, only to wonder why every clump sulked!
Sunlight not only drives photosynthesis but also keeps foliage dry, reducing leaf-spot diseases. A sunny plot ensures irises open fully, displaying their intricate patterns to bees and butterflies seeking nectar. Choose a spot with morning sun and minimal afternoon shadows for best results!
Overcrowding Your Clumps
It’s tempting to squeeze as many irises as possible into a bed, but overcrowding leads to competition for nutrients, light, and water. Clumps should be spaced 12–24 inches apart, depending on the variety. Give each rhizome room to spread its claws and push up sturdy fans of foliage!
Generous spacing also improves air circulation, helping spent blooms and foliage dry more quickly. That discourages fungal growth and makes your planting more inviting to beneficial insects like ladybugs, which patrol for aphids among the leaves. An airy bed means healthier plants and more vibrant flowers.
Watering Inconsistently

While irises are drought-tolerant once established, they need consistent moisture during active growth in spring. I’ve seen new plantings suffer under erratic watering—either bone dry or soggy—leading to shriveled shoots or rot. Aim to keep the soil lightly moist until the flowers fade!
After bloom, reduce watering to encourage rhizome dormancy and prevent soggy conditions that harbor disease. A mulch of straw or shredded leaves around the outskirts (but not against the rhizomes) helps retain moisture for thirsty root hairs while allowing the crown to breathe.
Neglecting Pest and Disease Control
Irises can fall prey to iris borers, aphids, and fungal leaf spots. It’s such a bummer to spot chewed foliage or wilting fans! Early inspection and quick action—like removing affected leaves and applying organic controls—can save entire beds. I spray with insecticidal soap at first sight of aphids and always clean up fallen debris in autumn.
Implementing crop rotation—moving iris clumps to new spots every few years—also helps break pest life cycles. Encouraging lacewings and ladybugs via companion plantings (like dill or tansy) adds a natural defense layer against sap-sucking invaders.
Cutting Foliage Too Early
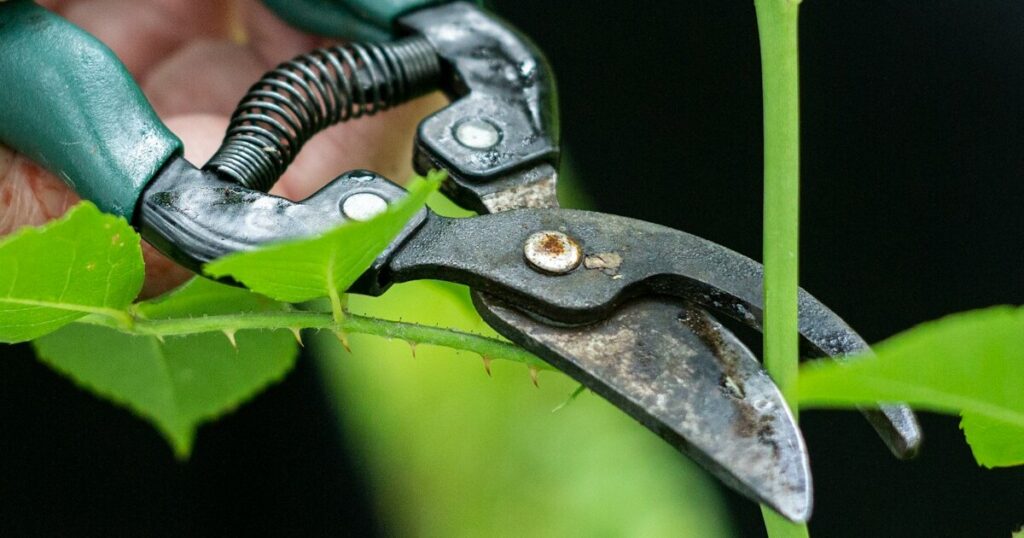
After bloom, many gardeners yank out iris foliage for tidiness—but this cuts off the plant’s ability to photosynthesize and feed the rhizome. Allow leaves to yellow naturally in late summer before trimming back. This final feast of sunlight ensures next season’s buds are well stocked!
If foliage remains green into autumn, leave it be; rhizomes continue to store reserves. Only once leaves fade completely should you snip them down to a few inches. This patient approach yields stronger clumps and more robust blooms, making your garden mourn the cutbacks only once a year.
Forgetting to Adjust Soil pH
Most irises prefer neutral to slightly acidic soils (pH 6.8–7.0). Planting in highly acidic or alkaline ground can stunt growth and dull bloom colors. A simple soil test and amendment—adding lime to raise pH or sulfur to lower it—can transform a lackluster display into a riot of color!
Balanced pH helps irises absorb essential nutrients like phosphorus and potassium, which fuel bud development and deepen flower hues. I always re-test my beds every three years and adjust as needed—keeping me in the pocket of peak performance!
Planting at the Wrong Time
Timing matters! Irises usually thrive when planted in late summer to early fall, giving rhizomes time to root before winter. Planting too early risks premature sprouting, vulnerable to fall frosts; too late means roots may not establish, leaving you with patchy spring blooms.
Consult your local frost dates and aim for that sweet spot: soil still warm, but air cooling down. I once planted in November, convinced better late than never, only to find my rhizomes soaking in winter rain—lesson learned the hard way!