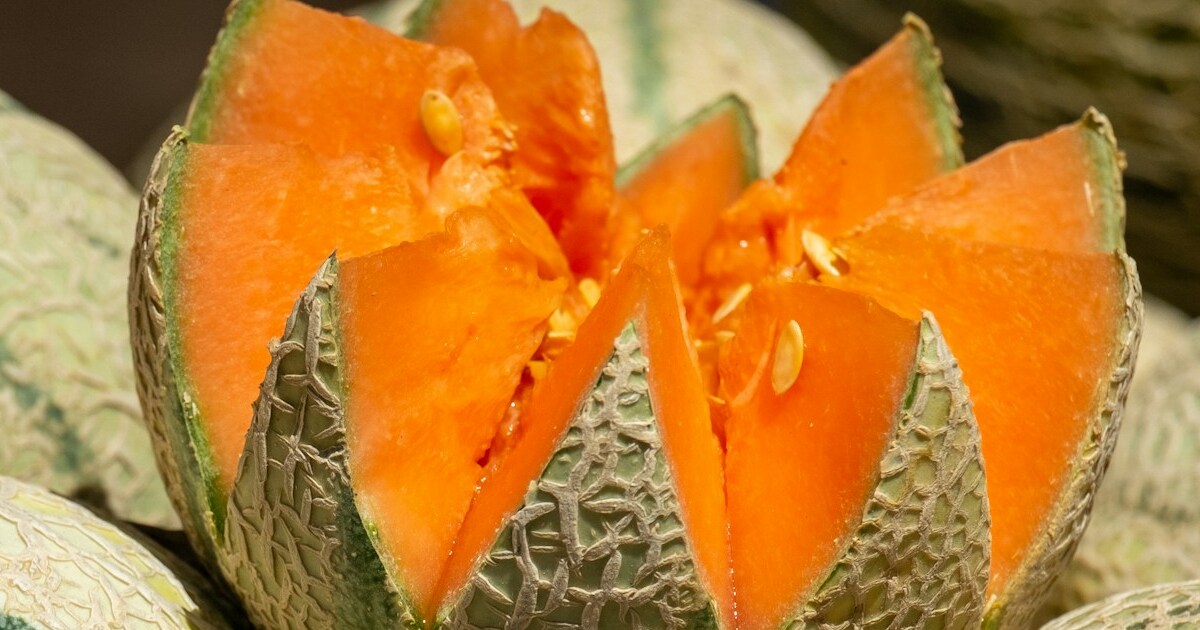

Melons—Cucumis melo—have delighted gardeners since antiquity, with wild ancestors hailing from Africa and Southwest Asia before spreading worldwide! I know how tempting it is to envision crisp cantaloupes and juicy watermelons spilling over your harvest basket, but a few missteps can leave you with underwhelming fruits. Whether you’re a first-time melon enthusiast or a seasoned vine wrangler, steering clear of these common pitfalls will help ensure a bounty of sweet, sun-ripened melons that’ll have your neighbors lining up for a taste!
Growing melons isn’t merely about planting seeds and waiting; it’s about mimicking their native warm-season habitats, managing vigorous vines, and partnering with pollinators that buzz and nest nearby. While melons aren’t typically invasive, volunteer seedlings can pop up where you least expect them—so keeping tabs on your patch is key. Let’s dive into ten mistakes you’ll want to dodge this season, presented in no particular order to keep you guessing and engaged!
Planting in Poorly Draining Soil

I once planted honeydew in a heavy clay plot, and after one rainstorm, the vines looked waterlogged and sad! Melon roots need a balance of moisture and air—too much standing water invites root rot, while bone-dry soil stresses young plants. Amend heavy ground with coarse sand or fine gravel, and work in plenty of organic matter so the mix holds water without turning into a swamp.
Raised beds or mounded hills work wonders by lifting roots above soggy zones. Aim for a sandy-loam texture with a pH around 6.0–6.8. Test your soil early—if it’s compacted, your seedlings will struggle to send down roots, leaving you scratching your head when blooms never form!
Overcrowding Vines

It’s such a bummer when you pack your melon patch too tightly—vines twist together, disease takes hold, and fruits never get the sunlight they crave! Each melon plant needs room to sprawl (or climb, if you’re trellising). Depending on variety, give 2–4 feet between bush types and 4–6 feet between vining melons.
Proper spacing also promotes airflow, reducing powdery mildew and other fungal threats. When plants have elbow room, pollinators can weave between flowers more easily, boosting fruit set. Trust me—your future self will thank you when each melon has its own stretch of sunshine!
Fertilizing Incorrectly

In my eagerness, I once loaded melon hills with high-nitrogen fertilizer—and ended up with luxuriant leaves but few fruits! Melons prefer a balanced feed early on, then a phosphorus- and potassium-rich formula when budding starts. Too much nitrogen delays flowering and encourages soft growth that pests love.
Side-dress with compost or a 5-10-10 slow-release mix around the base once vines begin to run, then again when fruits are golf-ball size. Always water in fertilizer to avoid root burn, and resist the urge to overfeed—melons are moderate feeders, not greedy gourmands!
Choosing the Wrong Variety for Your Climate
There’s nothing more disappointing than watching a heat-loving melon languish in foggy coastal summers or a cool-season type flop in your desert garden! Cantaloupes and watermelons need full sun and warm nights, while honeydew can tolerate slightly cooler zones. Check your USDA zone and pick varieties bred for your region.
Also consider days to maturity: short-season melons (60–75 days) are ideal for areas with an early frost, while long-season types flourish where summers stretch on. When in doubt, talk to local gardeners or seed catalogs—choosing the right cultivar sets you up for success from the start!
Skipping Crop Rotation
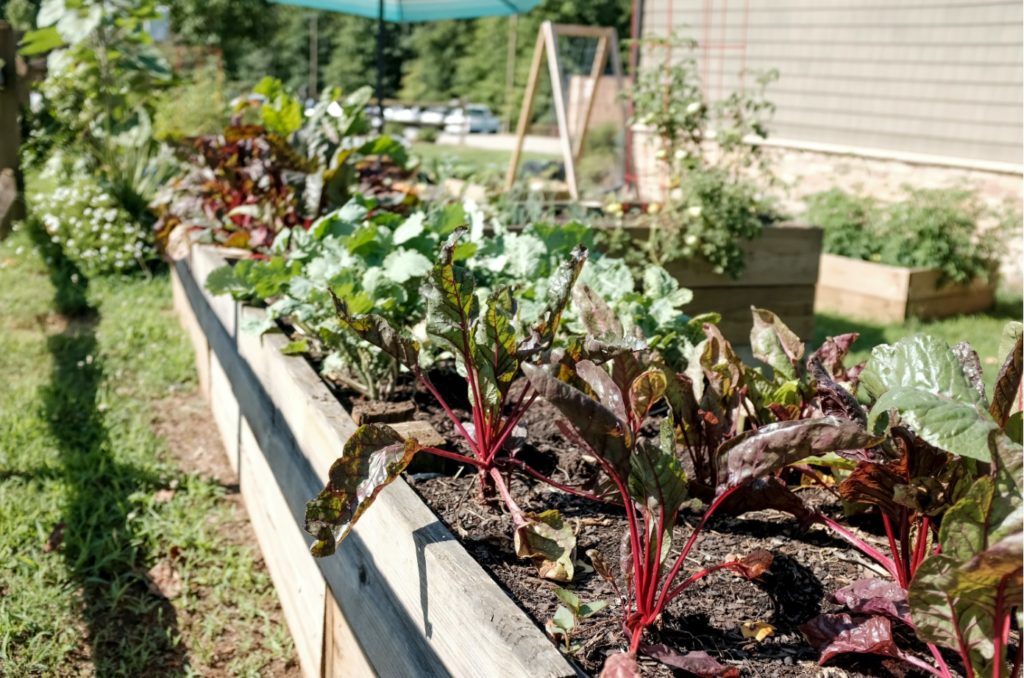
One of my mentors always said, “Melons follow beans, not cucumbers!” Planting melons where other cucurbits thrived last year invites pests like vine borers and soilborne diseases to feast on your new vines. Rotate with legumes, grains, or brassicas on a three-year cycle to break disease cycles and replenish soil nutrients naturally.
Rotation also gives your soil a rest from melon-specific pathogens. After growing melons, follow up with a cover crop—like buckwheat or clover—to build organic matter and suppress weeds. Your future melon patch will be healthier, happier, and humming with pollinator activity!
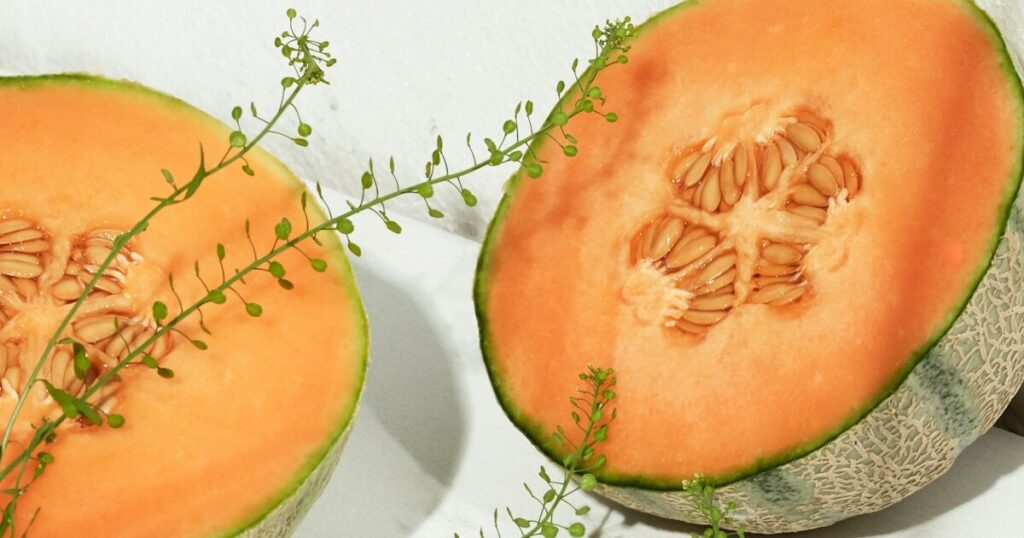
Harvesting Too Early or Too Late
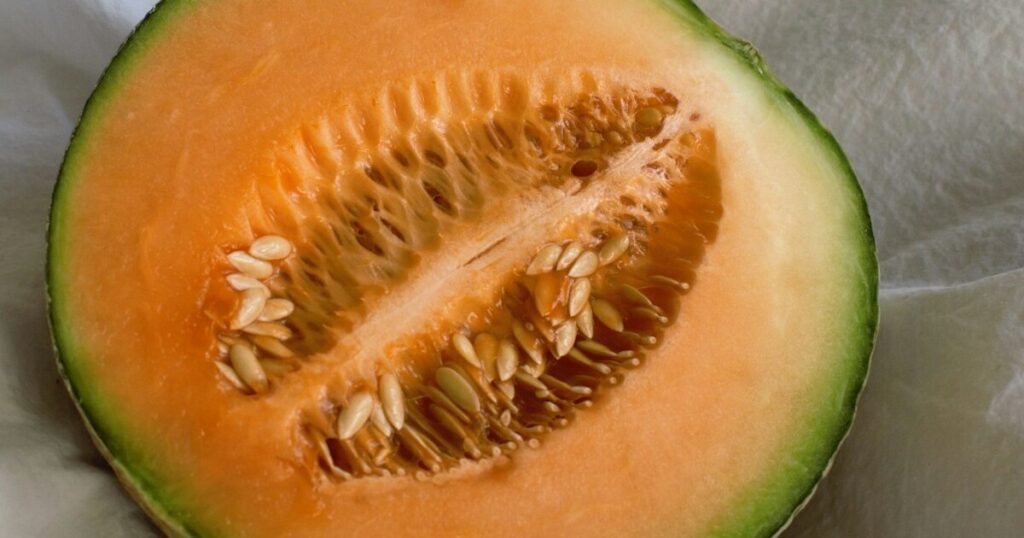
Timing melon harvests can feel like crack-the-code puzzle. Pick too soon, and fruits never reach peak sweetness; wait too long, and they’ll crack or rot on the vine. For cantaloupe, look for a netted rind and a slight slip at the stem end—called “full slip.” Watermelons should sound hollow when tapped and have a creamy yellow “ground spot” where they rested on soil.
If you’re unsure, mark a test fruit and inspect daily. I once left a watermelon an extra week, and it split open in the heat—heartbreaking! Be bold but observant: carefully sample a melon if you suspect it’s ready, and adjust your harvest window accordingly next year.
Over- or Under-Watering

Melons need consistent moisture during germination and fruit set, but too much water during ripening dilutes flavor. I set up a simple drip system to deliver slow, deep waterings—about 1–1.5 inches per week—so roots grow strong and fruits swell evenly. Shallow, daily sprinkling encourages surface roots and increases disease risk.
As fruits start to color, gradually reduce watering to concentrate sugars. If you notice wilting despite moist soil, check drainage; if soil is bone dry, give a thorough soak early in the day so foliage dries before nightfall. Balance is everything for juicy, flavorful melons!
Ignoring Pollinators

Melons rely almost entirely on bees to shuttle pollen between male and female flowers. I once fenced off my patch too tightly and inadvertently blocked my buzzing helpers! Leave an opening or plant pollinator-friendly flowers—like borage, cosmos, or marigolds—around the perimeter to invite bees in.
Avoid spraying insecticides during bloom, and consider installing solitary bee nesting blocks nearby. Watching bumblebees burrow into melon flowers is a thrill, and knowing they’re boosting your fruit set makes every bite taste sweeter!
Neglecting Trellis or Support for Vining Types

Training vines vertically saves space and reduces fruit rot, but it requires proper setup. I learned this the hard way when my heavy watermelons snapped flimsy twine! Use sturdy trellises or cattle panels, and support each developing fruit in a sling made from garden fabric or old pantyhose.
Elevating melons also improves air circulation and sun exposure, leading to cleaner rinds and more even ripening. Just be mindful of added stress on the vine—inspect supports daily and adjust slings as fruits grow larger!