

Camellias are the showstoppers of the shrub world, bursting into bloom in late winter or early spring with rose-like flowers that seem to defy the season. Native to East Asia—particularly Japan, China, and Korea—these evergreen beauties have graced temple gardens and cozy patios for centuries. Whether you’ve inherited a venerable Camellia japonica or are trying your hand at the more compact Camellia sasanqua, mastering their care will reward you with lush foliage and a profusion of blooms each year!
I know how discouraging it can be to spot bud drop or yellowing leaves after eagerly awaiting a floral spectacle. In this guide, I’ll share ten indispensable tips—gleaned from years of coaxing my own camellias to thrive—so you can avoid common pitfalls, encourage beneficial insects like lacewings and solitary bees, and ensure your shrubs never become overgrown or invasive. Let’s dive in and give your camellias the royal treatment they deserve!
Prune at the Right Time
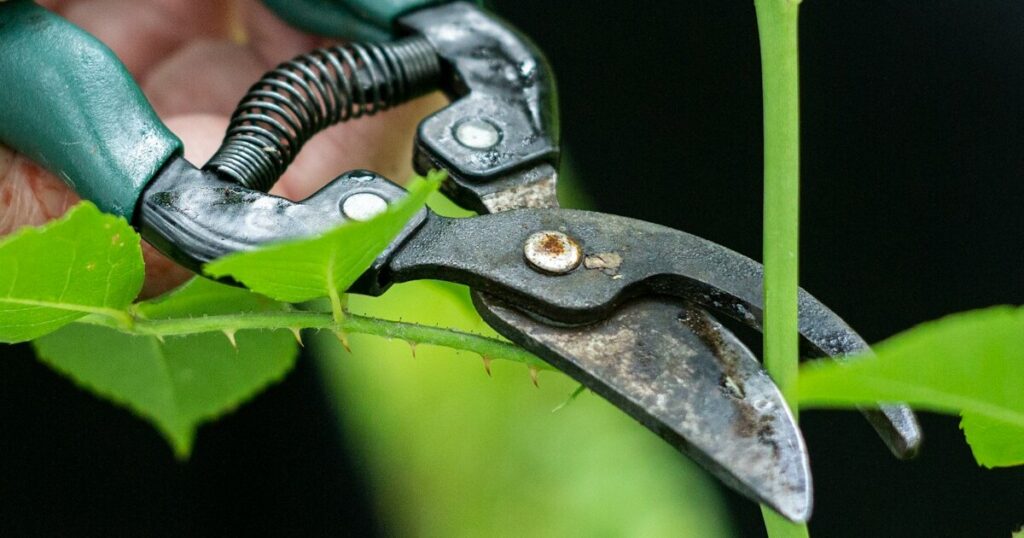
Camellias set buds for the next season’s flowers shortly after the current flush fades, so timing your pruning is crucial. I once learned the hard way that a late spring haircut meant losing half my blooms! Aim to prune immediately after flowering, removing dead or crossing branches to improve light penetration and air circulation.
Selective pruning also mimics the plant’s native understory behavior, where it grows in dappled light beneath taller trees. By opening up the canopy, you invite beneficial predators—like lacewing larvae—that nest among the leaves and help control aphids before they become a problem!
Ensure Acidic, Well-Drained Soil

Camellias thrive in slightly acidic soils (pH 5.5–6.5), similar to their native woodland floors in East Asia. I always test my garden’s pH with a simple kit; adjusting with elemental sulfur or peat moss ensures those glossy, dark-green leaves stay vibrant.
Good drainage is just as essential—waterlogged roots can lead to root rot, while overly sandy soil drains too quickly. Mixing in compost and pine bark creates a loamy texture, replicating the rich humus of their original habitat and supporting strong root development.
Protect from Harsh Afternoon Sun

While camellias appreciate bright light, scorching afternoon sun can scorch their leaves and desiccate buds. In my own yard, positioning them where they receive morning sun and afternoon shade—perhaps under a taller oak—has made all the difference in bud retention!
This placement also mirrors their native understory niche, where they evolved to bask in gentle light filtered through a tree canopy. If your only option is full sun, consider providing temporary shade cloth during the hottest weeks of summer to prevent stress.
Mulch to Conserve Moisture and Suppress Weeds

A generous 2–3 inch layer of organic mulch—pine needles, shredded bark, or compost—helps regulate soil temperature and moisture around your camellias’ shallow roots. I’ve seen moisture remain stable even during heat waves, leading to more consistent flowering year after year!
Mulch also deters weeds (those sneaky invaders that compete for water) and, as it breaks down, contributes organic matter that improves soil structure. Just be sure to keep mulch a few inches away from the trunk to avoid creating a nesting spot for rot-causing fungi.
Water Deeply and Consistently

Underwatering can cause bud drop, while overwatering drowns roots—finding the sweet spot is key. I aim for about an inch of water per week, delivered in one deep soak rather than frequent shallow sprinkles, encouraging roots to dive deeper for stability.
Observing native camellias in the wild, which endure periodic rain followed by dry spells, taught me that consistent moisture (without waterlogged soil) produces the healthiest foliage and the most bud set. Always check soil moisture before irrigating to avoid waste and root stress!
Feed with Balanced, Acidic Fertilizer

Camellias benefit from a slow-release, acid-forming fertilizer high in ammoniacal nitrogen and enriched with micronutrients like iron and magnesium. I apply mine in early spring, just as new growth begins, and again midsummer to support late-season bud formation.
Avoid high-nitrogen feeds in late summer, which can produce soft growth vulnerable to cold damage. Mimicking the plant’s native nutrient cycle helps blooms set naturally and discourages overly lush, tender shoots that pests love to nest in.
Scout for Pests and Diseases
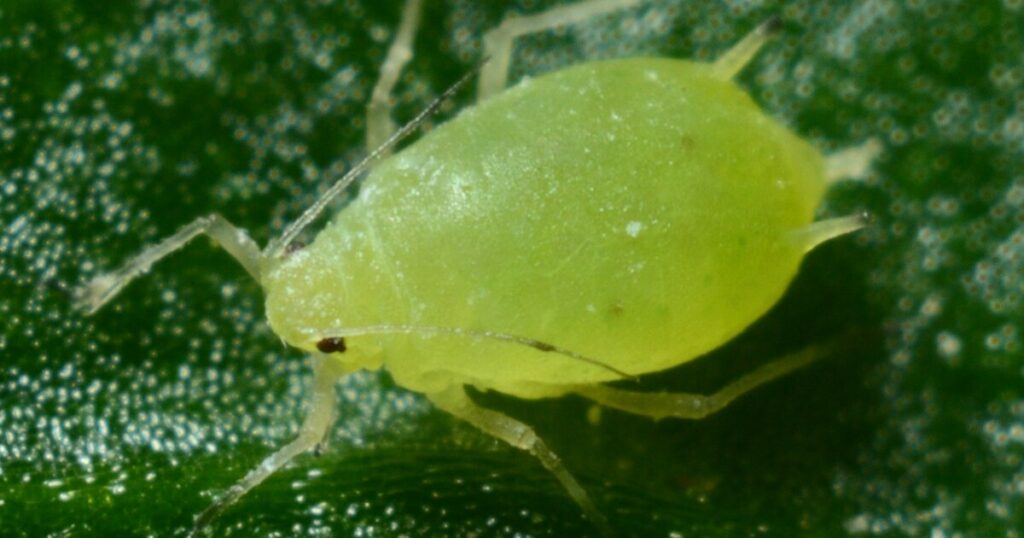
Even the most pampered camellias can attract aphids, scale, or the occasional camellia tea mite. I make it a habit to inspect undersides of leaves weekly, looking for sticky honeydew or tiny nesting insects. Early intervention with insecticidal soap or horticultural oil keeps minor problems from ballooning into full-blown outbreaks!
Camellias can also suffer from petal blight and root rot. Ensuring good air circulation, prompt removal of fallen blooms, and proper drainage creates an environment hostile to fungal pathogens—just as their native forest settings would.
Acclimate to Containers if Needed

If your soil is too alkaline or clay-heavy, growing camellias in large pots allows complete control over soil mix and placement. I use a blend of ericaceous compost, pine bark, and perlite, and move pots to sheltered spots during extreme weather. This approach prevents invasiveness while giving me the flexibility to position them for optimal light and protection.
Container camellias still need regular watering and feeding, since nutrients leach out faster. I monitor moisture closely and side-dress with acidic compost each spring to keep roots happy and blooms abundant!
Protect from Frost and Extreme Cold

Late-blooming camellia varieties can be vulnerable to frost damage, which ruins buds before they open. When hard freezes threaten, I drape frost cloth over shrubs or string up Christmas lights beneath branches to provide a few degrees of radiant warmth—tricks I’ve used many times to save that season’s display!
In colder zones, consider selecting hardy species like Camellia sasanqua, which tolerates temperatures into the low 20s°F. Even then, a thick layer of mulch and windbreaks—like burlap screens—can make the difference between a frost-kissed bloom and a lost season.
Divide and Propagate with Care

Though camellias aren’t commonly divided like perennials, you can propagate by semi-hardwood cuttings or layering. I love layering a low branch in spring—pinning it gently into soil and keeping it moist until roots form. This method respects the plant’s natural tendency to spread in its native Asian forests.
For those eager to share your favorite cultivar, cuttings taken in late summer (with bottom-heat mist propagation) yield high success rates. Just be sure to use sterile tools and pots to prevent introducing pathogens—your future camellia babies will thank you!