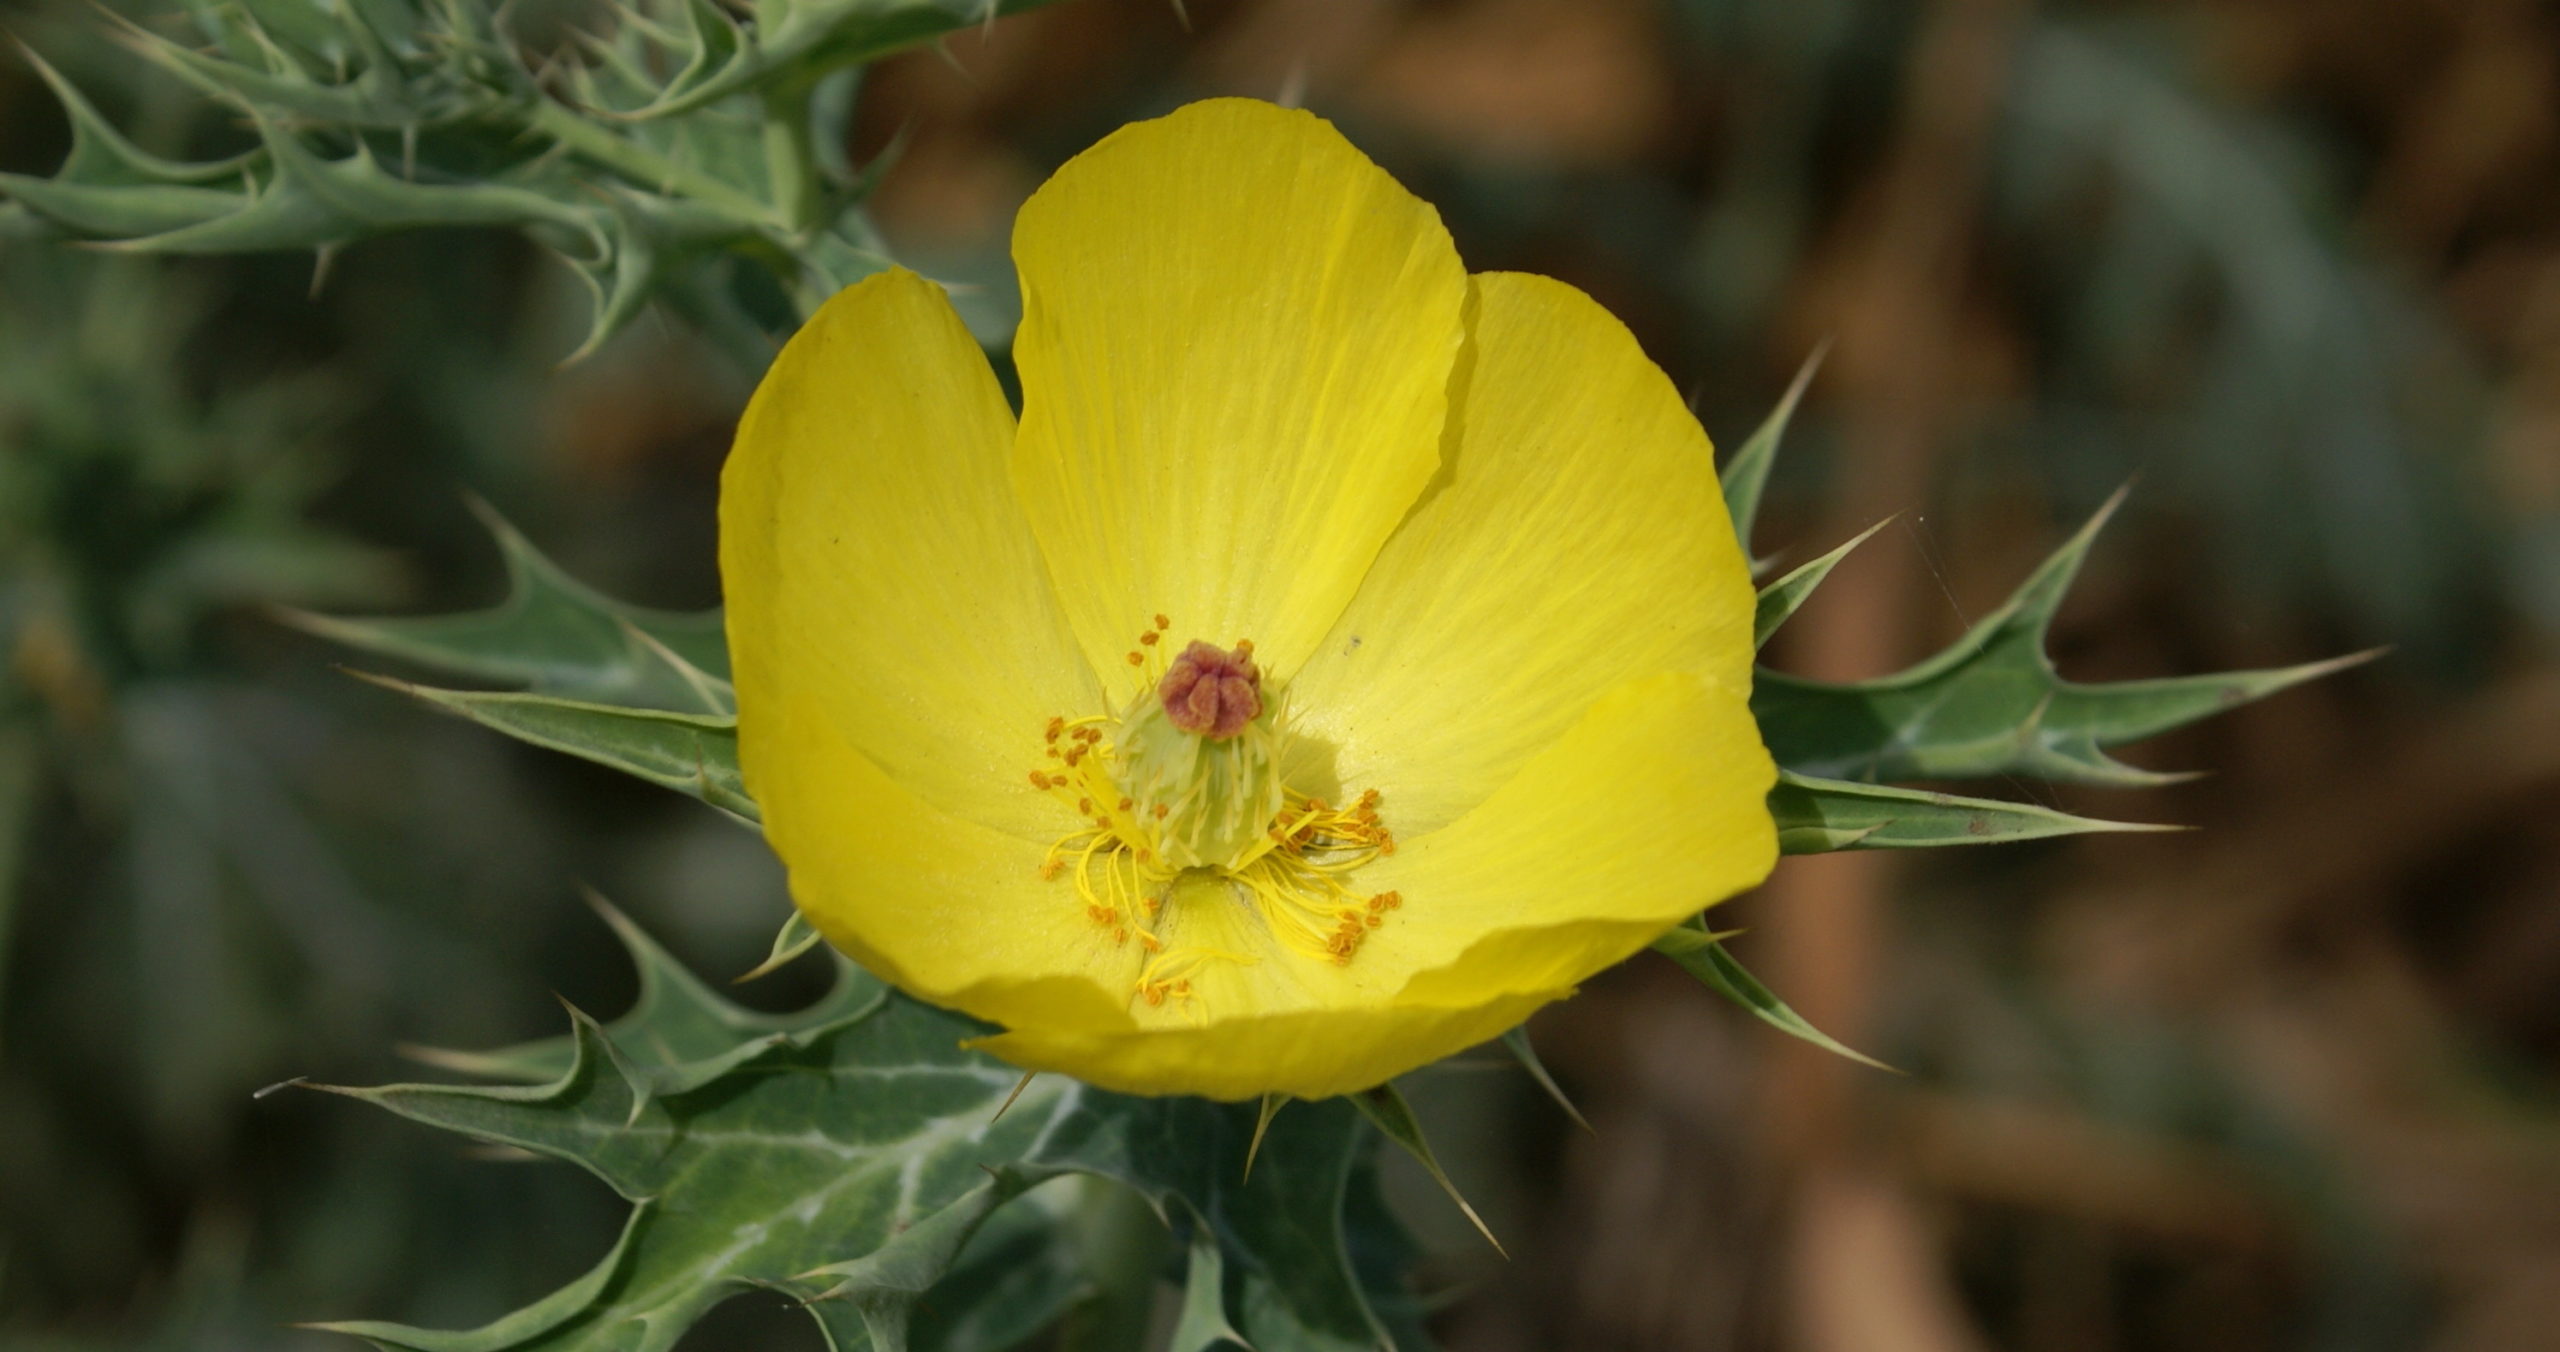

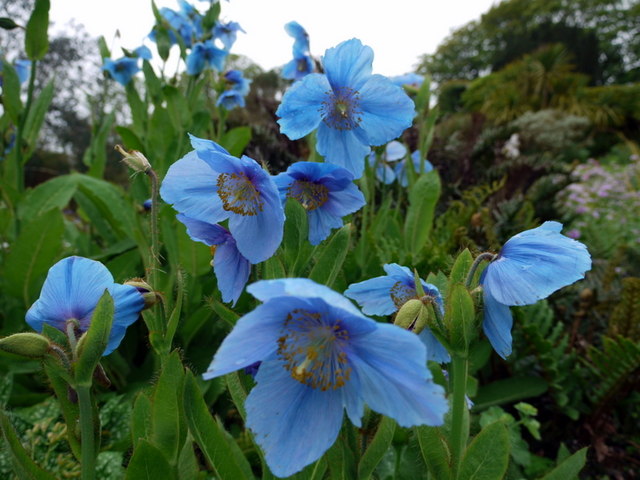
Poppies—whether the delicate field poppy (Papaver rhoeas) of European meadows or the bold Oriental varieties—bring an irresistible splash of color to the garden. Native primarily to temperate regions of Europe and Asia, these charming annuals (and some perennials) flourish in well-drained soil and full sun. I know how disappointing it can be to sow poppy seed only to see few or no blooms, especially when you’ve been dreaming of waves of vibrant red, pink, or orange flowers dancing in the breeze. That’s why I’m so excited to share these ten in-depth tips—randomized for a little extra gardening fun—to help you coax out endless drifts of poppies!
Growing poppies isn’t just about scattering seed and hoping for the best; it’s about understanding their needs and quirks, from seedling care to pest protection. While most poppies aren’t considered invasive in North America, species like Papaver setigerum can self-sow prolifically if left unchecked. I’ll walk you through soil prep, watering, thinning, deadheading, and even seed saving—everything you need for a poppy patch that’s as responsible as it is breathtaking. Let’s get started!
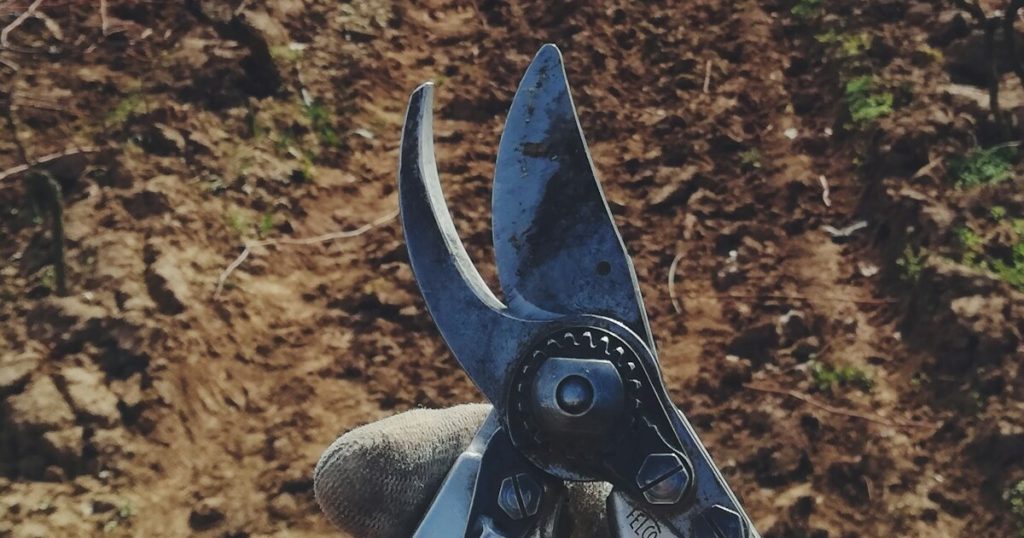
Protect from Pests and Diseases

It’s such a bummer when aphids or slugs nip at tender poppy shoots before they can unfurl their iconic blooms! Poppies are generally tough, but in damp springs, slugs and snails love to snack on young leaves. I protect mine by laying copper tape around pots, scattering crushed eggshells, or setting beer traps in the evening. For aphids, a gentle blast of water or a dab of insecticidal soap on the underside of leaves usually sends them packing without harming pollinators.
Powdery mildew can also appear if air circulation is poor. Keep plants thinned (see Tip 4) and avoid overhead watering—wet foliage invites fungal issues. By staying vigilant and using low-impact controls, you’ll keep your poppies healthy and your conscience clear!
Deadhead Spent Blooms for Extended Flowering
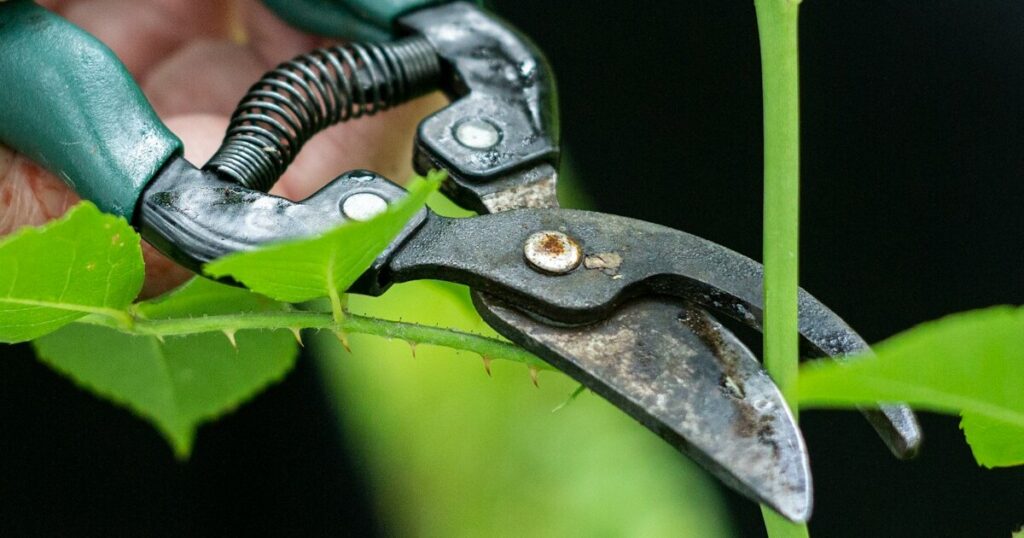
One of my favorite rituals is plucking off spent poppy flowers as soon as the petals begin to fade. Deadheading diverts the plant’s energy from seed production back into forming new buds—resulting in more glorious blooms throughout the season! Plus, it keeps the patch looking tidy instead of littered with papery husks.
Be mindful, though: if you want to collect seed (see Tip 8), let a few pods mature fully. Otherwise, get snipping! Regular deadheading also helps you spot early signs of pests or disease, so you can react before small problems become big headaches.
Provide Well-Draining Soil

Poppies thrive in soil that mimics their native gravelly or sandy habitats—moist but never waterlogged. I always amend heavy clay with coarse sand or fine gravel, and stir in a couple of inches of compost to boost fertility without retaining excess moisture. Raised beds or containers filled with a loamy mix are perfect, especially if your garden soil tends to puddle.
A pH between 6.0 and 7.0 suits most poppy varieties, so do a quick in-ground test. If necessary, add lime to raise pH or elemental sulfur to lower it. Proper drainage is non-negotiable—sit too long in soggy soil, and roots can rot before you even glimpse a single bloom!
Save Seeds and Practice Succession Sowing
Once your poppies finish blooming, let a handful of pods ripen fully until they’re brown and papery. Harvest these for seed: cut the head, dry it indoors, then shake out the tiny black seeds into an envelope. I store mine in a cool, dark spot to replant next year—or share with friends! This not only cuts costs but ensures you have varieties proven to flourish in your garden’s microclimate.
For waves of color, practice succession sowing: scatter a few seeds every two to three weeks from early spring until mid-summer. This way, as one cohort fades, another bursts into bloom! Just remember that later plantings may produce fewer flowers if your season ends early, so time it according to your expected first frost date.
Sow Seeds at the Right Time and Depth
Poppy seeds need a chill period to germinate well—this process, called cold stratification, mimics winter’s effect. In cooler climates, sow outdoors in fall or very early spring. In milder zones, you can sow in late winter, then refrigerate the seed tray for two weeks before moving it outside. Scatter the fine seeds on the soil surface; they need light to germinate, so don’t cover more than 1/8 inch deep!
Keep the soil evenly moist until seedlings emerge—often within 10–20 days. It can be nerve-wracking to wait, but patience pays off. Once you see that first pair of leaves, you’ll feel like a proud parent watching your poppies wake up!
Thin Seedlings for Airflow and Stronger Plants
I remember the first year I let too many poppy seedlings grow in a tight clump—within weeks they were tangled, spindly, and disease-prone. To avoid this, I gently snip weaker seedlings at soil level once they have two sets of true leaves, spacing the survivors about 6–12 inches apart, depending on variety. Good airflow between plants reduces fungal issues and helps each poppy push up sturdy stems topped with bold blooms.
Don’t compost the extras; poppy greens can be allelopathic—meaning they might inhibit growth of other seedlings. Instead, toss thinning into your compost bin well away from emerging seedlings, or simply discard them.
Water Wisely—Keep Soil Evenly Moist Early, Then Let It Slightly Dry

During germination and early growth, poppy seedlings need consistent moisture—too dry and they shrivel, too wet and they rot. I water gently with a fine mist or bottom-water trays to avoid washing away seeds. Once established (around 4–6 weeks), most poppies prefer a bit of drought stress that actually encourages bloom production!
Aim for a deep soak—about 1 inch per week—rather than light daily sprinklings. In extremely hot periods, check soil moisture an inch below the surface; if it’s slightly dry, give them a good drink. If foliage wilts despite moist soil, ease back—overwatering can spell disaster.
Lightly Fertilize to Encourage Robust Blooms

Unlike heavy feeders, poppies need only modest fertility. After seedlings establish, I side-dress with a slow-release, balanced fertilizer (e.g., 5-10-5) or work a light dusting of compost tea around the crowns. This provides just enough nutrients to support flower production without forcing excessive foliage growth that can flop over.
Avoid high-nitrogen feeds, which can create lush green tops at the expense of those delicate cup-shaped blooms. A gentle feed every 4–6 weeks during the growing season helps sustain vigorous flowering without overwhelming the plants!
Ensure Full Sun Exposure

Poppies crave at least six hours of direct sunlight daily; many varieties thrive in eight to ten! One of my favorite placements is in the sunniest section of a meadow border, where their slender stems sway freely. Too much shade leads to lanky growth and few blossoms—definitely not what we’re after.
If your site is partly shaded, try growing poppies in containers you can move to sun-drenched spots or plant them along a south-facing wall for heat reflection. Nothing beats a morning sunbath to kickstart those vibrant petals!
Attract Pollinators and Provide Nesting Spots
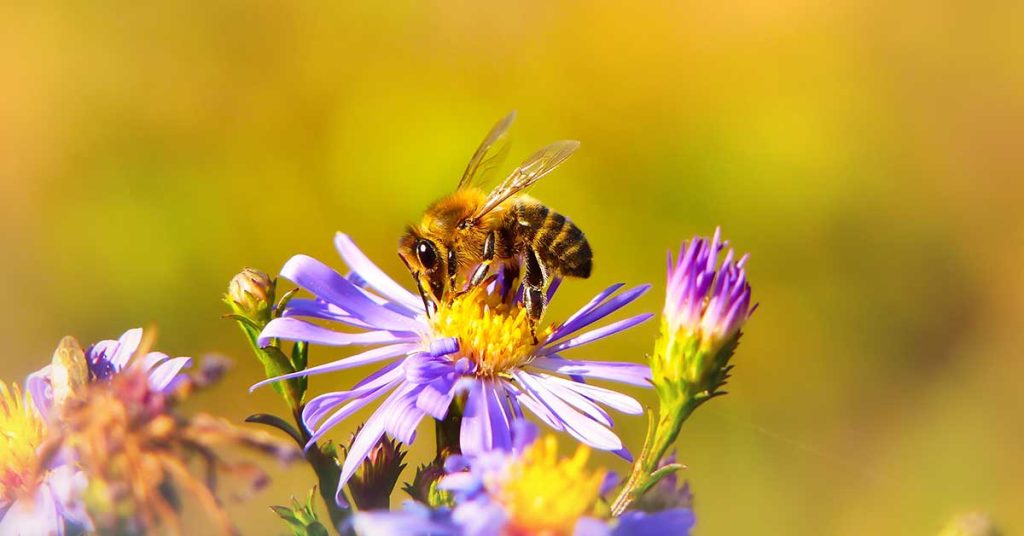
Poppy blooms are magnets for bees, especially mining bees and honeybees searching for abundant pollen. To encourage nesting, leave small patches of bare, undisturbed earth near your poppy bed—many solitary bees will excavate their brood chambers in loose soil. I’ve found that a simple bee hotel or tiny brush pile nearby also invites beneficial insects that keep pests in check.
By creating a pollinator-friendly environment, not only do your poppies set fuller, longer-lasting blooms, but your entire garden benefits from improved pollination. It’s a joyful sight to see bumblebees burrow into those crinkly petals, and knowing you’ve supported their lifecycle makes each poppy blossom even sweeter!