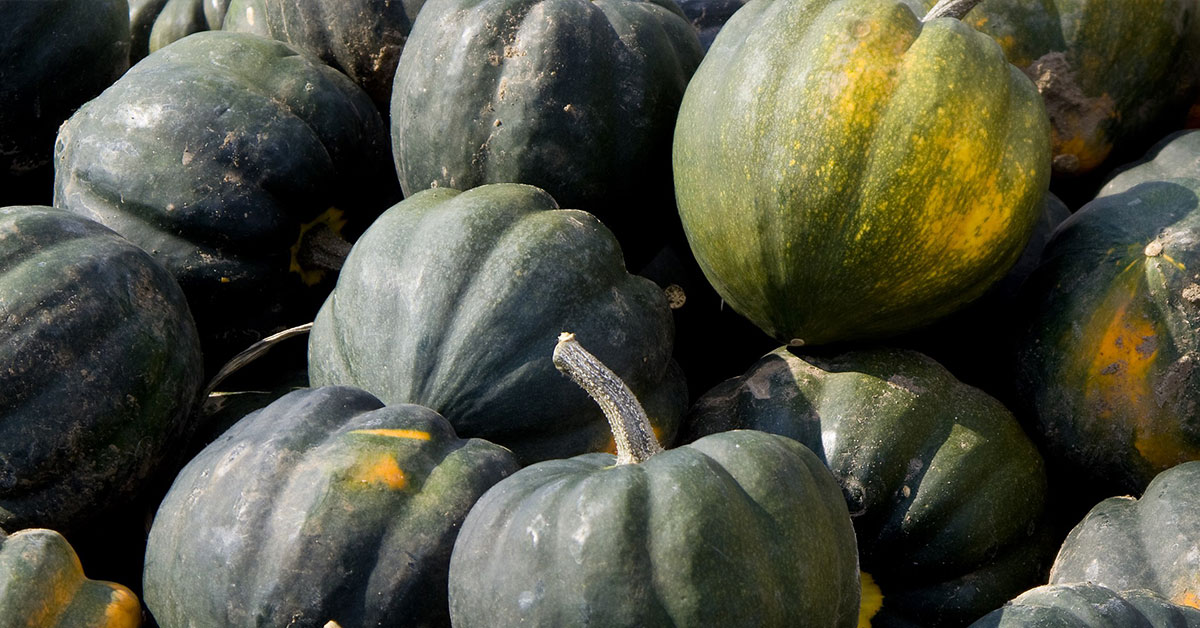

I’m so excited to share these ten tried-and-true tips for coaxing bountiful acorn squash harvests from your garden! Acorn squash (Cucurbita pepo) hails from the temperate woodlands and river valleys of North America, where its ancestors thrived on rich, well-drained soils. In those native habitats, squash vines sprawled across open ground, their bright yellow flowers attracting squash bees and various solitary pollinators that nested in nearby soil banks. Understanding these natural behaviors helps us recreate ideal conditions for abundant fruit set!
I know how frustrating it is when you’ve tended your squash patch for weeks only to see few fruits form or pests nip at tender leaves. Whether you’re a first-time grower or a seasoned gardener looking to boost your yields, these tips—ranging from seed-starting techniques to pollinator management—will help you grow squash that’s plump, flavorful, and plentiful.
Select high-yielding, disease-resistant varieties
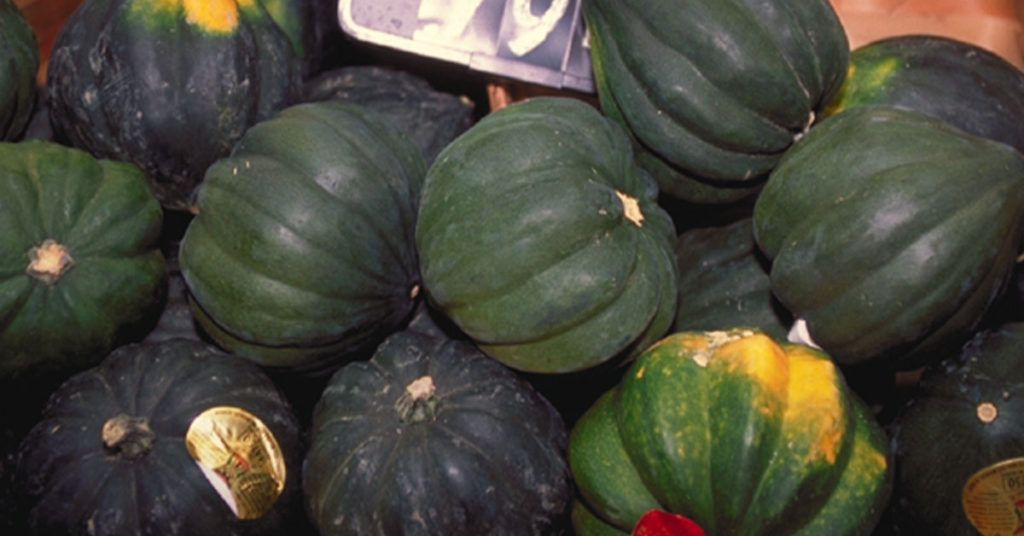
Choosing the right cultivar is step one toward a bumper crop. Some heirloom acorn types excel in flavor but produce smaller yields, while modern hybrids like ‘Seminole’ or ‘Table Ace’ are bred for prolific fruit set and resistance to common vine diseases. Knowing each variety’s background—whether it originated in the floodplains of the southeastern U.S. or the rocky soils of Mexico—guides you to one suited for your region’s conditions.
I remember planting ‘Honey Bear’ one year because of its adorable compact vines, but I swapped to ‘Early Acorn’ the next season for its larger, more uniform fruits. Always source seed from reputable growers to avoid inadvertently introducing invasive volunteer squash that could escape and compete with native plants!
Amend soil with rich organic matter

In the wild, acorn squash ancestors grew where fallen leaves and decaying plant debris created deep, fertile loam. To mimic that, incorporate at least two inches of compost or well-rotted manure into your planting beds, working it into the top six to eight inches of soil. This ensures ample nutrients for those heavy, nutrient-hungry fruits!
Beyond feeding, organic matter improves soil structure and drainage—critical for preventing root rot in heavy rains. I’ve seen spindly vines flourish into powerhouse growers once given that nutrient-rich foundation, so don’t skimp on the prep work!
Start seeds indoors for an early advantage
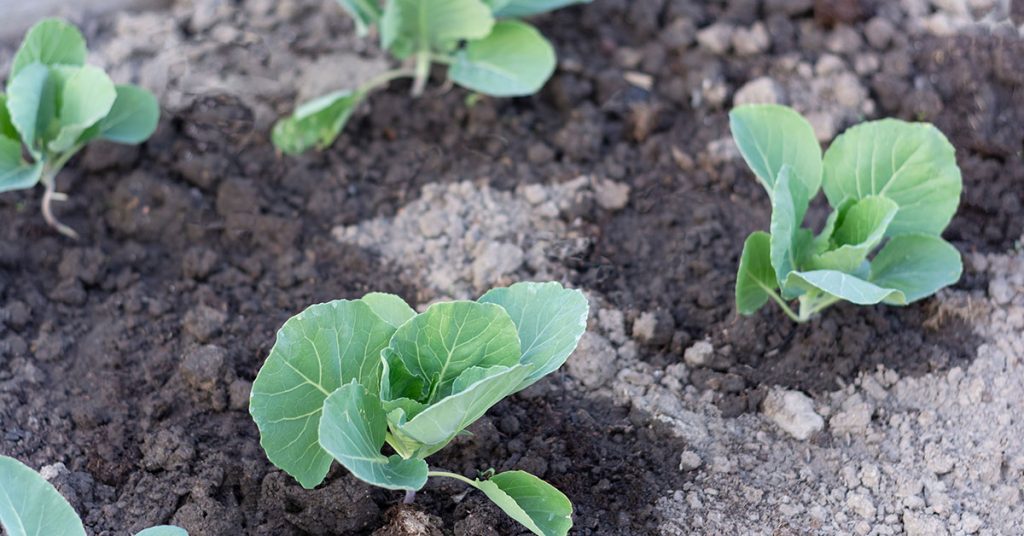
While direct sowing is common for squash, giving seeds a head start indoors can extend your growing season and boost yields. Plant squash seeds in biodegradable peat pots about two to three weeks before your last frost date, using a light, well-draining seed mix. Transplant carefully once seedlings develop two true leaves and outdoor temperatures consistently stay above 60°F.
It’s such a thrill to see robust transplants achieve flower and fruit set sooner than direct-sown plants! Just be cautious not to disturb the roots when planting out—leaving the peat pots intact helps minimize shock and encourages rapid establishment.
Implement companion planting to lure pollinators
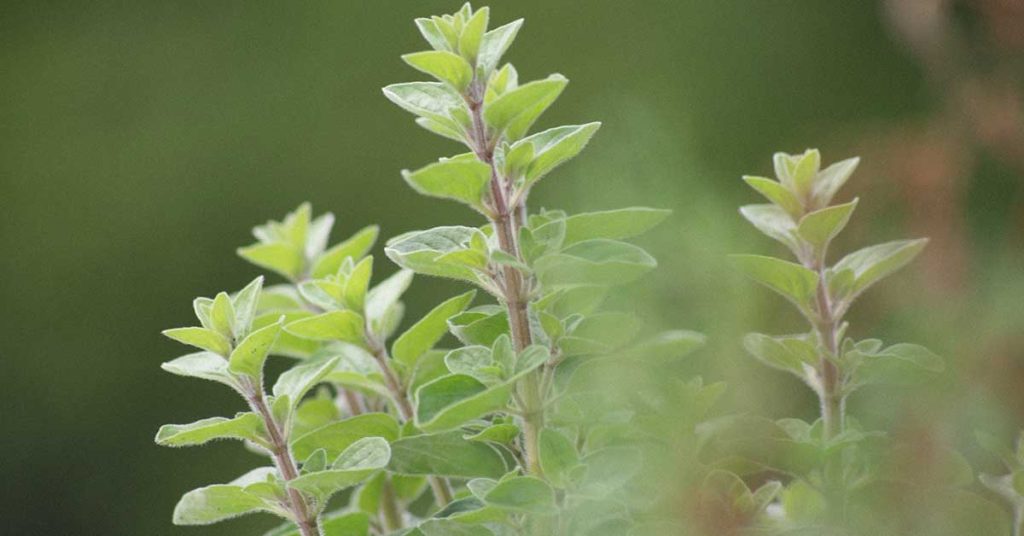
Acorn squash relies heavily on female squash bees and bumblebees for pollination—and those bees appreciate nearby pollen sources like mint, borage, or oregano. I always tuck clusters of these bloomers around my squash rows to invite beneficial insects and provide nesting materials for ground-nesting bees.
In their native range, squash evolved alongside native bee populations that nest in undisturbed soil. Leaving a small patch of bare earth or grassy margin near your vines gives bees a place to nest, boosting pollination rates and fruit yields. It’s so rewarding to watch those little striped bees dive into your squash flowers!
Hand-pollinate flowers when needed
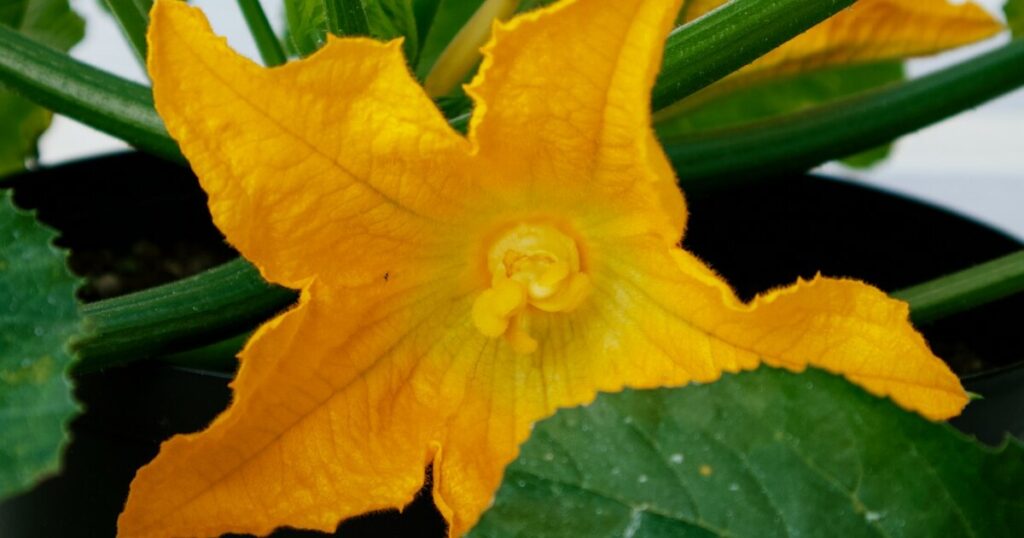
On cool or rainy days, or if bee visits are sparse, hand-pollination can ensure each flower sets fruit. Early each morning, carefully transfer pollen from the male flower’s stamen to the center of a female blossom (you’ll spot the tiny developing squash at the base). Using a clean paintbrush or even the flower itself works beautifully!
I know how disheartening it is to find wilted female flowers with no squash at their base. A little hand-pollination boosts your success rate and teaches you squash flower anatomy—a fun learning curve that pays off in every plump acorn squash on the vine!
Provide ample spacing and manage sprawling vines
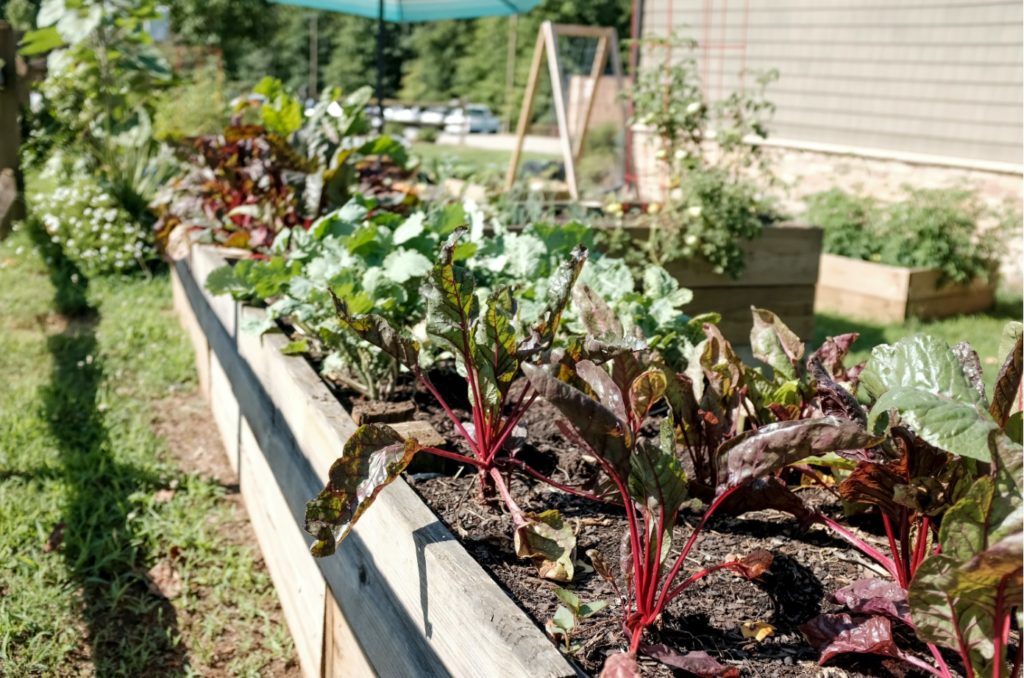
While dense planting can sometimes yield more fruit per square foot, overcrowded squash suffers poor air circulation and increased disease risk. Space hills or clusters about 3–4 feet apart in rows at least 5–6 feet apart, allowing vines to extend freely. This spacing mirrors the open fields where wild squash thrived.
If space is tight, train vines onto sturdy trellises—support each developing squash with breathable netting slings to prevent stem damage. Vertical growing saves ground space and can improve air flow, reducing mildew issues and exposing more blooms to pollinators!
Feed regularly with balanced fertilizers

Heavy fruit producers like acorn squash appreciate a feeding midseason. After the vines have set their first few fruits, apply a balanced organic fertilizer—such as a fish emulsion or compost tea—every three to four weeks. This mimics nutrient pulses from decomposing organic matter in natural habitats.
I once skipped midseason feeding and watched my vines focus new energy on leaf growth rather than fruit size. After introducing regular foliar feeding, fruit size increased noticeably, and rind quality improved—just what you want for storage!
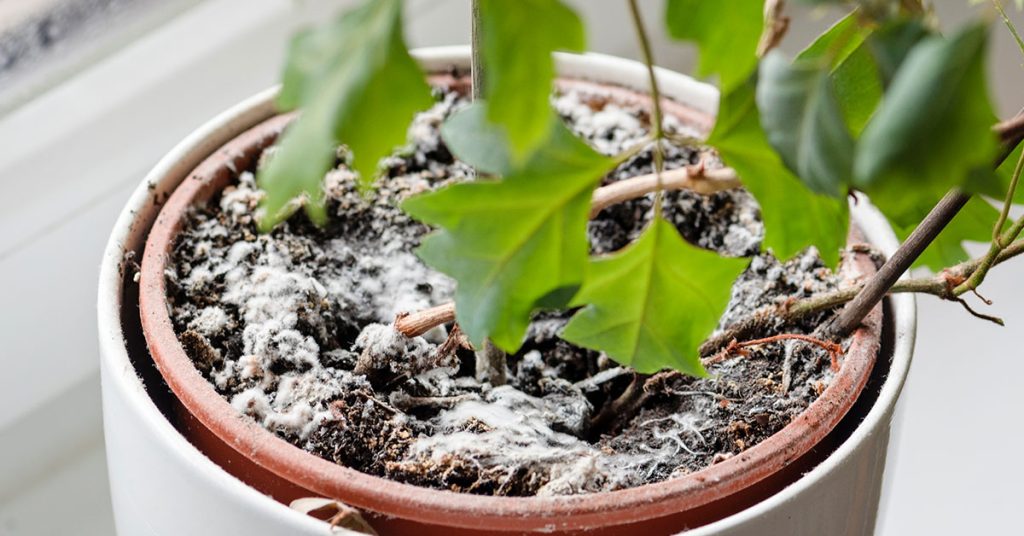
Maintain consistent, deep watering

Acorn squash needs about 1–2 inches of water per week, especially during fruit development. Shallow or irregular watering leads to smaller fruits and can encourage blossom end rot. I use soaker hoses to deliver water directly to the root zone, reducing evaporation and keeping foliage dry to help prevent fungal issues.
Dry spells interrupt fruit growth, while soggy soil invites rot—so aim for that sweet spot of evenly moist, well-drained soil. Mulching (see next tip) helps, but regular monitoring and deep watering sessions are the backbone of a high-yield squash patch!
Mulch heavily to conserve moisture and suppress weeds

A thick layer of organic mulch—straw, shredded leaves, or grass clippings—around your squash plants serves multiple purposes: it locks in moisture, suppresses competing weeds, and moderates soil temperatures, keeping roots cool in summer heat. In native woodlands, fallen leaf litter provided similar benefits for wild squash ancestors.
I refresh mulch around my squash hills whenever it thins out, and I always leave a small gap around the stem to prevent rot. That simple step keeps weeds at bay, reduces watering frequency, and supports those hefty yields you’ve worked for!
Scout for pests and diseases early
Cucumber beetles, squash vine borers, and powdery mildew can quickly derail your harvest if left unchecked. In North America, wild squash coexisted with various insect predators that kept pest numbers balanced—but in our gardens, disruption can favor pests. Inspect vines and undersides of leaves twice weekly for eggs, larvae, or warning spots.
Handpick beetles, use floating row covers early in the season, and apply organic neem oil or insecticidal soap at the first sign of infestation. For vine borers, consider wrapping lower stems with aluminum foil to deter egg-laying. Catching issues early keeps your squash vines vigorous and focused on fruit production rather than defense!