

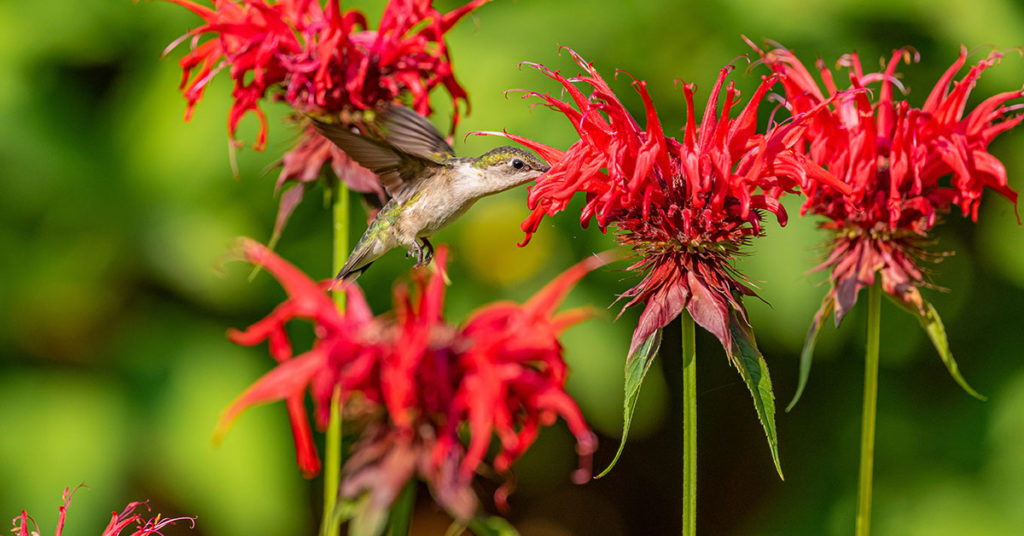
Bee balm is one of my favorite perennials to grow—its vibrant red, pink, or purple blooms instantly light up any garden bed! Native to eastern North America, Monarda species have long attracted hummingbirds, butterflies, and a buzzing brigade of native bees that sometimes nest right among their sturdy stems. It’s such a bummer, though, when these beauties flop over mid-season or succumb to powdery mildew. I know how frustrating it can be to watch your bee balm look leggy and sparse when you dreamed of a lush, pollinator-magnet patch.
That’s why I’m thrilled to share these ten tips to help you cultivate full, bushy clumps of bee balm that will have your garden humming all summer long! From soil prep to deadheading, each tip dives into the plant’s native habits, its potential to spread, and how to harness its natural vigor. Let’s dive in and get those blooms branching out like crazy!
Encourage Pollinators Early
Starting with baby bee balm seedlings, I like to give them a head start by attracting beneficial insects early. Planting alyssum or oregano nearby draws in ladybugs and lacewings, which helps keep aphids in check before they invade your monarda. Young plants that avoid pest pressure develop sturdier stems and more branching!
Plus, those early-arriving pollinators begin staking their territory—native mason bees often look for nooks to nest in. Providing a simple bee house or leaving some bare soil patches encourages these solitary bees to set up shop near your bee balm. Their pollination boosts bud set, resulting in denser, more prolific blooms!
Divide Clumps Regularly

Over several seasons, bee balm can form dense clumps that actually stress the plants from the inside. One of my favorite mid-spring chores is splitting those big clusters every three years or so. Carefully lift the crown and cut into healthy sections, each with plenty of roots and shoots. Replant those pieces with fresh compost for an instant vigor boost!
Division also controls its spreading tendencies—while bee balm isn’t aggressive like mint, it does send out rhizomes that can take over. By dividing, you’re checking its invasive urges and simultaneously encouraging each division to branch out and fill in, giving you multiple lush mounds rather than one overcrowded patch.
Deadhead Spent Blooms
It might feel tedious to snip off each fading flower, but deadheading is a game-changer for more blooms. After the showy clusters fade, trim the spent heads just above a set of leaves. Your bee balm plants interpret this as a cue to produce fresh buds, keeping your garden colorful well into fall!
By removing old flowers, you also reduce seed production, which helps manage volunteer seedlings sprouting in unwanted spots. And as a bonus, the tidy clumps look so much neater—no more unsightly brown clusters dragging down the overall look of your border beds.
Choose the Right Location

Bee balm thrives in full sun, but it tolerates light afternoon shade—especially in hotter climates. I once watched mine sulk in stubborn shade, producing lanky stems and sparse blooms. Moving them to at least six hours of sun gave them the energy to develop thick, bushy habits instead of reaching for light!
Well-drained soil is crucial, too. Monarda doesn’t care for “wet feet,” so pick a spot where water doesn’t sit after heavy rains. Raised beds or gently sloping terrain often work wonders. This mimics its native woodland-edge habitats, allowing roots to breathe and encouraging robust, fibrous root systems that support bushier growth above ground.
Mulch to Retain Moisture

I can’t stress this enough: a two-inch layer of organic mulch around your bee balm beds makes a world of difference. Not only does it suppress weeds that compete for water and nutrients, but it also keeps soil temperatures stable. Consistent moisture encourages those lateral shoots to develop instead of one tall stem!
Look for shredded bark or leaf compost—each will slowly break down and feed the roots. Avoid piling mulch against the crown to prevent rot; keep it an inch or two away from stems. This routine mimics the forest floor where bee balm naturally thrives, letting roots spread outward into loose, moisture-retentive soil.
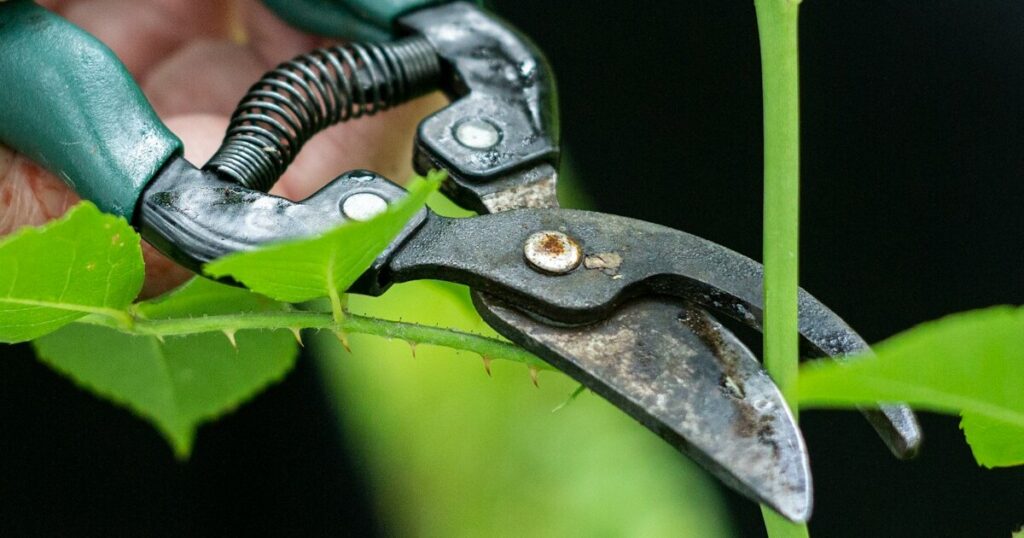
Prune for Bushiness
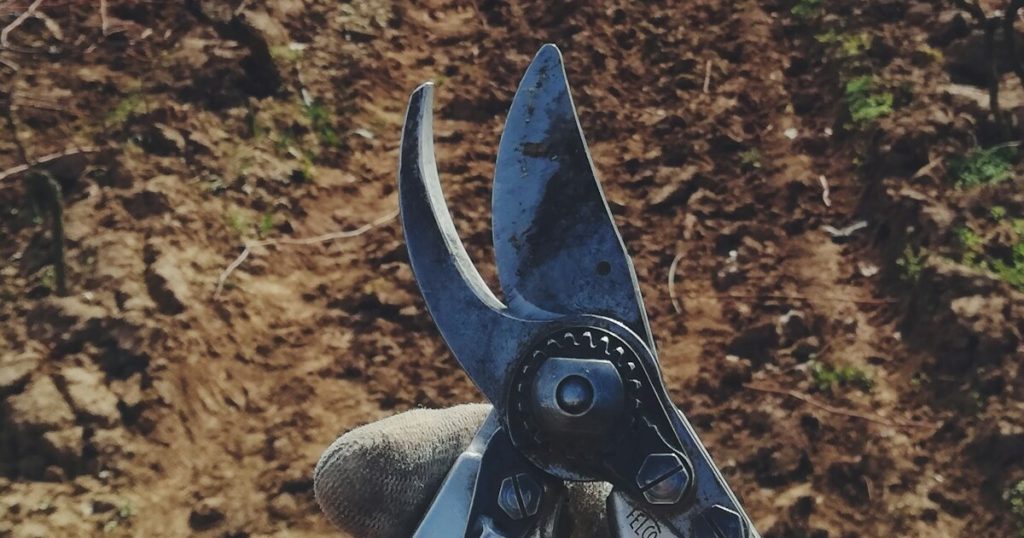
After your bee balm finishes its first flush of blooms, cut the plants back by about one-third. This simple pruning hack stimulates side shoots, creating a denser, more compact silhouette. I love the way a well-pruned monarda looks—almost like a fluffy pom-pom of color!
Pruning also boosts air circulation, which helps reduce powdery mildew—a common frustration when foliage stays damp for too long. By keeping the center a bit more open, you’re mimicking the grooming behavior of natural prairie fires that once kept wild monarda populations healthy and vigorous.
Water Deeply but Infrequently

Inconsistent watering leads to shallow roots and weak stems. Instead, give your bee balm a good soak once a week—or more often during heatwaves—allowing water to penetrate at least six inches deep. Those deeper roots help anchor stems and support vigorous branching!
Avoid misting leaves or watering overhead; wet foliage invites fungal diseases. A drip-irrigation or soaker hose system delivers water directly to the root zone. Think of it as replicating summer thunderstorms in its native habitats, where deep, infrequent rains encourage resilience and bushy root systems.
Feed with Balanced Fertilizer

Bee balm appreciates a light feeding in spring as new shoots emerge. I use a slow-release, balanced fertilizer (10-10-10) sprinkled around the drip line—never right against the stem. This gives a gentle nutrient boost without encouraging leggy growth from too much nitrogen!
A mid-summer top dressing of compost tea or fish emulsion can help support a second flowering without overwhelming the plants. Just be cautious: overfertilizing sometimes leads to lush leaves at the expense of blooms. Think of balanced feeding as giving a well-talented performer just enough stage support without upstaging the star—those vibrant flowers!
Manage Powdery Mildew
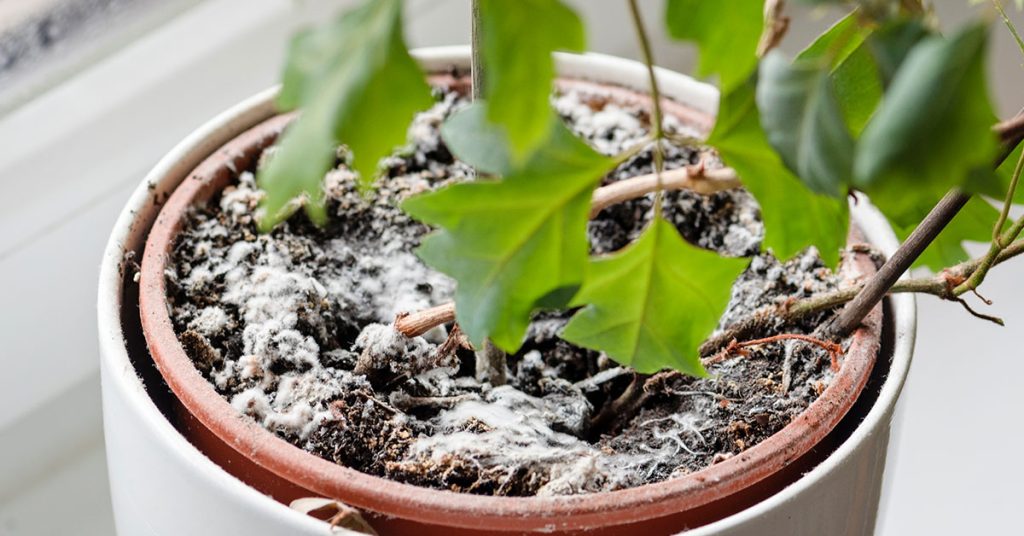
If you’ve ever felt defeated by that white, powdery film on bee balm leaves, you’re not alone. Good air circulation, the right spacing, and proper pruning go a long way, but sometimes proactive measures are needed. I like spraying a homemade mix of one tablespoon baking soda per gallon of water, plus a drop of mild dish soap, at the first sight of mildew.
Wear gloves and spray both leaf surfaces in the cool evening. This creates an inhospitable environment for fungal spores and keeps your leaves healthy and green. Remember, healthy foliage bathes each bud in energy, so preventing mildew is key to robust branching and a longer bloom season!